Registering a new version of a user-defined API to the Catalog using GitHub Codespaces
In this tutorial, you will learn how to develop, (pre-)release, and upload a user-defined API to the Catalog with a CI/CD pipeline using GitHub Workspaces. However, note that you can use similar steps for any artifact type except for connectors (e.g. Automation script, Automation script library, package project, etc.).
Expected duration: 10 minutes
Prerequisites
- A GitHub account
- A dataminer.services account with the Owner role in order to be able to access/create keys for your organization.
Overview
- Step 1: Create a GitHub repository
- Step 2: Create a GitHub Codespaces Environment
- Step 3: Install DataMiner templates
- Step 4: Add project content and a solution file
- Step 5: Check the GitHub Actions
- Step 6: Create and add a secret
- Step 7: Check the results
Step 1: Create a GitHub repository
Go to github.com and select the colored New button (or go directly to https://github.com/new).

Enter a repository name, for example
MyUserDefinedApiFromGithub.Under Add .gitignore, select VisualStudio.
Click Create repository.
Step 2: Create a GitHub Codespaces Environment
Click the green <> Code button.
Click Create codespace on main.
Let the development instance connect.
Note
If you see Oh No, it looks like you are offline?, this is likely caused by your network firewall settings. You or your IT department can follow the Codespaces troubleshooting guide to resolve any issues. Alternatively, you can continue this tutorial by restarting this step but selecting Continue Working in New Local Clone. For this, you will need to have Visual Studio Code installed, as well as GIT and dotnet 8.0.
Step 3: Install DataMiner templates
If it is not open yet, open the terminal by pressing Control + Shift + C while the focus is set on GitHub.
Check if you have nuget.org as a known NuGet source:
dotnet nuget list sourceThe result should contain nuget.org [Enabled].
Note
The first time you run a dotnet command on any computer, you will get a welcome text. The output of your command will be displayed below this.
If your sources do not contain nuget.org, use the call below, otherwise skip this step.
dotnet nuget add source https://api.nuget.org/v3/index.json -n "nuget.org"Install the DataMiner Visual Studio templates:
dotnet new install skyline.dataminer.visualstudiotemplates
Step 4: Add project content and a solution file
Open the terminal (Control + Shift + C), and add the DataMiner User-Defined API Project template in a new project folder:
dotnet new dataminer-user-defined-api-project -o MyUserDefinedApiFromGithub -auth JanS -cdp true -I Basic
dotnet new sln
dotnet sln add MyUserDefinedApiFromGithub
Note
If you receive a warning about pasting a multi-line, you can click Paste. Double-check whether all three commands have run in the end. You may need to press Enter an additional time for the last command to execute.
On the left, click the Source Control button.
Enter a message (e.g. Added Initial Project), and click Commit.
If you are asked whether you want to stage all your changes, click Yes.
Click the Sync Changes button.
If a confirmation box is shown to pull and push from and to "origin/main", click OK.
Return to your GitHub repository.
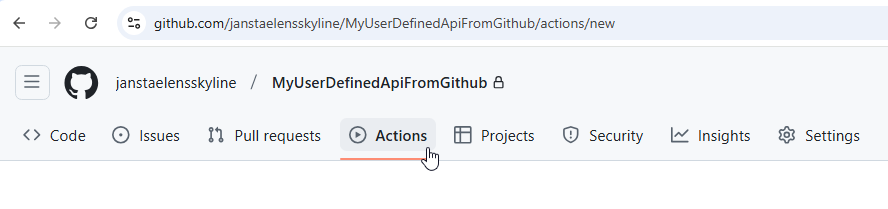
Step 5: Check the GitHub Actions
In GitHub, go to the Actions tab.
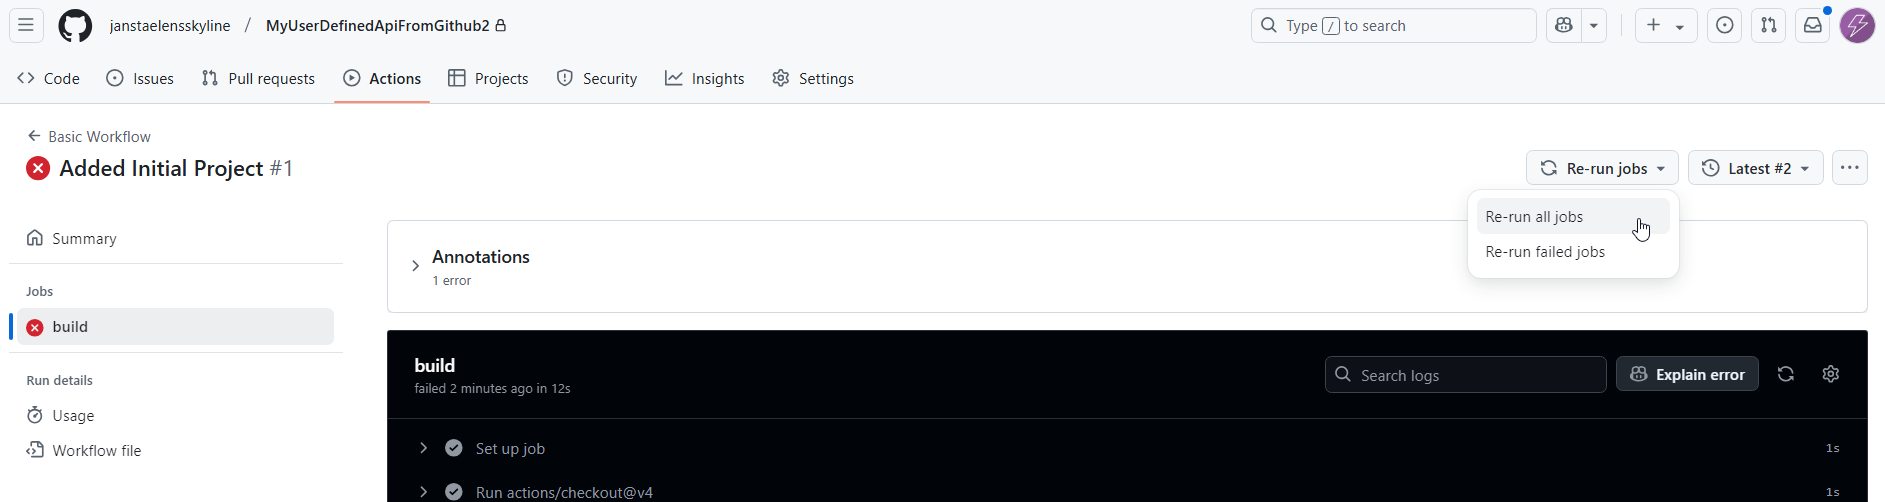
Here you will find all the automatic CI/CD workflow runs and their status:
- A brown dot means the run is ongoing.
- A white X in a red circle means the run failed.
- A white V in a green circle means the run succeeded.
Wait until you see a run that has failed, and then click that run.
Usually this run will have the commit message you filled in earlier as its title.
Click the "build" step that failed and read the failing error.
Error: DATAMINER_TOKEN is not set. Release not possible!
Please create or re-use an admin.dataminer.services token by visiting: https://admin.dataminer.services/.
Navigate to the right Organization then go to Keys and create/find a key with permissions to Register catalog items, Download catalog versions and Read catalog items.
Copy the value of the token.
Then set a DATAMINER_TOKEN secret in your repository settings: <Dynamic Link>
You can use the links from the actual error to better address the next couple of steps.
Step 6: Create and add a secret
Obtain an organization key from admin.dataminer.services with the required scopes:
- Register catalog items
- Read catalog items
- Download catalog versions
Tip
See also: dataminer.services keys
Add the key as a secret in your GitHub repository, by navigating to Settings > Secrets and variables > Actions and creating a secret named
DATAMINER_TOKEN.Re-run the workflow by going back to the failing run and selecting Re-run jobs in the top-right corner.
With this setup, any push with new content (including the initial creation) to the main/master branch will generate a new pre-release version, using the latest commit message as the version description.
Step 7: Check the results
Go to the Catalog
Check in the top-right corner if the correct organization is selected.
Search for the name of your package (in this case: MyUserDefinedApiFromGithub).
Go to the VERSIONS tab.
This tab should contain the new version of your user-defined API, which is now available for deployment from the Catalog.