DocumentHub Application
The DocumentHub app is designed for administrators and operators to manage documents, images, and files across their DataMiner environment. It provides a centralized interface for uploading, organizing, retrieving, and linking files to business operations.
Application overview
The following pages are available in the app:
 Home: Access documents across buckets, filter by file name, bucket, or file type, and review related metadata. See Viewing and filtering documents.
 Upload: Upload new documents to configured storage backends. Select the appropriate bucket to ensure files are stored in the correct location with proper metadata. See Uploading documents.
 Settings: Connect and manage cloud storage repositories and local storage options. Configure credentials and access settings. Available to administrators only.
The Settings page consists of three tabs:
 Buckets: Configure and manage document buckets. Define which file types go where, set upload restrictions, and manage metadata templates. Available to administrators only. See Organizing with buckets.
 SharePoint: Browse files stored in your SharePoint repository, quickly filter by name or bucket, and inspect the full metadata set for each file. See SharePoint.
 DOM: Explore files linked to DOM records, find content by filtering on name and bucket, and view the complete metadata context used in your workflows. See DOM attachments with shared drive.
 About: Provides information on the version of the DocumentHub package.
Viewing and filtering documents
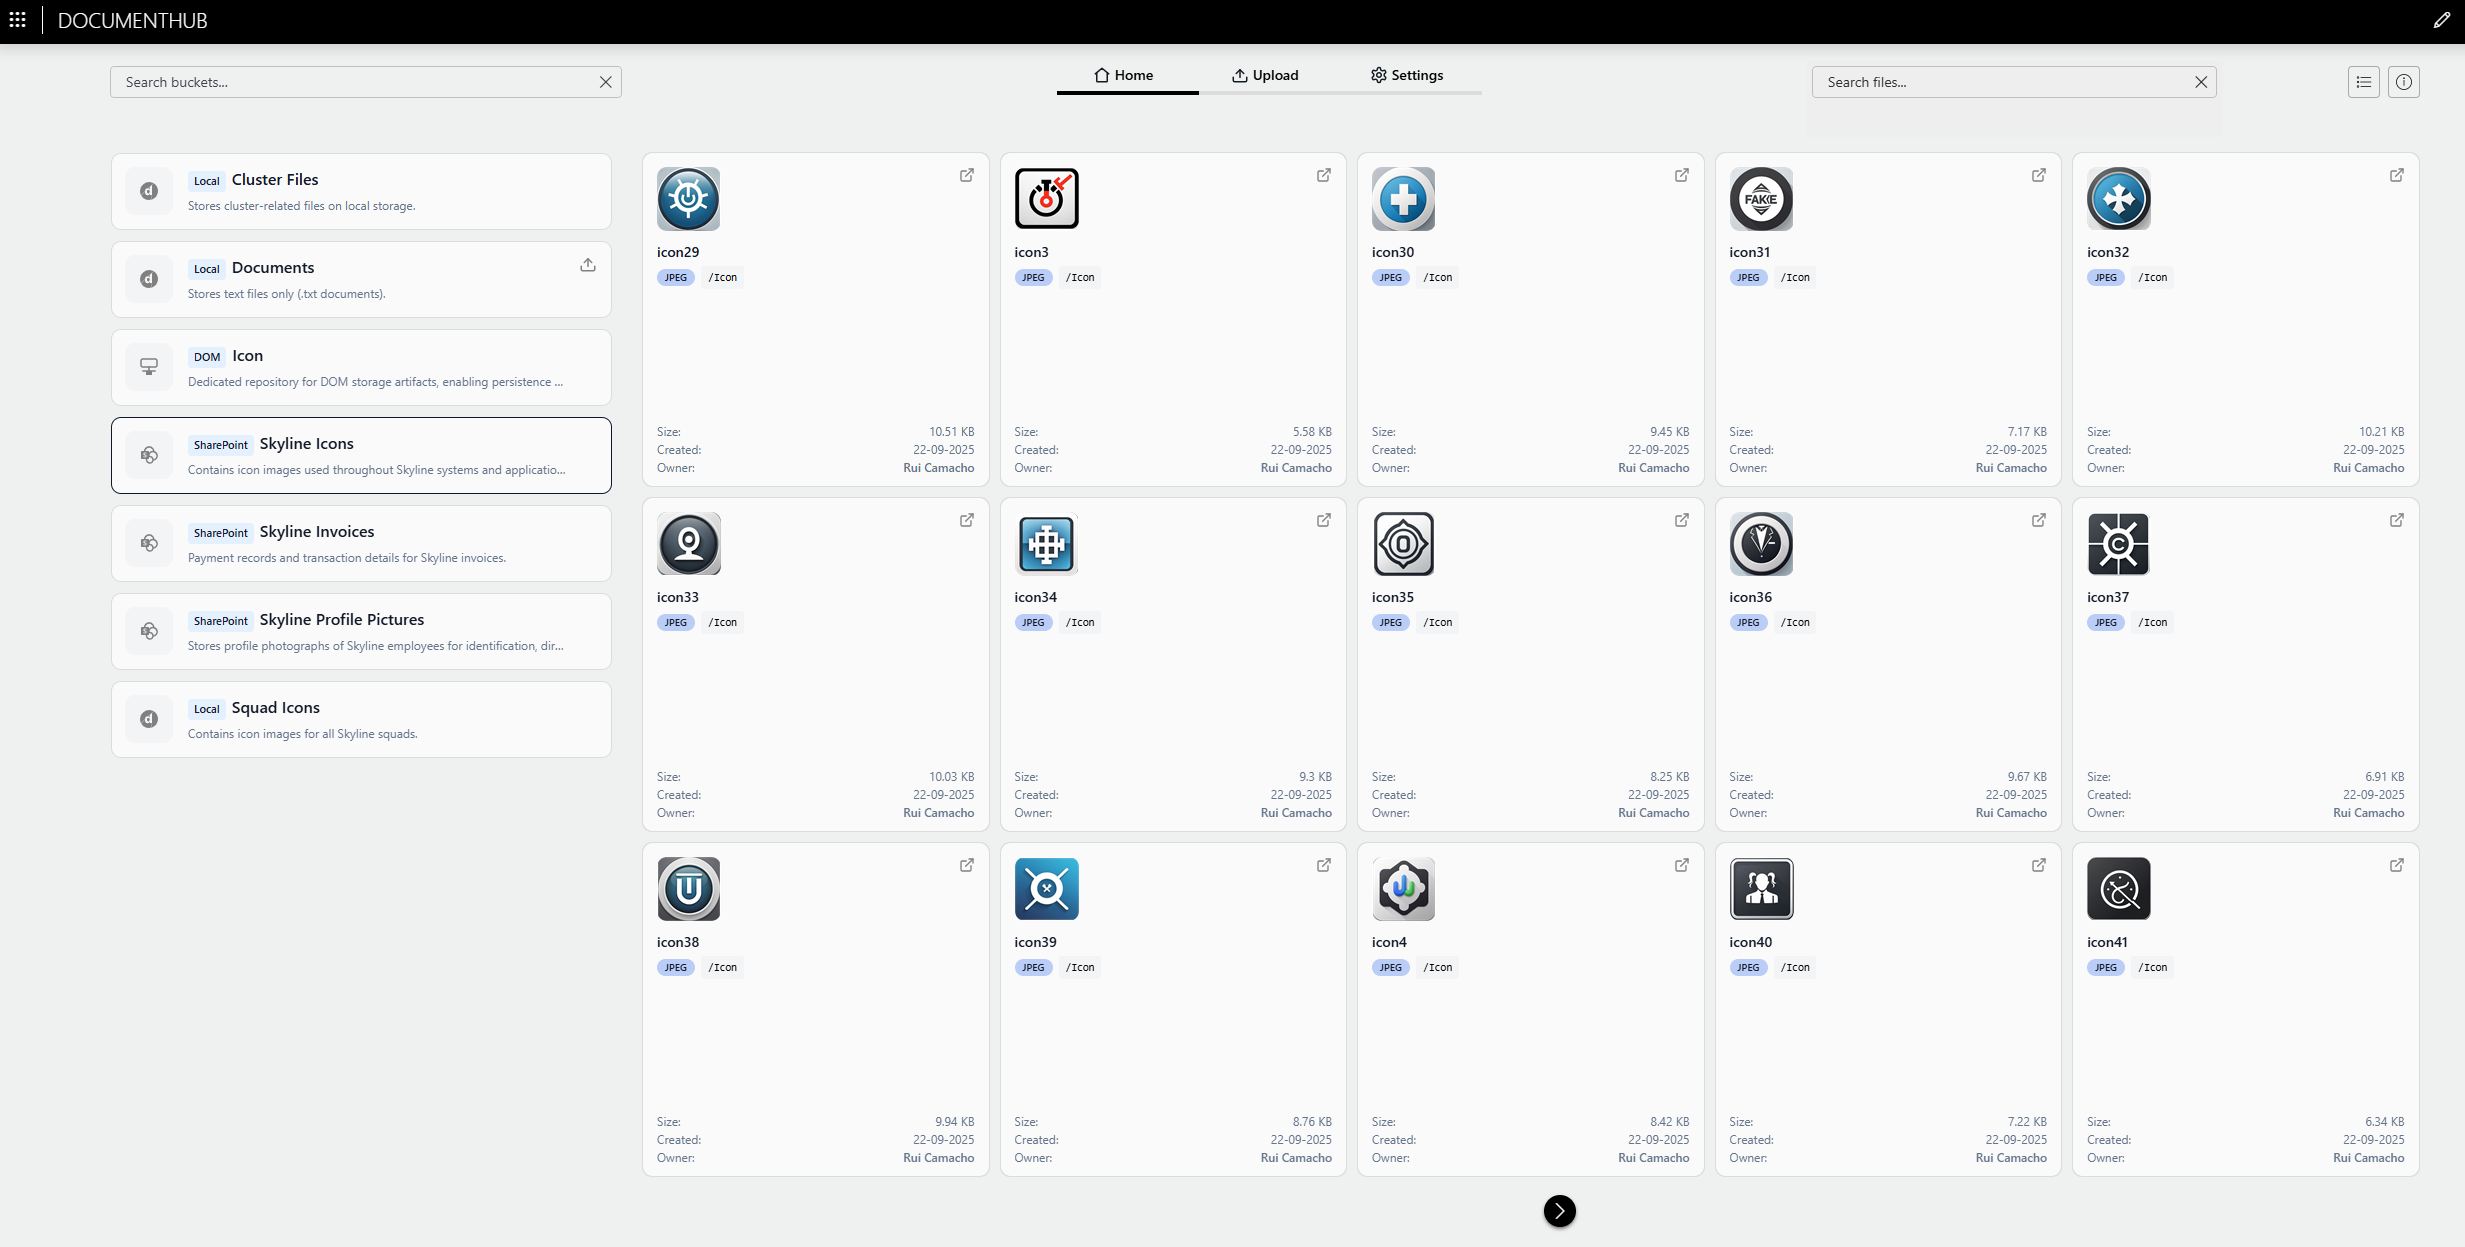
On the Home page, all uploaded documents are listed, with different possibilities for viewing or filtering them.
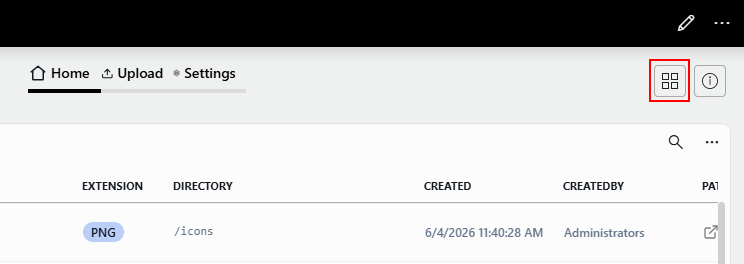
With the second button in the upper right corner, you can switch between a tile view or list view of the documents.
You can filter the displayed documents in different ways:
By name:
- If the tile view is shown, use the filter box above the tiles.
- If the list view is shown, click the magnifying glass icon at the top of the list to open a filter box.
By bucket and storage location, using the tiles to the left of the documents overview.
Uploading documents
On the Upload page, you can upload documents to store them in your configured storage backend. To do so:
- Selecting the appropriate document bucket.
- Click the Upload button.
- Click Choose file and select the document you want to upload.
- Click Upload.
- Optionally, specify a new name for the document.
- Click OK.
Once it has been uploaded, the document will be stored in the configured backend for the selected bucket, and it will be shown on the Home page.
Organizing with buckets
Buckets help maintain organization and security by ensuring files are stored consistently and with proper restrictions.
Bucket management is done in the app via Settings > Buckets. There you can add new buckets with the Add Bucket button, edit existing buckets by hovering over them and clicking the pencil icon, or delete buckets by hovering over them and clicking the garbage can icon.
For each bucket, the following settings can be configured:
- Name: Used to identify the bucket.
- Storage Type: SharePoint, local storage, or DOM. Depending on the selected type, additional configuration will be needed.
- Allowed Extensions: Optional. Allows you to limit which types of files can be added in the bucket by specifying one or more allowed file extensions (e.g., .pdf, .jpg, .png).
- Size Limit: Optional. Allows you to specify a file size limit to prevent oversized uploads.
- Description: Optional. Provides additional information about the bucket.
Note
To create and manage document buckets, you need admin permissions.
Storage backend integration
DocumentHub supports multiple storage backends to give you flexibility in document management. At present, SharePoint, local storage, and DOM attachments are supported.
Note that the number of documents in DocumentHub is not capped by the app itself. In practice, scalability depends on the storage capacity and performance of your selected backend, such as SharePoint or a shared drive.
Additional cloud storage providers may be supported in future releases based on demand.
Note
To configure storage backend connections and credentials, you need admin permissions.
SharePoint (user-managed)
Connect to your organization's SharePoint repository to leverage existing document management infrastructure.
To be able to use this storage type, you will need to add a sharepoint source on the Settings > SharePoint page. This page contains the necessary setup information.
Tip
For a detailed walkthrough of how to use this storage type, refer to Configuring SharePoint as a storage backend.
Local DataMiner web server
Store documents on the local DataMiner web server for on-premises deployments. This is ideal for high-performance access, for air-gapped or secure environments, and for sensitive internal documents.
Local documents must be stored within a subfolder of the C:\Skyline DataMiner\Webpages\public folder of the DataMiner web server. When you configure a bucket for documents hosted on the local web server, in the Upload Path field, specify the folder path within that folder. For example, for files located in the folder C:\Skyline DataMiner\Webpages\public\Icons, specify the path Icons.
Files stored on the local web server will be indicated with the DataMiner icon  .
.
Important
If you use documents on a local DataMiner web server in a clustered setup, keep in mind that files must be synchronized across cluster nodes. With large file volumes, this synchronization can become a bottleneck and affect overall performance.
As such, we recommend the following:
- Use a local DataMiner web server mainly for images, logos, and other lightweight documents.
- For larger document sets or heavier files, use cloud storage backends (for example SharePoint) or DOM attachments.
DOM attachments with shared drive
Connect to a shared drive in the network and store files directly on DOM instances in DataMiner.
Tip
For a detailed walkthrough of how to use this storage type, refer to Configuring DOM attachments on a network share.