Jobs List
List and timeline overview
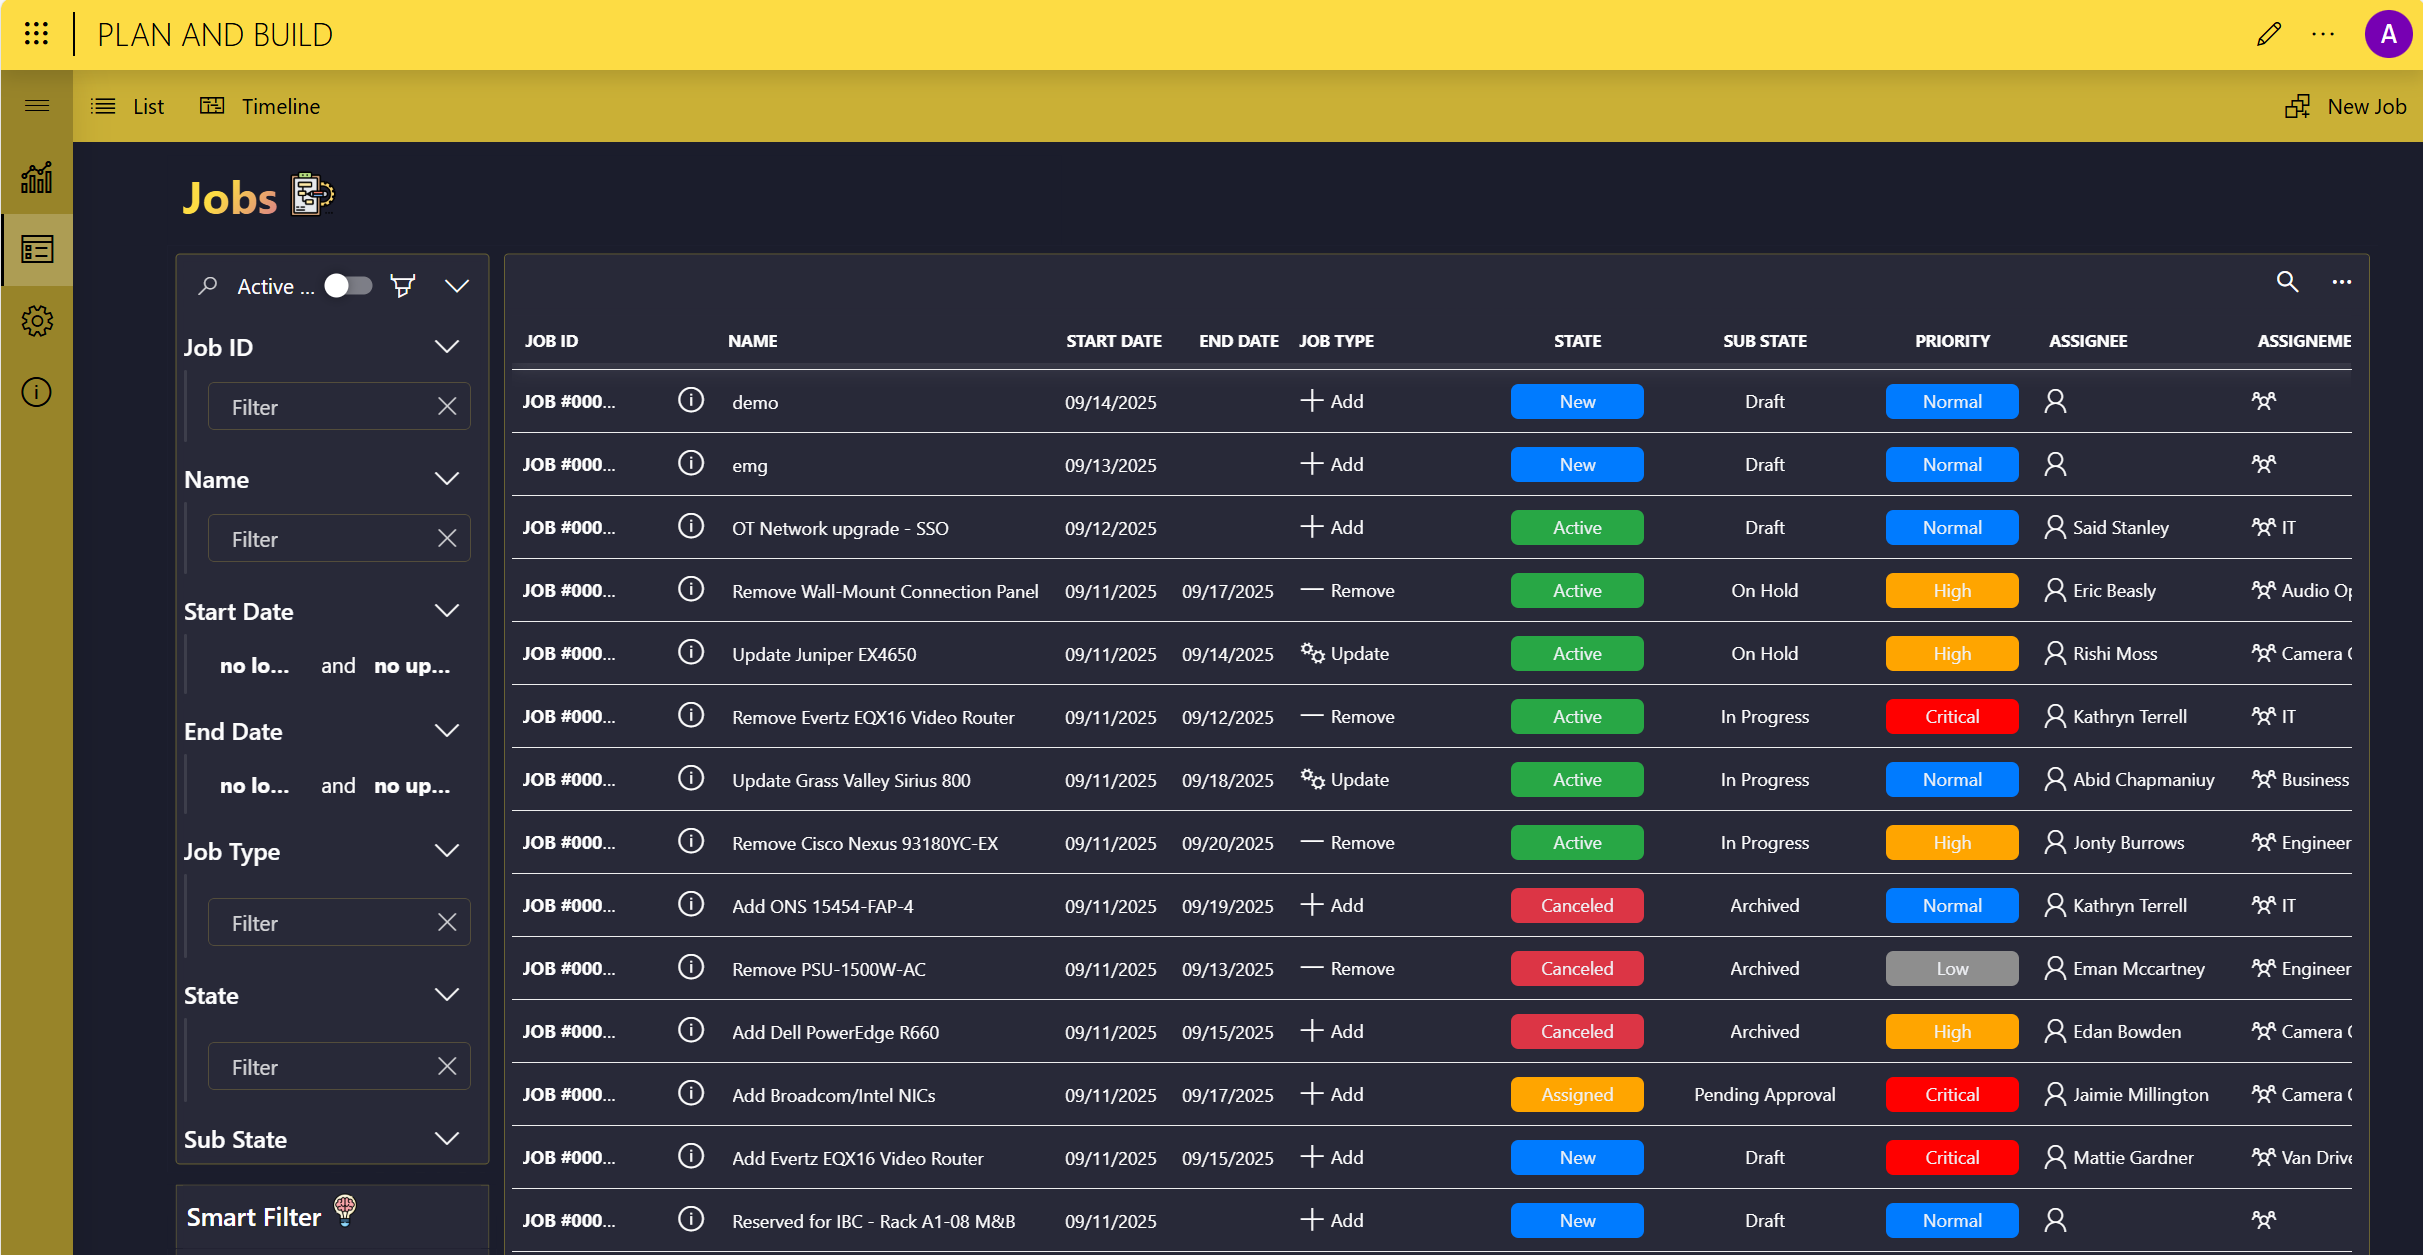
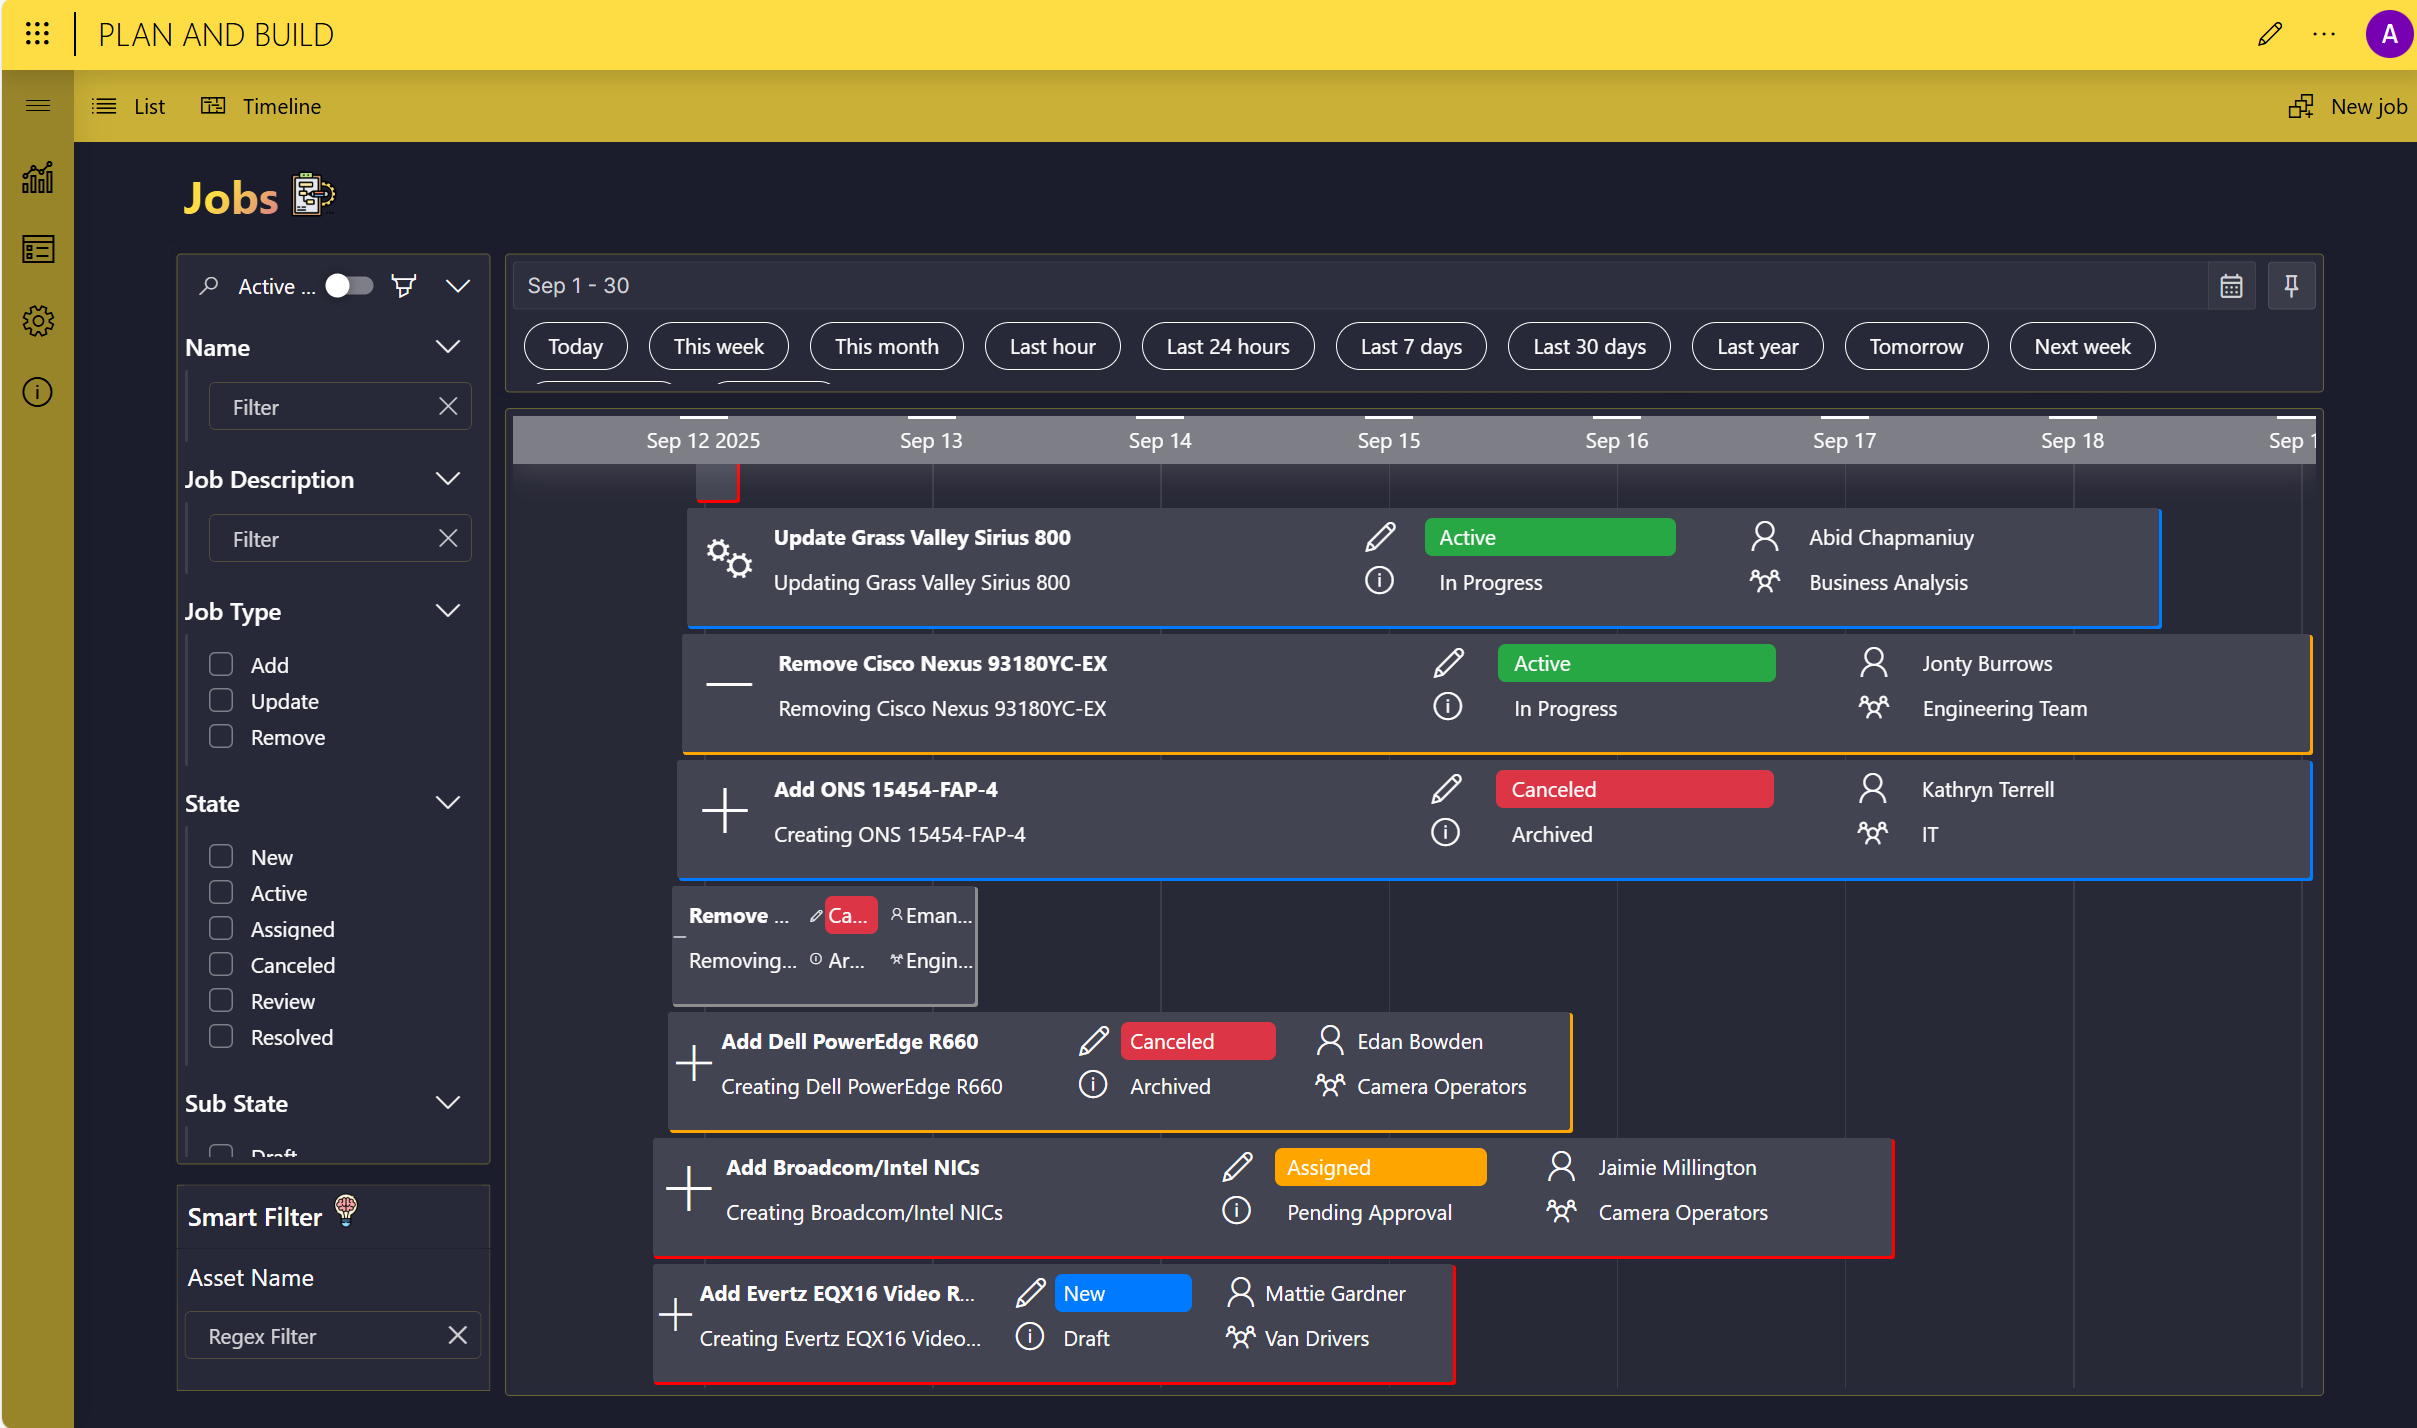
On the Jobs List page, the buttons in the upper-left corner allow you to switch between a list and timeline overview of the available infrastructure jobs.
Adding a job
Adding a new job is possible via the New Job button in the upper-right corner of the Jobs List page and App Configuration page.
This will open a wizard where you will need to configure the job as follows:
Specify the job's name, start time, type (Add, Remove, or Update), priority (Critical, High, Low, or Normal) and "sub state" (i.e., the secondary state of the job, which can be Archived, Documentation Completed, Documentation Montage, Draft, In Progress, On Hold, Pending Approval, Pending Kickoff, Resource Allocation, or Reviewed). Optionally, you can also add the end time, a description, and any additional remarks.

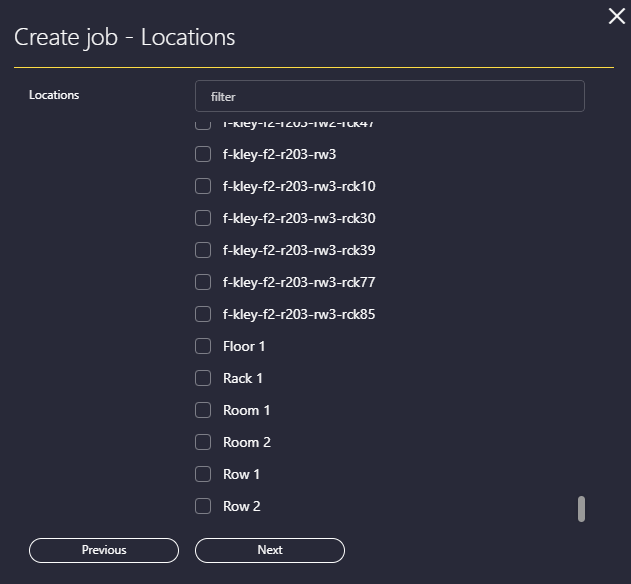
Click Next, and optionally select the locations assigned to this job. You can select as many locations as necessary.
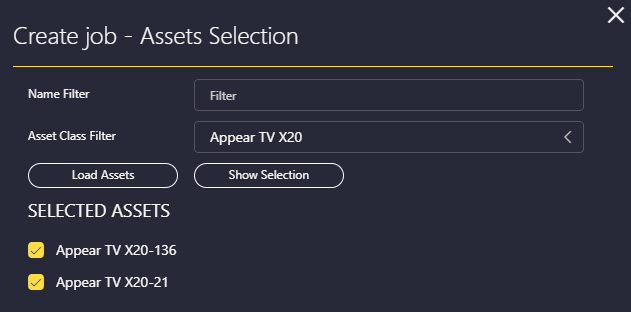
Click Next, and assign the necessary assets to the job. You will first need to specify a filter and then click Load Assets in order to be able to select one or more assets.
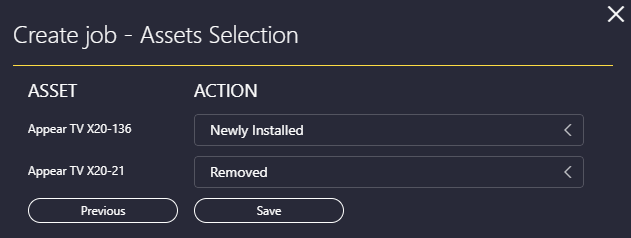
Click Next, and select the type of action that will be conducted on the selected assets (see Job action types).
Click Save.
Job action types
The following types of actions can be assigned for an asset in a job:
Audited: The asset is reviewed for compliance or performance.
Cleaned: Physical cleaning of the asset.
Commissioned: The asset is tested and officially put into service.
Connected/Disconnected: Network or power connections are made or removed.
Decommissioned: The asset is retired from service but may still be physically present.
Dismantled: The asset is broken down into components or parts.
Expanded: Capacity or functionality is increased.
Inspected: Physical or logical inspection is carried out.
Locked/Unlocked: Access restrictions are applied or removed.
Modified: The asset is changed in some way (for example, configuration or physical layout).
Newly Installed: The asset is added for the first time.
Patched: Software or firmware updates are applied.
Provisioned: The asset is configured and made ready for use.
Reconfigured: Settings or parameters are changed.
Reinstalled: The asset was previously removed and is now installed again.
Relocated: The asset is moved to a different physical or logical location.
Removed: The asset is physically taken out.
Repaired: Faults or issues are fixed.
Serviced: Routine maintenance is performed.
Tagged: The asset is labeled or identified.
Tested: The asset undergoes diagnostic or performance testing.
Uninstalled: Software or firmware are removed from the asset.
Upgraded: The asset receives improved hardware or software.
Virtualized: The asset is converted to or deployed as a virtual instance.
Viewing job details
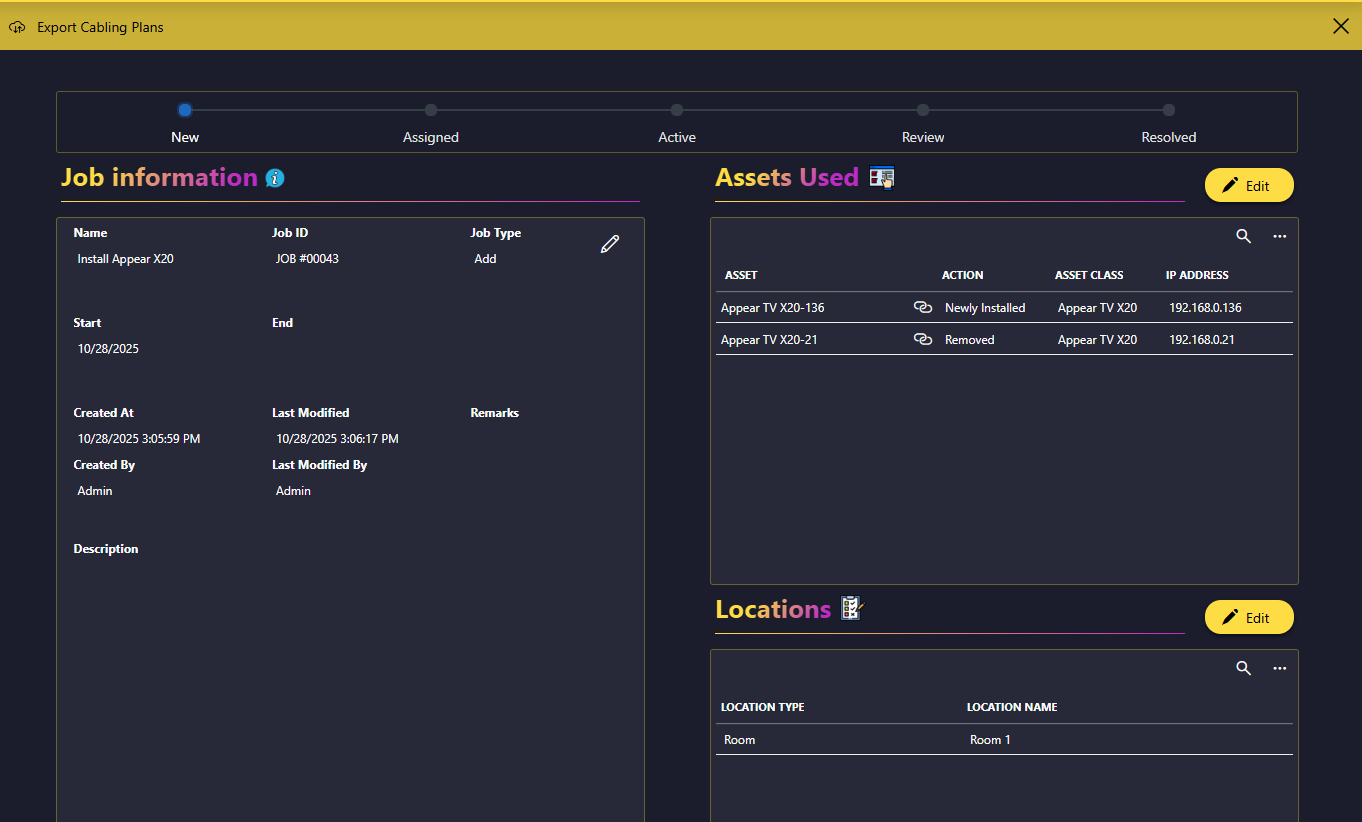
To view the details for a job, in the list of jobs, click the ⓘ icon for the job. This will open the pane illustrated below. Depending on the state of the job, this pane also allows you to edit the job details, change the selected assets and locations, assign a user and activate the job, or mark the job as complete. With the Export Cabling Plans button, you can export a list of the connections made within the job.
Assigning and activating a job
At the bottom of the Job details pane, click Assign.
Select the user and group that should be assigned to the job, and click Finish.
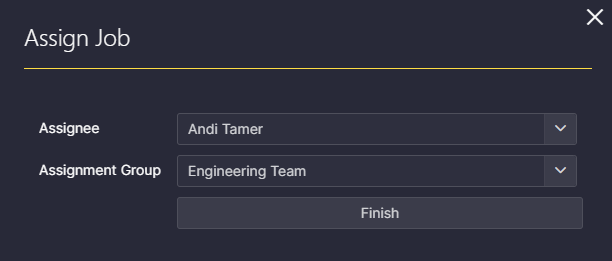
This will change the main state of the job to "Assigned", making it possible to activate the job.
To activate the job, at the bottom of the Job details pane, click Activate.
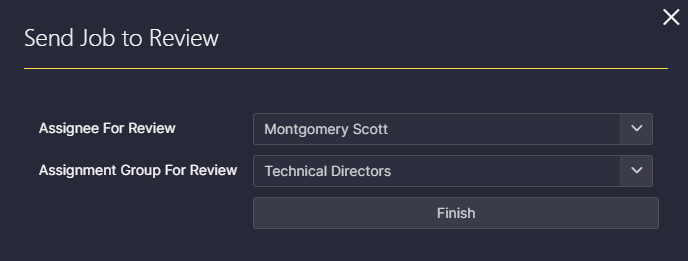
Finally, to send the job for review, click Assign to Review at the bottom of the Job details pane, select the user and group for the review, and click Finish.
Completing a job
When a job is in the "Review" state, it is possible to mark it as complete. To do so, open the Job details pane for the job, and click the Complete button at the bottom.
Note that when a job has been marked as complete, it will no longer be possible to change anything to the job.
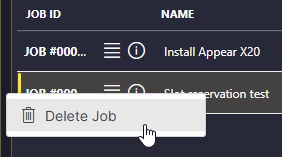
Deleting a job
To delete a job, in the list of jobs, click the ![]() icon and select Delete Job.
icon and select Delete Job.