Linking resource pools
The Resource Studio app allows you to link a resource pool to other pools. When a resource from a linked pool is added to a job, the system automatically adds resources from its linked pools as well. The same applies when a pool is added to a workflow in the Workflow Designer app.
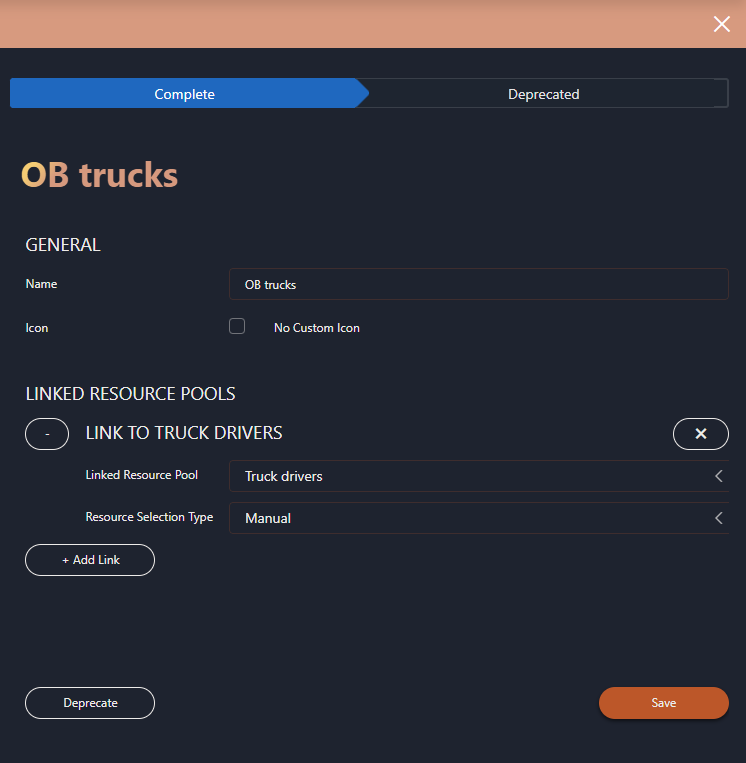
This feature ensures that all necessary resources are included when creating a job. For example, a pool of OB trucks could be linked to a pool of truck drivers, so when a truck is added to a job, the system automatically assigns a driver as well.
To link resource pools:
When you create or edit a resource pool, click + Add Link.
Select the resource pool you want to link to.
In the Resource Selection Type box, select how resource selection should be handled:
Automatic:
This type of resource selection works as follows:
- When a pool (or one of its resources) is added to a job, the system automatically selects an available resource from the linked pool for the entire job duration. If no resources in the linked pool are available for the duration of the job, the system adds the resource pool without resource selection. The user must then pick a resource after making one available.
- When a pool (or one of its resources) is added to a workflow, a pool node is added to the workflow, with the option Auto-select resource at job creation set to true.
Manual:
This type of resource selection works as follows:
- When a pool (or one of its resources) is added to a job, the system adds the linked resource pool to the job, allowing the user to manually select a specific resource later.
- When a pool (or one of its resources) is added to a workflow, a pool node is added to the workflow, with the option Auto-select resource at job creation set to false.
Click Save.
Example:
Via the Resource Pool links button in the top-right corner of the Resource Pools page, you can get an overview of all the links that have been configured between resource pools in the system.