Deploying a Catalog item to your system
Prefer a visual guide? Watch this short video on how to deploy a connector from the Catalog.

To deploy an item from the Catalog (e.g. a connector or package) to your DataMiner System, make sure the following requirements are met:
Your DataMiner System is connected to dataminer.services. See Connecting your DataMiner System to dataminer.services.
Your organization has been verified. This is necessary for dataminer.services to be able to check for which connectors your organization has acquired a license. See Getting your organization verified.
Your dataminer.services account is linked to a DataMiner user account. See Linking your DataMiner account to your dataminer.services account.
Note
From DataMiner 10.4.10/10.5.0 onwards, when you install a connector for the first time by deploying it from the Catalog, it will automatically be promoted to the production version. However, when you later deploy a new version of the same connector and want it to be set as the production version, you will need to manually promote this protocol version. Prior to DataMiner 10.4.10/10.5.0, deploying a connector from the Catalog will never change the production version for that connector in the DataMiner System.
Tip
In the Admin app, you can get an overview of all the deployments that have been done to a DMS. See Viewing information on deployments.
Deploying a Catalog item to your system with the UI
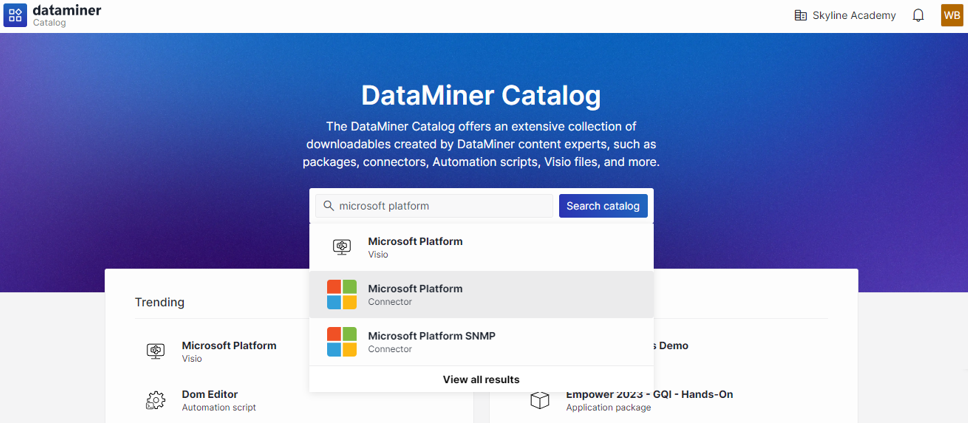
Look up the item in the Catalog. See Looking up an item in the Catalog.
If you cannot see the Deploy button yet, go to the Versions tab and expand the version you want to deploy.
If you do see a Deploy button immediately, but you want to deploy a specific version, also go to the Versions tab and expand the version you want to deploy.
Note
- If your organization does not have a license for the displayed item, the Deploy trial button will be displayed instead, which you can use to test the item in a staging environment. By default, the trial will be registered for a 3-month period. Towards the end of this period, Skyline will contact you to check if you were able to validate the trial and if you are interested in acquiring the connector going forward.
- To get a license to deploy the item in a Production system, contact licensing@skyline.be.
- To be able to deploy an item to your DataMiner System, the DataMiner user profile linked to your dataminer.services user profile has to have the following permissions:
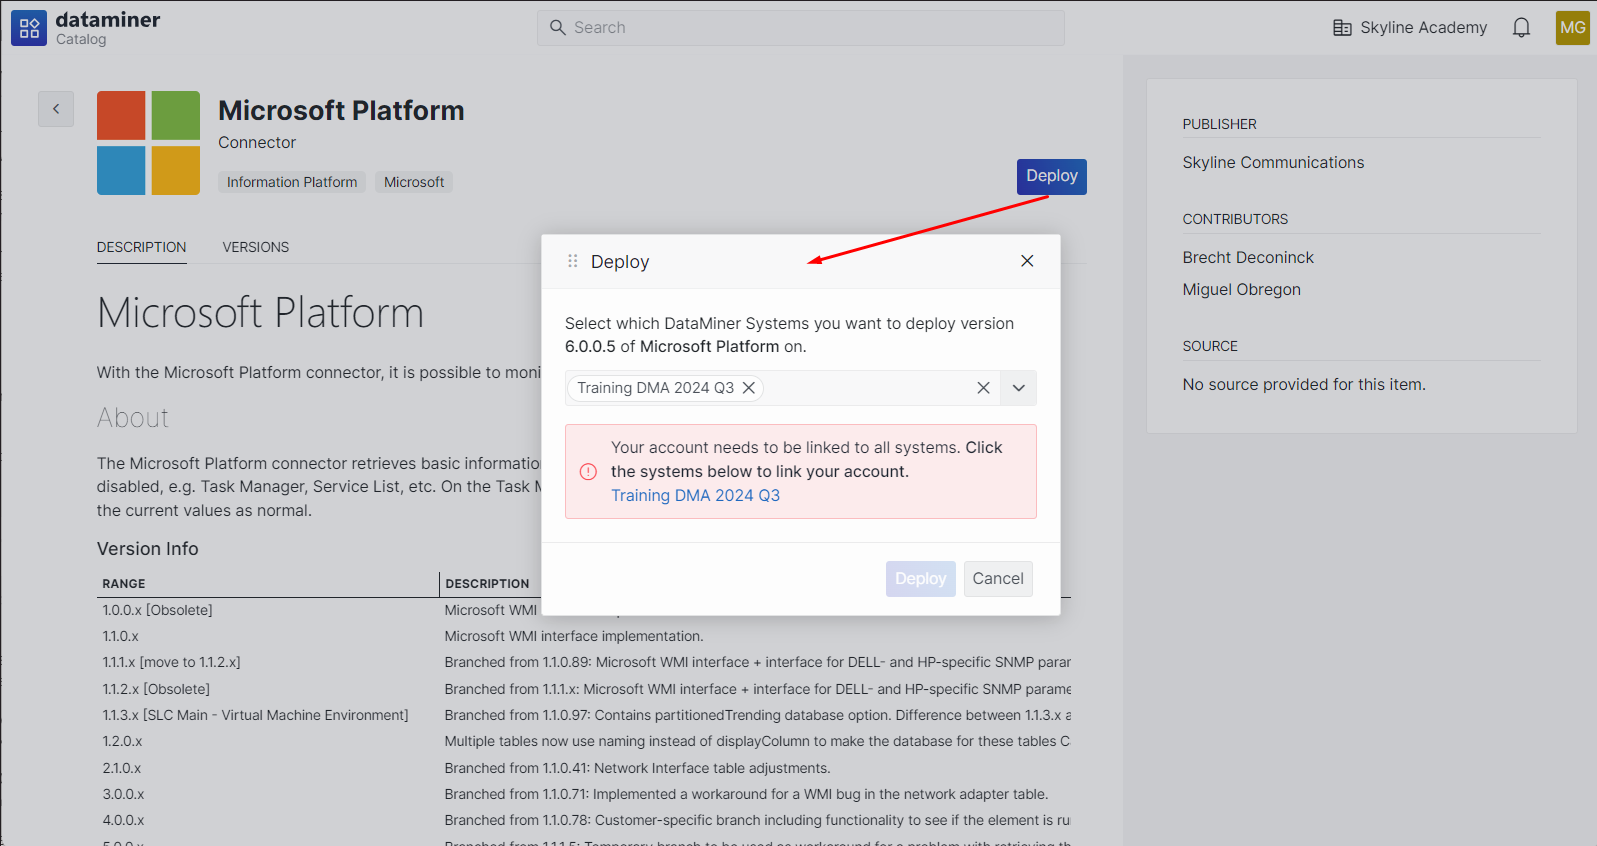
Click the Deploy button.
Note
If your account is not linked to one of the selected DataMiner systems, a message will be displayed indicating which systems the account is not linked to yet. Clicking the name of the DataMiner System will open a new tab to link your account. After the account linking process is complete, navigating back to the original tab will revalidate the account linking.
Select the target DataMiner System.
The item will be pushed to the DataMiner System. Next to the Deploy button, the status of the deployment will be shown.
Deploying a Catalog item to your system with the API
The deploy API call allows you to deploy a Catalog item to a DataMiner System.
Note
The API calls are authenticated using organization keys. Make sure you use a key that has the Deploy a version of a Catalog item permission and add it to the HTTP request in a header called Ocp-Apim-Subscription-Key. The API calls use the following rate limiting policy:
- Partition key: IP address or host name of connection
- Burst limit: 100 requests
- Long-term sustained request rate: 1 request every 36 seconds (100 request per hour)
- No queueing for extra requests beyond the token bucket
API Definition
For a complete definition of the API, go to Key Catalog API Swagger.
This page also provides a quick way to execute the call: Expand the "/api/key-catalog/v2-0/catalogs/{catalogId}/versions/{versionId}/deploy" item, and click the Try it out button.
Important
Clicking the Try it out button will execute the download call on the production Catalog.
The Swagger.json can be used by e.g. Swagger CodeGen or AutoRest to generate client code.
HTTP method
GET
Route parameters
Route parameter "catalogId" is the ID of the Catalog item that will be deployed, which is the same as the ID used to register the Catalog item. This must be a valid GUID.
To obtain this ID for an existing Catalog item, navigate to its details page in the Catalog. The ID is the last part of the URL.
Route parameter "versionId" is the version number of the Catalog item that will be deployed.
Route parameter "coordinationId" is the ID of the DataMiner System to deploy to.
To obtain this ID for an existing DataMiner System, navigate to its details page in the Admin app. The ID is the last GUID of the URL.