Getting started with your documentation tools
For larger contributions, e.g., to add several new pages, we recommend that you install the following (free) software, in the indicated order:
-
Note
- While it is also possible to use the tools below without Git, some features in Visual Studio Code, such as branch and repository information, will not be available.
- If you install Git, it is important that you do so before you install GitHub Desktop, as otherwise you may experience issues.
Visual Studio Code (with the Learn Authoring Pack and Code Spell Checker extensions).
Note
Microsoft also provides a zero-install Visual Studio Code for the web. When you are working in GitHub online, you can access this by pressing the "." button on your keyboard. This version offers a complete overview of the repository like in the downloadable version of Visual Studio Code, but it does not offer any extensions, e.g., a spell check.
DocFX (optional): If you are making a larger contribution, we recommend making a test build on your local machine before pushing your changes to the repository, which requires DocFX.
When you install GitHub Desktop, you will also need to add the correct repository:
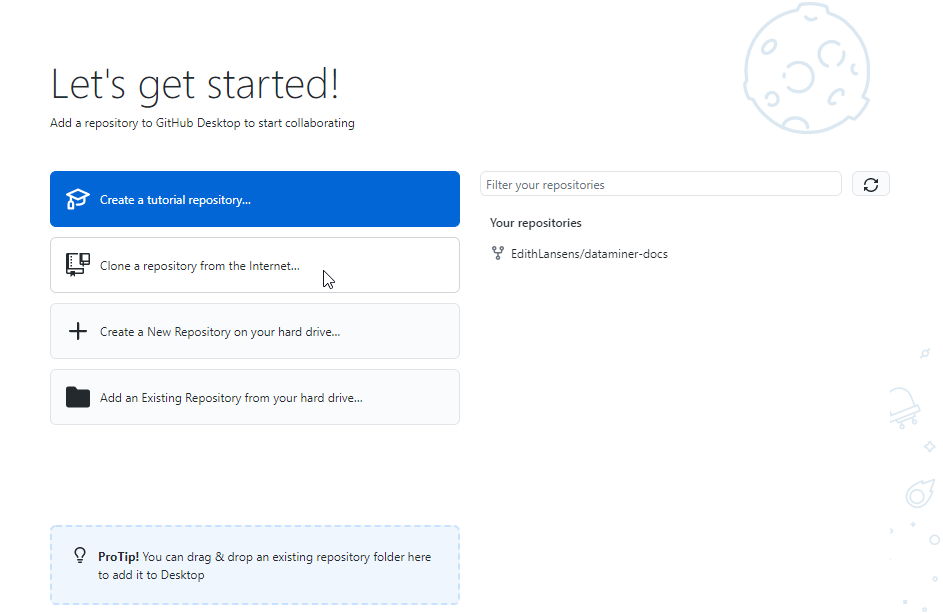
Install GitHub Desktop and log in with your GitHub account.
Select Clone a repository from the Internet.
Next, you will be asked which repository you want to use. Clone the SkylineCommunications/dataminer-docs repository to your local machine. The easiest way to do so is by specifying the URL
https://github.com/SkylineCommunications/dataminer-docsin the URL tab.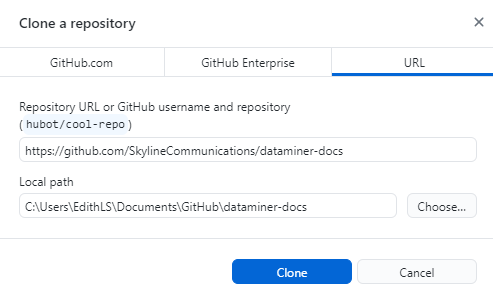
Important
- Make sure the local path you clone the repository to is relatively short. Using a long file path will lead to errors, as Windows will be unable to create certain files in the repository.
- Do not clone the repository to a folder that is synced with OneDrive, as this can cause errors.
If you do not have write access to the repository, you will find an alert in the lower-left corner of the GitHub Desktop UI.
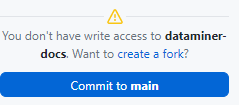
If this is the case:
Select Create a fork.
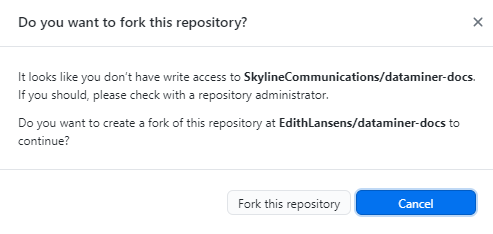
Make sure the option Copy the main branch only is not selected.

Click Fork this repository.
When you are asked how you are planning to use this fork, select To contribute to the parent project.
Note
If you have already made a fork of the repository in the past, you can also immediately add this fork as the URL when you clone the repository (e.g., https://github.com/MyGitHubName/dataminer-docs).
Tip
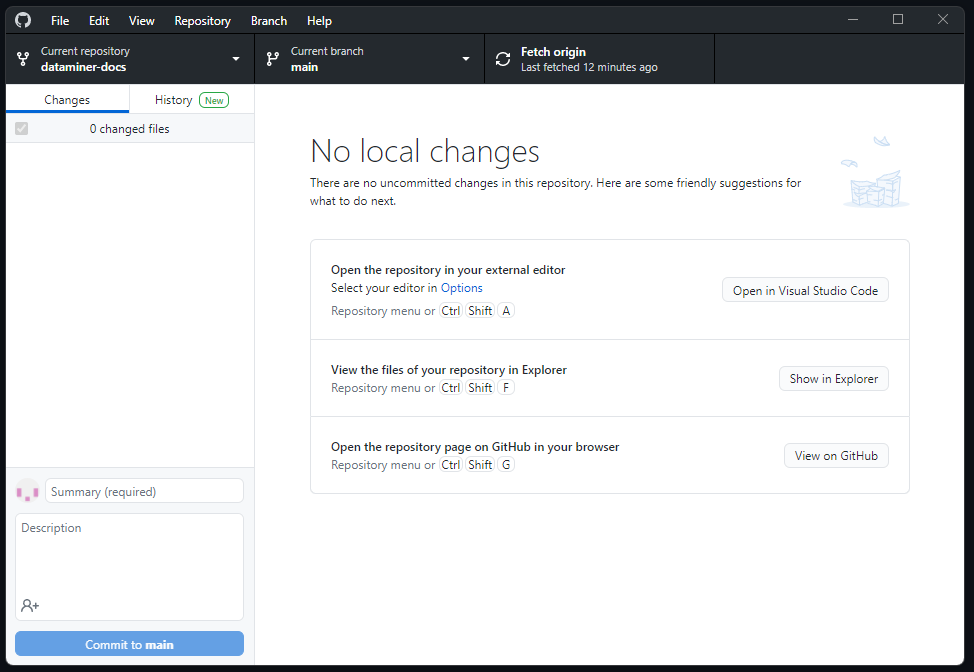
Creating a fork will allow you to make changes that you can then add to a pull request. If Visual Studio Code has been installed, you can click Open in Visual Studio Code to immediately start working on the fork. However, note that if you have other editors installed as well (e.g., Notepad++), this button might display a different editor. You can change this via the Options link in the box containing the button.
For more information on how to work with Visual Studio Code, refer to the Visual Studio Code documentation. As our documentation is written in Markdown, aside from the general functionality of the application, the Markdown section is of specific interest there.
Also keep in mind that we are using DocFX Flavored Markdown. For more information about this, see Markdown syntax. Make sure the Learn Authoring Pack extension is installed in Visual Studio Code to make it easier to work with this Markdown flavor.