Creating a job
There are three main ways to manually create a new job through the Scheduling app:
Creating a completely new job
On the Job View page, click the + New button at the top.
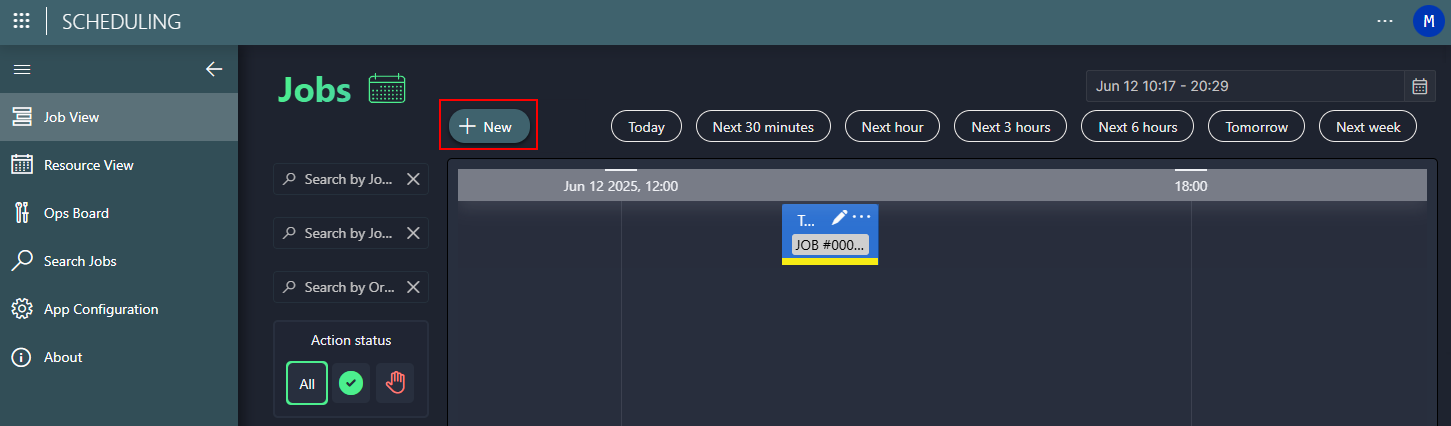
Specify the name and optionally a description for the job.
Customize the start and end time if necessary.
By default, the time range is set to one hour starting from the current time.
Optionally, configure a pre-roll and/or post-roll time for the job.
This can be useful to ensure that resources are reserved for long enough before the start of the job and after the end of a job, for example so operators or orchestration scripts have enough time to do the setup or to take down the workflow.
Configure the job's Desired State, which can be Draft or Tentative.
The default value can be configured in the default job settings.
Optionally, click Next to select the organization and/or job owner linked to the job.
This will link the job to an organization and/or contact defined in the People & Organizations app.
Click Create Job.
This will create an empty job, without any resource in it yet. Once the job has been created, it will appear on the schedule in the draft state.
To start adding resources to your job, click the pencil icon of the job on the timeline to open a panel where you can edit the job. For detailed info, refer to Editing a job.
Note
When you have added the resources, it is best to click Save as Tentative as soon as possible. Saving the job in the tentative state will ensure that the selected resources are reserved and cannot be used by other nodes or jobs.
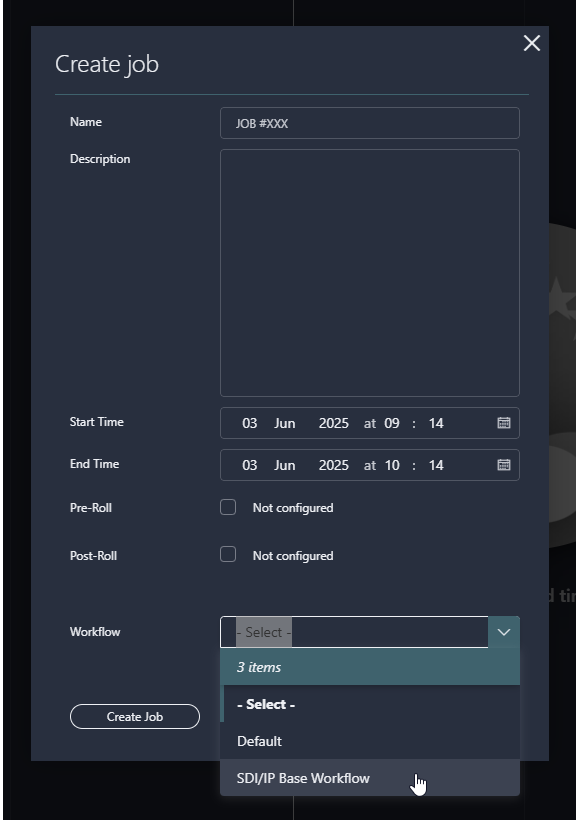
Creating a job using a predefined workflow
To create a job starting from a workflow that has been predefined in the Workflow Designer app, follow the same procedure as detailed above, but select the desired workflow before you click Create Job in the Create job pop-up window.
Note
Only workflows that have been marked as Complete in the Workflow Designer will be available for selection in the Scheduling app.
Creating a job by selecting a specific resource
Creating a job directly based on one specific resource can be useful when you want to quickly reserve a specific resource. To do so:
On the Resource View page, select the resource pool and the resource that need to be booked.
Click the + New button at the top.
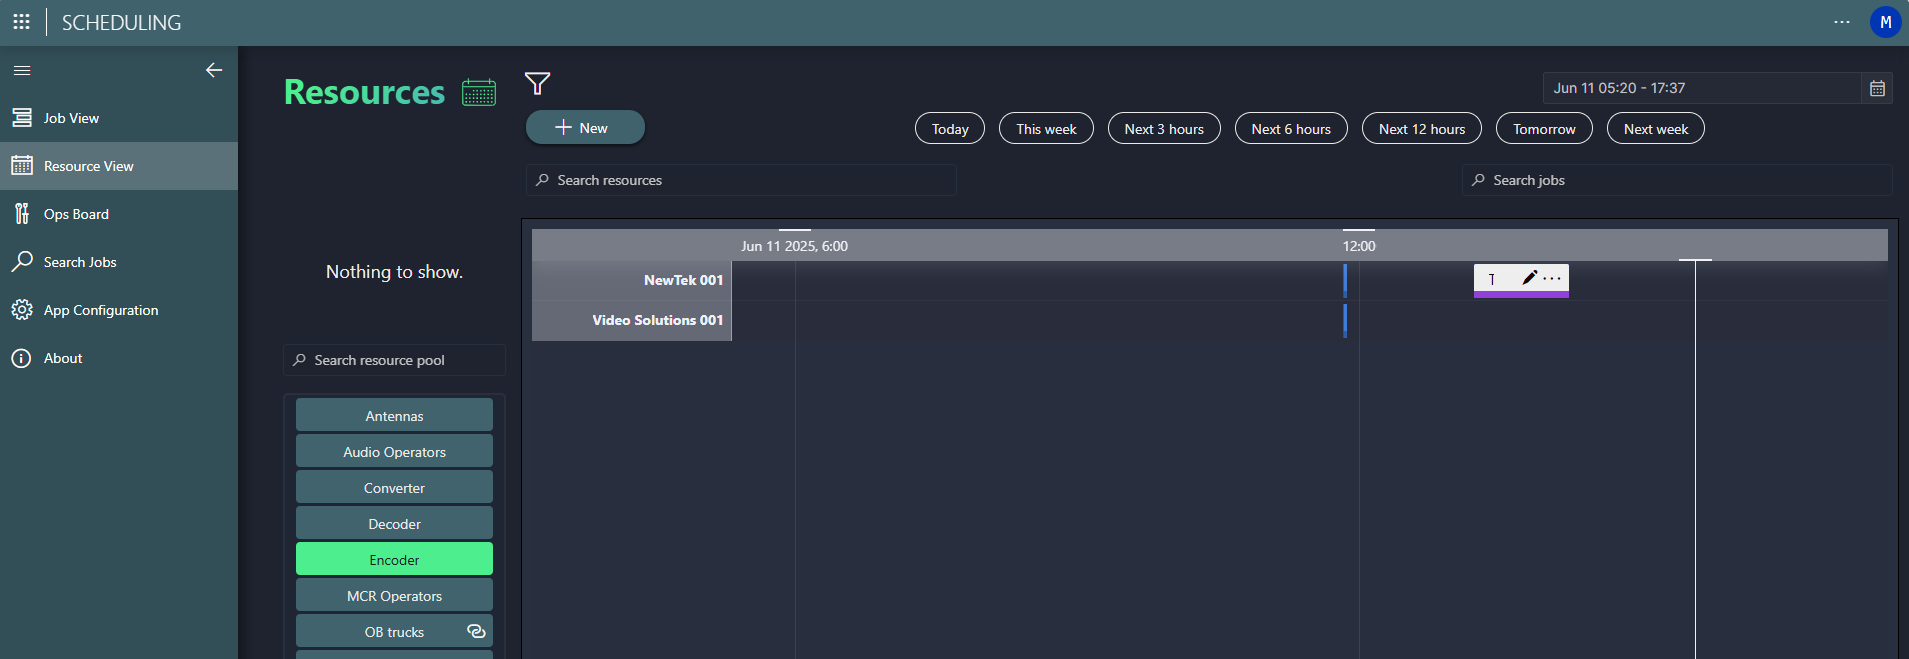
Configure the same settings as mentioned above and click Create Job.
The job will be created in the tentative state, so that the resource is immediately reserved.
If necessary, click the pencil icon on the job to edit it and add more resources. See Editing a job.