Managing satellites
The Satellites page is the main page of the Satellite Inventory app. It lists every satellite configured in SatOps and is your starting point for adding satellites and drilling down into their beams and transponders. A satellite is the top-level entry in the inventory and groups one or more beams.

Filtering the satellite list
At the top of the page, you can use three filters to narrow down the list of satellites.

(1) Search by satellite name.
(2) Filter by hemisphere (Western or Eastern).
(3) Filter by state (Active, Draft, or Deprecated).
Adding a satellite
You can add satellites in several ways:
Manually:
On the Satellites page, click Add satellite.
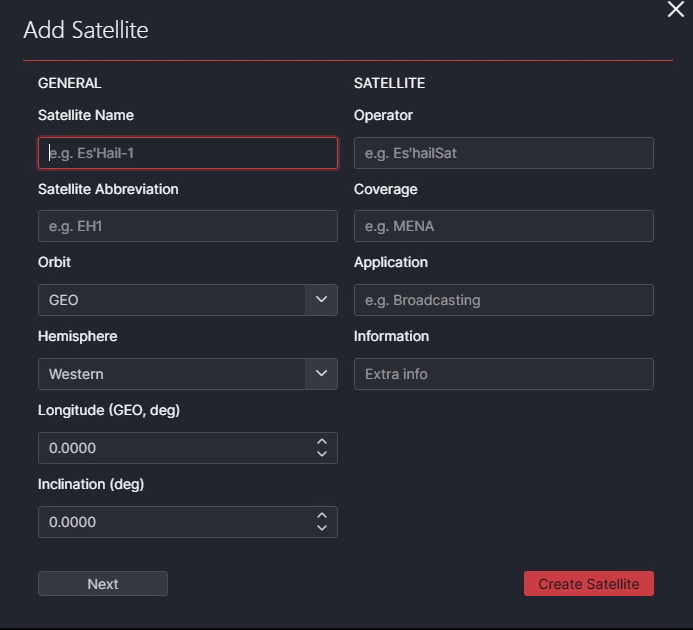
Provide the following information about the satellite:
- Satellite Name: The name of the satellite.
- Satellite Abbreviation: A short abbreviation for the satellite.
- Orbit: The orbit type: GEO, MEO, or LEO.
- Hemisphere: The hemisphere in which the satellite is located: Eastern or Western.
- Longitude (GEO,deg): The orbital longitude. This is particularly important for satellites in a geostationary (GEO) orbit.
- Inclination (deg): The orbital inclination. For a geostationary orbit, this value is 0.
- Operator: The satellite operator.
- Coverage: The coverage of the satellite.
- Application: The application of the satellite, for example broadcasting.
- Information: Additional free-form information about the satellite.
Click Next to provide the following additional metadata:
- Manufacturer: The manufacturer of the satellite.
- Country: The country associated with the satellite.
- Launch Info: Information about the satellite launch.
- Launch In Service Date: The date on which the satellite entered service. You can select the date using the date picker or enter it manually.
Click Create satellite.
Note
When editing numeric fields such as the Longitude or Inclination, position the cursor on the digit you want to modify before typing. This is a known usability limitation that may be addressed in a future release.
In bulk, by importing an Excel file:
On the Satellites page, select Import.
Select Download Template.
Open the downloaded template in Excel and complete the required information.
Save the file.
In the Satellite Import window, select Choose file and upload the completed Excel file.
Select Import.
Note
The Excel import feature can also import beams, transponders, transponder plans, and transponder slots in a single operation. Although the Import button is available on the Satellites page, it is not limited to satellite data.
From code, because Satellite Inventory is built on a DataMiner DevPack. Satellites can be created or edited from an automation script or through an agent in the DataMiner Assistant.
Editing a satellite
To edit a satellite:
Click the
 Edit icon in the satellite's row.
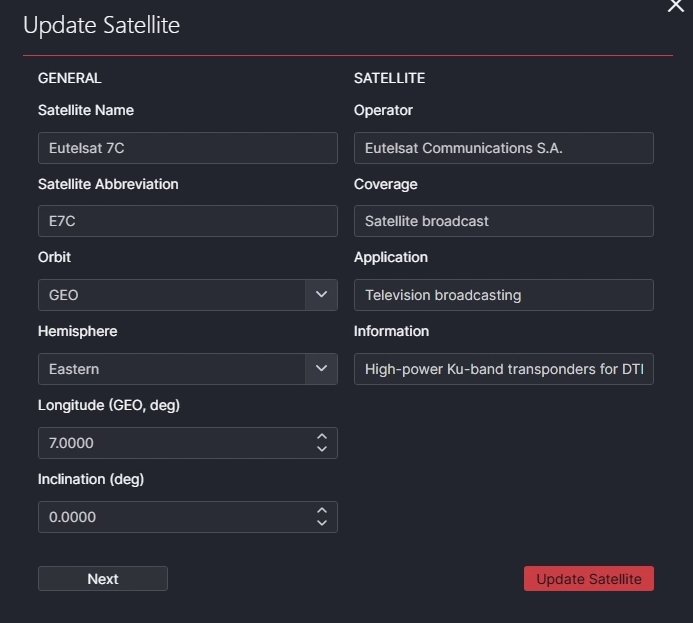
This opens a panel where you can modify the satellite properties.
Click Update satellite to save your changes.
Invalid values are highlighted, and changes cannot be saved until all validation errors have been resolved.
Activating a satellite
To activate a satellite:
Click the
 More icon in the satellite's row.
Select Activate from the context menu.