Manually creating a ticket in the Ticketing app
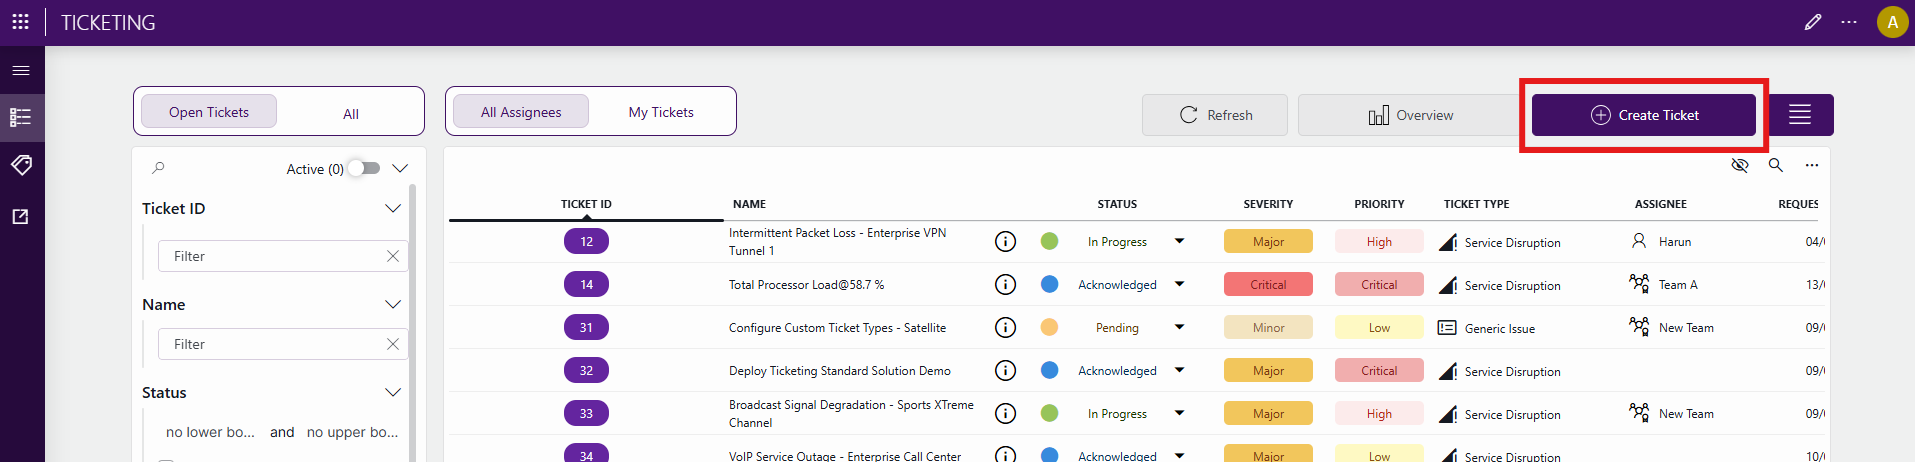
On the Tickets page of the Ticketing app, click Create Ticket.
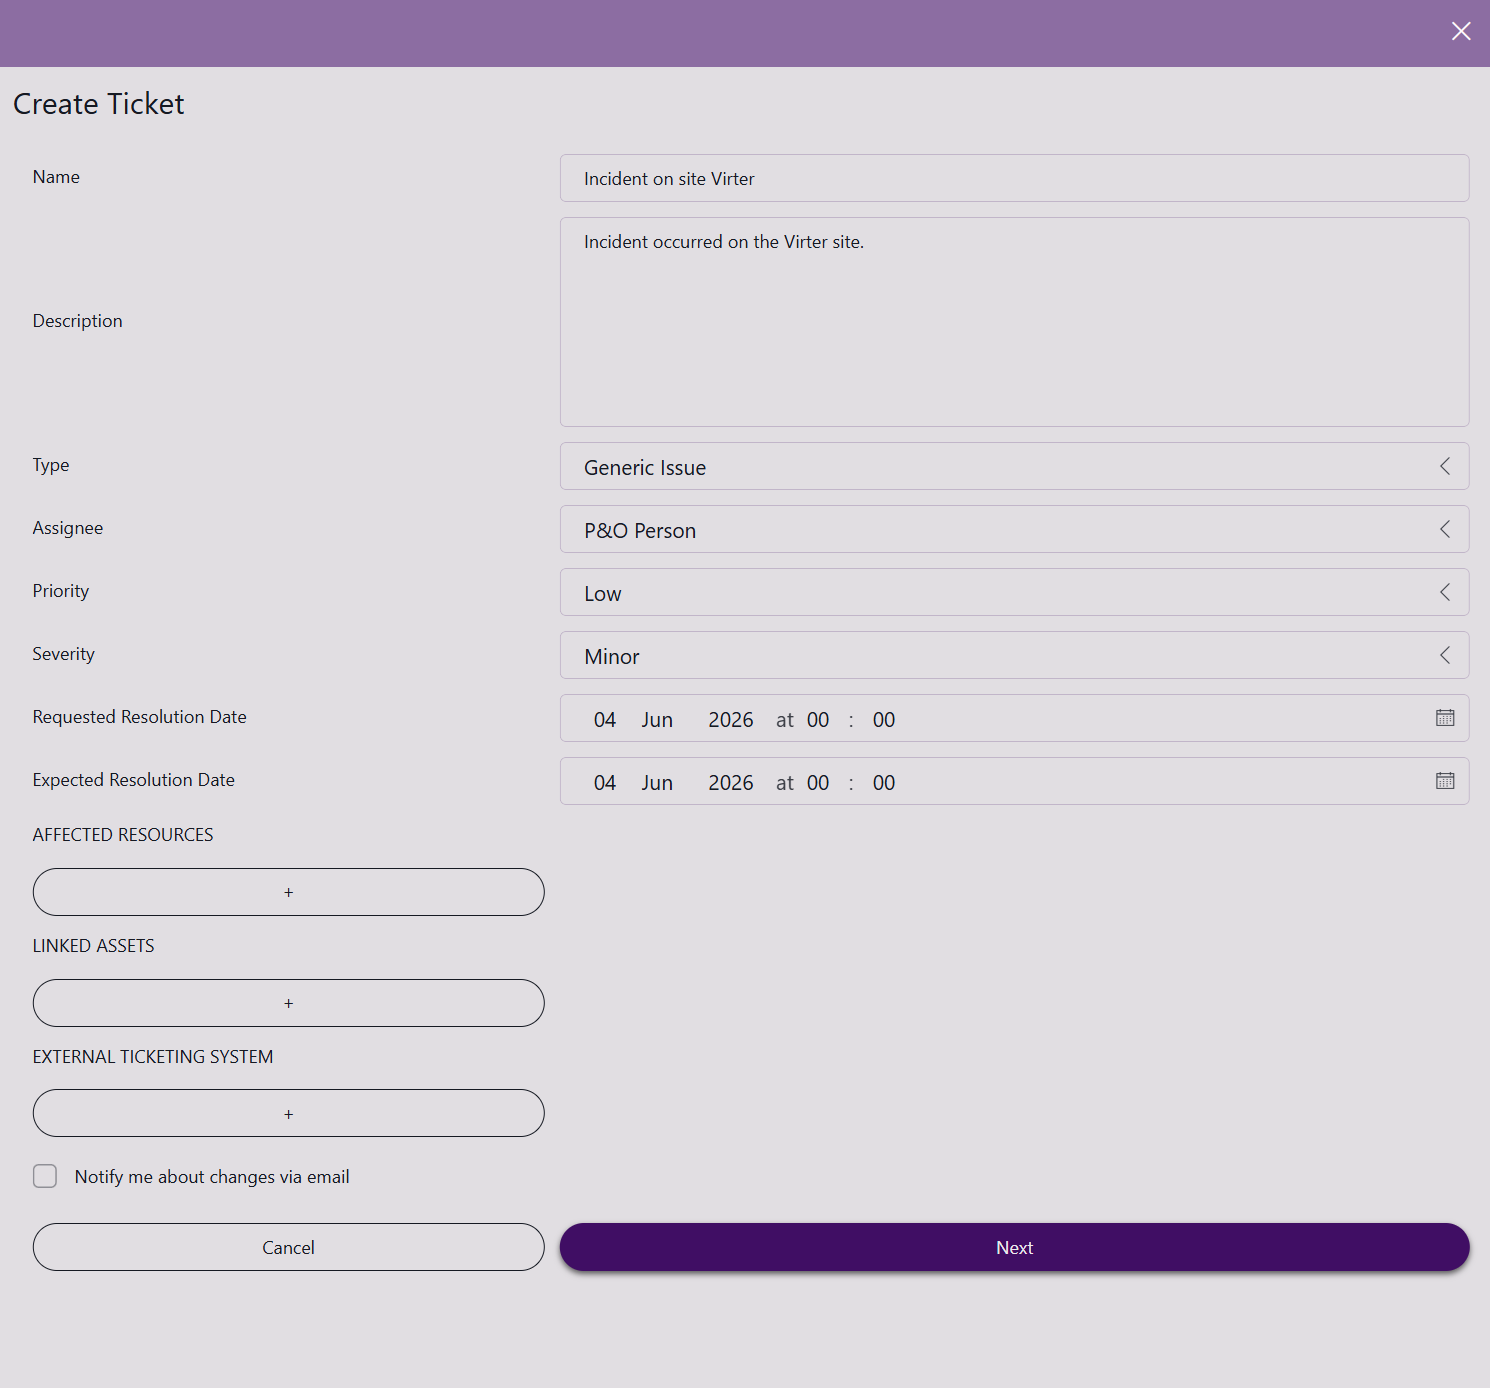
In the pop-up window, fill in the following information:
- Name (mandatory)
- Description (mandatory)
- Type (mandatory)
- Assignee (mandatory)
- Priority (mandatory)
- Severity (mandatory)
For example:
Tip
To make sure tickets can be assigned to DataMiner users, the user accounts must be mapped to People & Organizations contacts.
Optionally, also configure the following settings:
Specify a requested and expected resolution date.
Link affected resources such as elements, services, and assets.
Select an external ticketing system.
Enable email notifications.
Note
Email notifications are disabled by default for users other than the assignee. The ticket assignee always receives email notifications for ticket updates. Other users can opt in by enabling the Notify me about changes via email option during ticket creation or when editing the ticket.
If you selected a ticket type that requires the configuration of additional fields, click Next and configure those fields.
Click Save.