Making DOM objects state-aware
This tutorial shows how you can make your DOM objects state-aware. This allows a DOM instance to behave differently depending on the state it transitions to. The following things can be defined for each state:
- Which fields are visible to the user.
- Which fields are read-only for the user.
- Which fields are mandatory.
- To which state the instance can transition.
- What actions are allowed.
- What buttons to show on the form.
The content and screenshots for this tutorial were created in DataMiner version 10.4.3.
Expected duration: 20 minutes
Tip
This tutorial is included in the following Kata: Kata #24: Making DOM objects state-aware on DataMiner Dojo 
If you are new to DataMiner Object Models (DOM), first watch Kata #15: Getting started with DataMiner Object Models on DataMiner Dojo
Prerequisites
- A DataMiner System using DataMiner 10.3.10 or higher, which is connected to dataminer.services.
- An indexing database or Storage as a Service.
Note
If you use a DaaS system, these prerequisites are automatically met.
Overview
- Step 1: Deploy the DOM Editor script
- Step 2: Deploy the Kata DOM package
- Step 3: Define states on a DOM definition
- Step 4: Define the state transitions
- Step 5: Define actions to trigger state transitions
- Step 6: Define a form button to trigger the action
- Step 7: Validate states, transitions, and buttons in the low-code app
Step 1: Deploy the DOM Editor script
Note
If you have already followed the previous tutorial, Getting started with DOM, this script has already been deployed, so you can skip to step 2.
Go to https://catalog.dataminer.services/details/automation-script/3195.
Click the Deploy button to deploy the DOM Editor package to your DMA.
Open DataMiner Cube, go to Apps > Automation, and check whether the following scripts have become available:
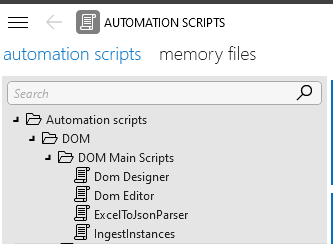
When these are available, the package has been successfully deployed.
Step 2: Deploy the Kata DOM package
Go to https://catalog.dataminer.services/details/package/5995.
Click the Deploy button to deploy the Kata DOM package to your DMA.
Go to the DataMiner landing page and check whether the Event Management low-code app has become available.
If this app is available, the package has been successfully deployed.
Tip
See also: Accessing the Low-Code Apps module.
Step 3: Define states on a DOM definition
Now that you have deployed the DOM Editor to your DMA, you can use it to edit the existing DOM definition called Event:
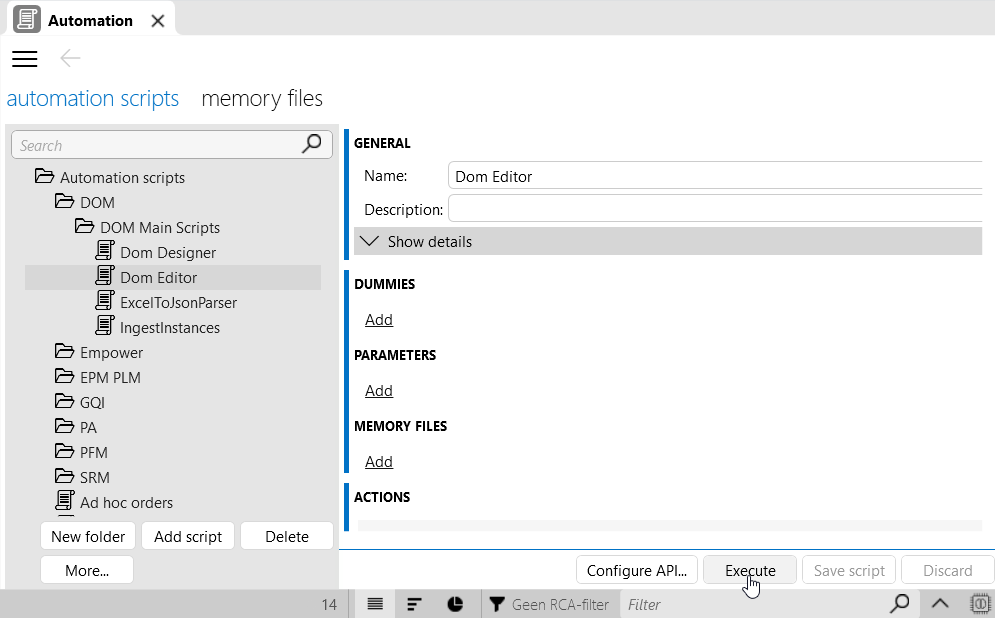
In the Automation module in DataMiner Cube, search for the Dom Editor script and select it.
Click the Execute button in the lower right corner to launch this script, and then click Execute now.
The following window will be shown, where you should find a module called eventmanagement:
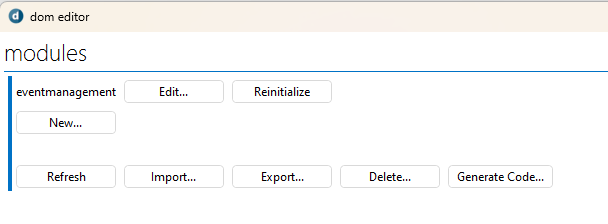
Next to the eventmanagement module name, click Edit to open the details of the module.
Create a new behavior definition:
Click Behavior Definitions to go to the behavior definitions overview for this module.
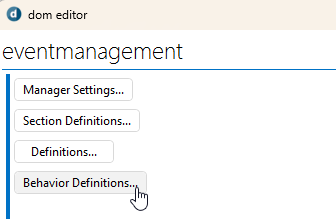
This overview is where you can manage everything related to states of a DOM definition.
Click New.
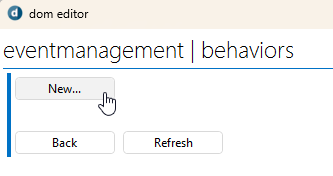
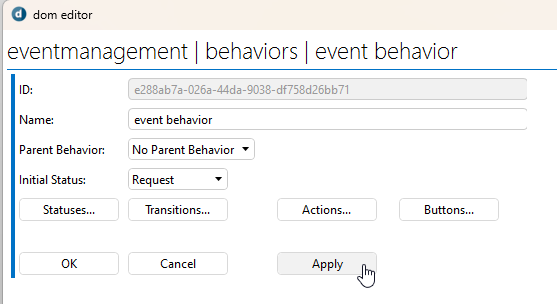
In the Name box, enter
event behavior.
Confirm by clicking Apply.
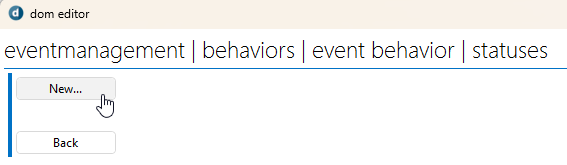
Define states for the Event DOM definition:
Click Statuses.

Click New to create a new state.
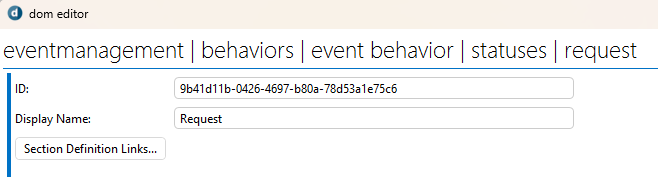
In the Display Name box, enter
Request.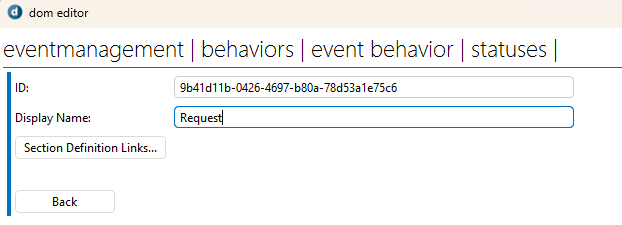
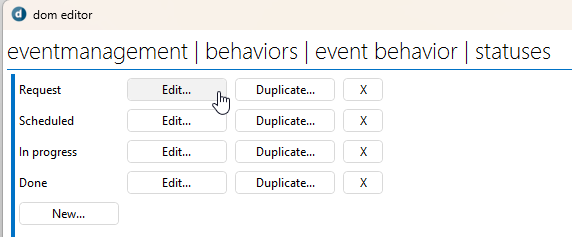
Click Back and repeat the previous two steps to create the states
Scheduled,In progress, andDone.Finally, click Back again to go the event behavior page, and click Apply.
Click Statuses to go to the overview of the created states.
Define which sections and fields should be linked to the states you have defined:
Next to the Request state, click Edit.
Click Section Definition Links.
Click Add.
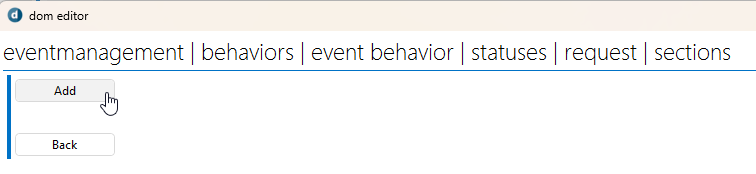
This will show a page where you can define the sections and fields linked to the state
Request. The Event Info section will automatically be linked already.Click Field Descriptors to define a field to add to the Event Info section.
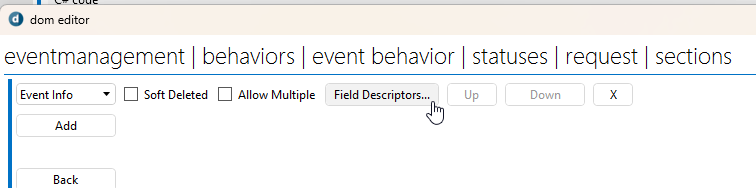
Click the
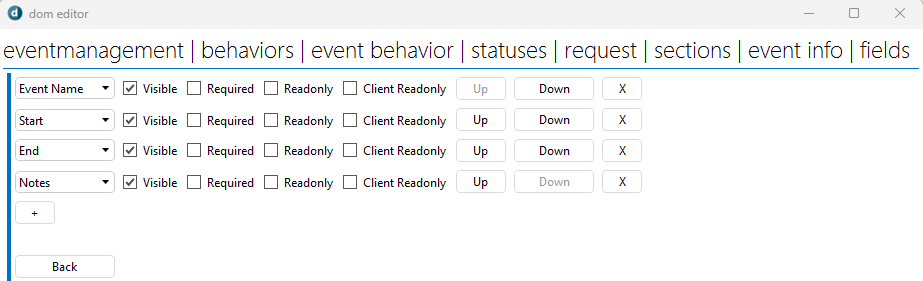
+button 4 times to add the 4 fields of the section to the Request state.
You should end up with the following 4 fields added:
For the Notes field, clear the selection from the Visible checkbox.
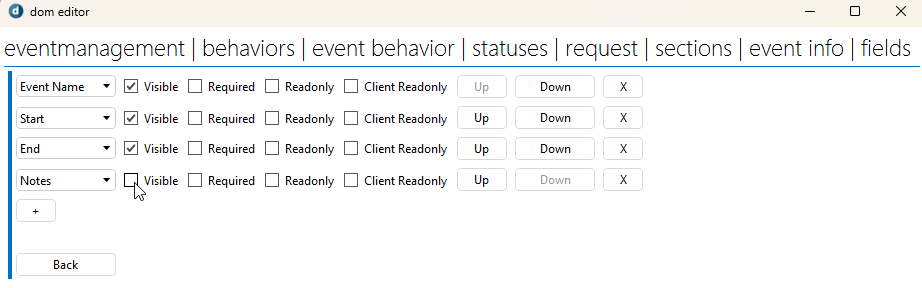
This way, the Notes field will not be shown for the Request state.
Click Back three times to go back to the overview of the different states.
Repeat the steps above for the states Scheduled, In progress, and Done.
For the Scheduled state, set all fields to read-only.
For the remaining states, you can choose which fields to display, make required, or set to read-only.
When this is done for all states, click Back until you are back at the event behavior page.
Click Apply.
Click OK and Back to go back to the eventmanagement module page.
Click Definitions.
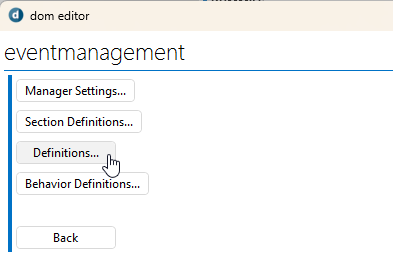
Next to the Event definition name, click Edit to open the details of the DOM definition.
In the Behavior dropdown box, select the behavior you created above, i.e. event behavior.
Click Apply, OK, and Back to go back to module level.
Step 4: Define the state transitions
Click Behavior Definitions.
Next to event behavior, click Edit .
Click Transitions to open the page where you can define the transitions between the different states.

Define the following transitions:
ID From To request_to_scheduled Request Scheduled scheduled_to_in progress Scheduled In progress in progress_to_done In progress Done 
Click Back and Apply.
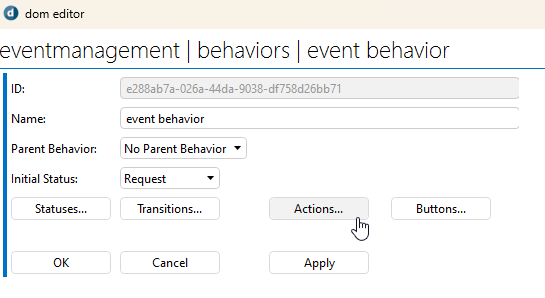
Step 5: Define actions to trigger state transitions
Click Actions to open the page where you can add actions.
Click Add to add a new action.
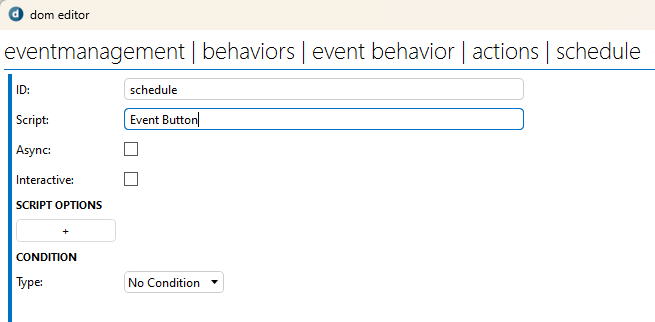
Enter the following details for the action:
In the ID box, enter
schedule.In the Script box, enter
Event Button.This is the Automation script that will be called when this action is triggered.
Click Back, Back, and Apply.
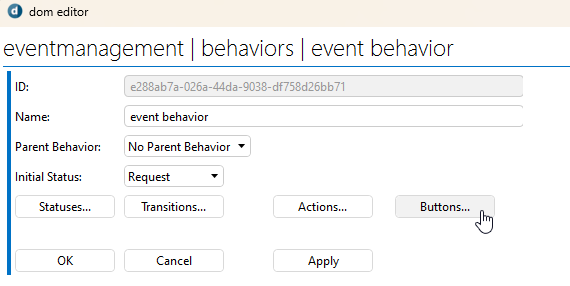
Step 6: Define a form button to trigger the action
Click Buttons to open the page where you can add buttons.
Click Add to add a new button.
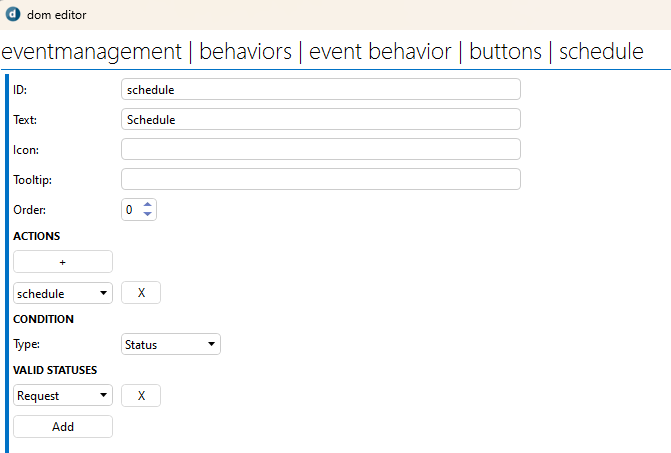
Configure the following details for the button:
In the ID box, enter
schedule.In the Text box, enter
Schedule.Under Actions, click the + button, and select schedule in the dropdown box.
This is the action you created in step 5.
Under Condition > Type, select Status.
Under Valid Statuses, click Add, and then select Request in the dropdown box.
With this configuration, the button will only be shown on the form when the event instance is in the Request state. It will not be visible for the other states (Scheduled, In progress, and Done).
Click Back, Back, and Apply.
Step 7: Validate states, transitions, and buttons in the low-code app
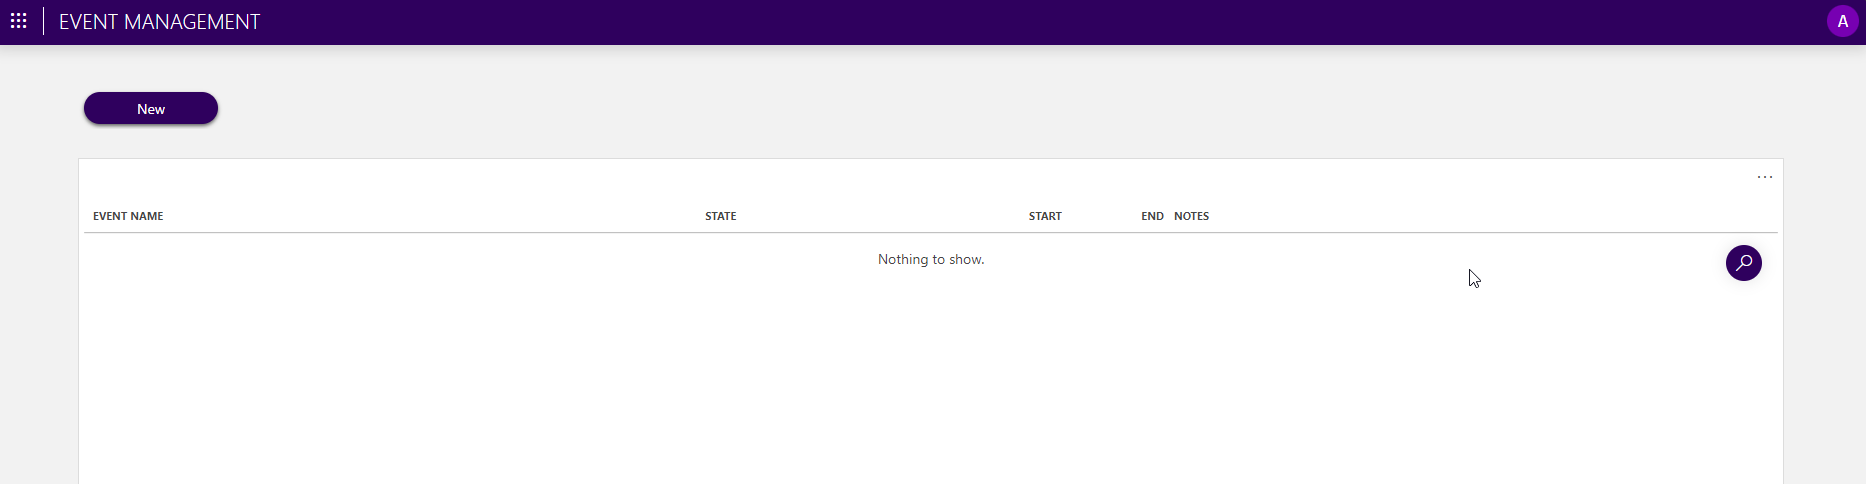
Open the Event Management low-code app.
Tip
See also: Accessing the Low-Code Apps module.
Click New to open the event form panel on the right-hand side.
In the Event name field, enter a random name for an event.
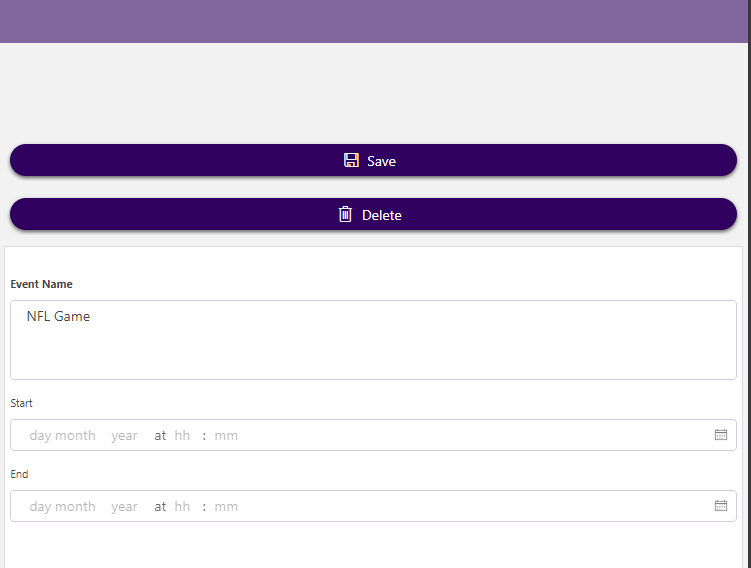
Click Save.
This will close the panel.
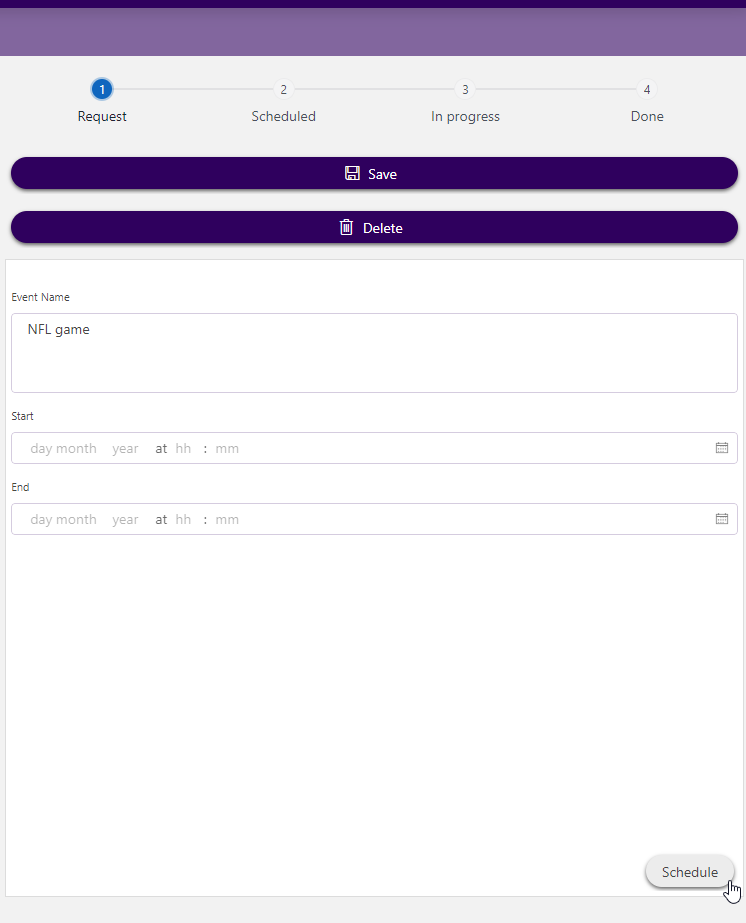
Click the pencil icon next to the event you have just created to open the panel again.
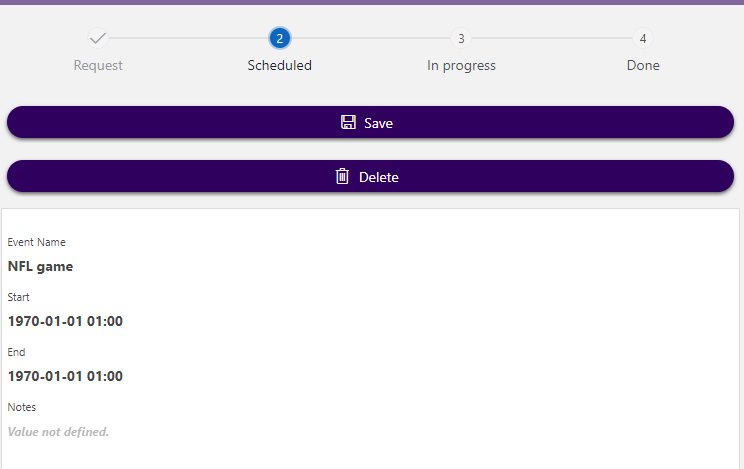
You will see that the stepper component at the top shows that the event is in the Request state:

In the lower right corner of the form, click the Schedule button.
You will see the stepper component move from Request to Scheduled. The form will also change to read-only, as you configured this when defining the states.