Building a GQI data source that fetches satellites
In this tutorial, you will learn how you can create a GQI data source that can be used to add ad hoc data to a dashboard or low-code app.
Expected duration: 15 minutes.
Tip
See also: Kata #4: Build your first GQI on DataMiner Dojo 
Note
This tutorial uses DataMiner version 10.3.0.
Prerequisites
- Visual Studio with DataMiner Integration Studio
- A DataMiner Agent connected to dataminer.services
Overview
- Step 1: Get a quick start from the catalog
- Step 2: Open the data source in Visual Studio
- Step 3: Complete the data source
- Step 4: Use the data source
Step 1: Get a quick start from the catalog
Go to https://catalog.dataminer.services/details/package/5406
Deploy the catalog item to your DataMiner Agent by clicking the Deploy button.
Step 2: Open the data source in Visual Studio
Open Visual Studio and select Extensions > DIS > DMA > Connect to connect DIS to your DMA.
Select Extensions > DIS > DMA > Import Automation Script.
Select Satellites - GQIDS and click Import.
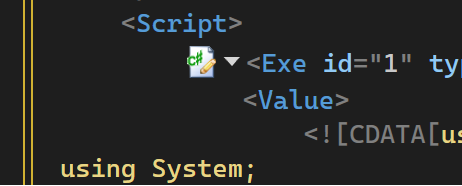
Go to the C# code of the imported Automation script by clicking the C# icon.
Note
If certain types cannot be found in the file, verify if the Skyline.DataMiner.Dev.Automation NuGet package has the correct version. Go to Tools > NuGet Package Manager > Manage NuGet Packages for Solution. Select Skyline.DataMiner.Dev.Automation, and verify whether the version installed for the current project is at least 10.2.4.
Step 3: Complete the data source
Add the IGQIDataSource interface to the SatellitesDataSource class. Do this by removing the comments (
//) in front of IGQIDataSource.Implement the GetColumns method to provide GQI with all the columns of the data source.
    public GQIColumn[] GetColumns()
    {
        return new GQIColumn[] {
            new GQIStringColumn("Name"),
            new GQIDoubleColumn("Latitude"),
            new GQIDoubleColumn("Longitude")
        };
    }
Implement the GetNextPage method to provide GQI with the actual data. Each row is one satellite.
    public GQIPage GetNextPage(GetNextPageInputArgs args)
    {
        var satellites = _satellitesHelper.GetSatellites().Take(100);
        var rows = new List<GQIRow>();
        foreach (var satellite in satellites) {
            var cells = new GQICell[] {
                new GQICell(){ Value = satellite.Name },
                new GQICell(){ Value = satellite.Latitude},
                new GQICell() { Value = satellite.Longitude}
            };
            var row = new GQIRow(cells);
            rows.Add(row);
        }

        return new GQIPage(rows.ToArray());
    }
By implementing both methods provided by the IGQIDataSource interface, you have now successfully finished the data source.
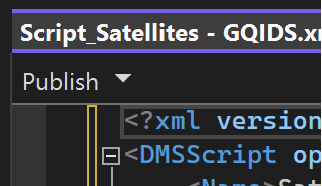
To publish your changes, go to the XML file and click Publish in the top left corner.
Step 4: Use the data source
Open the Dashboards app and create a new dashboard.
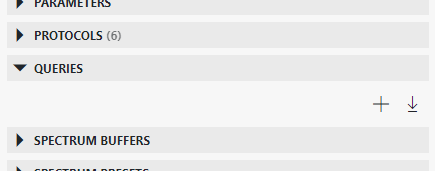
In the data pane on the right, go to Queries and click the "+" icon to create a query.
Select Get ad hoc data and select Satellites as Data source option.
Drag the query to the dashboard.
Select a table visualization for the component.
The satellites should now be displayed in the table.