Registering a new version of a connector in the Catalog using a GitHub Action
This tutorial demonstrates how to add a new version to a Catalog item using the Catalog API and GitHub Actions. In the tutorial, you will register your own version of an example connector. The tutorial builds on the example from the tutorial Registering a new connector in the Catalog, so unless you already know how to register a new Catalog item and have done so already, we recommend that you follow that tutorial first.
While this tutorial uses the example of a connector, registering a new version for a different type of Catalog item is very similar.
Prerequisites
An organization key or account with the Owner role in order to access/create organization keys.
A registered Catalog item.
Tip
For an example of how to register an item, see Registering a new connector in the Catalog.
A GitHub account with admin access to the GitHub repository you intend to use for this tutorial.
Overview
- Step 1: Create the GitHub Actions Workflow file
- Step 2: Add a GitHub secret
- Step 3: Push the workflow file
- Step 4: Trigger the workflow
- Step 5: Monitor workflow execution
Step 1: Create the GitHub Actions Workflow file
Go to your GitHub repository where you want to add this GitHub Actions workflow.
In the root of your repository, if no such directory exists yet, create a directory named .github.
Within the .github directory, create another directory called workflows.
Within the workflows directory, create a new file named dataminer-catalog-pipeline.yml.
Paste the pipeline template below into this file.
Important
Make sure to change the CATALOG_ID environment variable to the Catalog ID of the item for which you will register a new version. If you followed the tutorial Registering a new connector in the Catalog, this is the ID that was returned in the last step. If you are registering a new version for a different Catalog item, you can find it by navigating to its details page in the Catalog and checking the last part of the URL.
name: Build and Register a Catalog version

on:
  push:
    branches:
      - main
  workflow_dispatch:  # Add this line to enable manual triggering

jobs:
  build_and_upload:
    runs-on: ubuntu-latest

    steps:
      # Checkout the repository
      - name: Checkout repository
        uses: actions/checkout@v3

      - name: Use GitHub run number for versioning
        run: echo "VERSION=1.0.0.${{ github.run_number }}" >> $GITHUB_ENV

      - name: Use GitHub environment variable to store Catalog ID
        run: echo "CATALOG_ID=1742495c-9231-4eeb-a56e-1fec8189246e" >> $GITHUB_ENV

      # Install the Skyline DataMiner CICD Packager Tool
      - name: Install Skyline DataMiner CICD Packager Tool
        run: dotnet tool install -g Skyline.DataMiner.CICD.Tools.Packager

      # Create the DataMiner Protocol package
      - name: Create DataMiner Protocol Package
        run: dataminer-package-create dmprotocol "${{ github.workspace }}" --name catalog_registration_tutorial --output "${{ github.workspace }}/Packages"

      # Prepare the package file and version details
      - name: Register on Catalog
        shell: pwsh
        run: |
          $file = Get-Item "${{ github.workspace }}/Packages/catalog_registration_tutorial.dmprotocol"
          $uri = "https://api.dataminer.services/api/key-catalog/v1-0/catalog/${{ env.CATALOG_ID }}/register/version"

          # Define the form data (package file, version, and description)
          $formData = @{
            file = Get-Item $file.FullName
            versionNumber = "${{ env.VERSION }}"
            versionDescription = "New version registered by GitHub Actions pipeline"
          }

          # Set up the API request to register the new version in the catalog
          Invoke-RestMethod -Uri $uri -Method Post -Headers @{ 'Ocp-Apim-Subscription-Key' = "${{ secrets.API_TOKEN }}" } -Form $formData
Step 2: Add a GitHub secret
To securely store sensitive information like the API token, you will need to add a GitHub secret:
Create an organization key token to authenticate the register version call from the Catalog API:
In the Admin app, under Organization in the sidebar on the left, select the Keys page.
At the top of the page, click New Key.
Configure the key with a label of your choice and the permission Register catalog items.
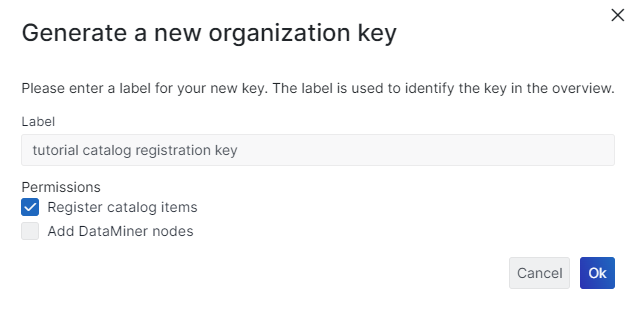
Copy the key so you can use it later.
Important
You need to have the Owner role in order to access/create organization keys. See Changing the role of a dataminer.services user for information on how to change a role for a user.
In your GitHub repository, go to the Settings page.
In the sidebar on the left, select Secrets and variables > Actions, and then click the New repository secret button.
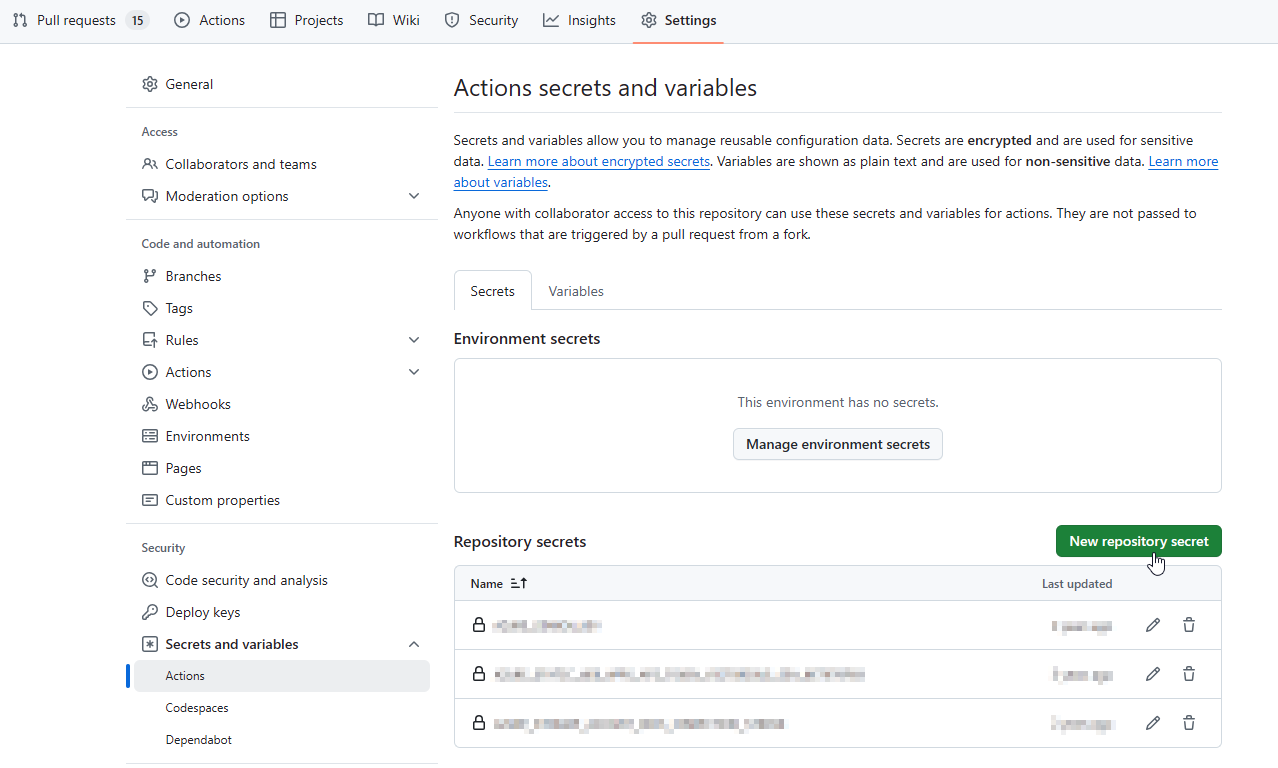
Specify the name
API_TOKEN, and add the organization key you copied earlier as the value.
Step 3: Push the workflow file
Commit and push the addition of the dataminer-catalog-pipeline.yml file in the .github/workflows folder to your repository. You can use the following commands for this:
git add .github/workflows/dataminer-catalog-pipeline.yml
git commit -m "Add GitHub Actions pipeline for catalog version registration"
git push origin main
Step 4: Trigger the workflow
To create a new version, push a change to the main branch of the repository (or the branch you have defined in the workflow under the on section). The GitHub Actions pipeline will automatically be triggered.
You can also manually trigger the workflow by navigating to the Actions tab in your repository, selecting the pipeline, and then clicking Run workflow.
Step 5: Monitor workflow execution
Go to the Actions tab of your GitHub repository.
You should see the pipeline you created listed there.
Select the workflow to see its progress.
You can view detailed logs for each step to check for errors or success messages.
When the workflow has run successfully, navigate to the item in the DataMiner Catalog.
You will be able to see the registered version in the versions tab.