Cassandra Clone
The Cassandra Clone tool can be used to clone data from a table in a Cassandra database to another table. The table can be part of the same keyspace or can be in another keyspace. It is mainly intended to be used in case of severe issues with repair and/or compaction of a Cassandra database, in order to avoid loss of data.
The tool duplicates tables, which is different from taking a snapshot (i.e. a backup) and restoring the snapshot. The tool reads and re-inserts the data row by row, so that the tables are constructed again completely. Unlike when a snapshot is restored, all tombstones are cleared and data will be placed together as efficiently as possible, resulting in less disk space usage for the same number of rows.
You can download this tool from DataMiner Dojo.
Note
- It is possible to run this tool while DataMiner is still running. However, if it is used while DataMiner is running, rows written by DataMiner while a table is being cloned may not be present in the cloned table.
- Make sure there is enough free disk space to duplicate the tables. At most, you will need as much free space as is currently taken up by the folder
C:\ProgramData\Cassandra.
Tip
If you do not want the hassle of maintaining the DataMiner storage databases yourself, we recommend using DataMiner Storage as a Service instead.
Usage
Extract the files you downloaded to a local folder.
If you want to clone the table to a keyspace that does not exist yet, first create the new destination keyspace. This can be on the same Cassandra node or on a different node. Cloning to an empty keyspace is advisable, as the tables will be created with the same structure and settings as the original tables.
Tip
For more information on creating an empty keyspace, see Cassandra - Creating Keyspace.
To clone an existing keyspace:
Open DevCenter, by going to
C:\Program Files\Cassandra\DevCenter\Run DevCenter.lnk.Tip
For more information on DevCenter, see DataStax DevCenter.
In the Connections pane, click the icon to create a new connection.
In the New Connection window, insert the IP or hostname of the node you want to connect to in the Contact hosts box and click Add.
Click Next to go to the next step of the wizard.
Set the Login and Password to the credentials configured for the node (default: root) and click Finish.
Note
You can find these credentials in
C:\Skyline DataMiner\Db.xml, in the Database.UID and Database.PWD tags for the Cassandra database.In the central pane of DevCenter, select the connection you have just created in the box at the top
In the Schema pane, right-click the existing keyspace and select Clone Keyspace.
In the pop-up window, check and adapt the settings if necessary:
Keyspace name: Adjust this name to your preferences.
Replication strategy: Should be set to SimpleStrategy.
Replication factor: Should be 1 for a regular DMA and 2 for a Failover DMA.
Durable writes: This option should be selected.
Click Next and Finish to clone the keyspace.
If you want to clone the table to a keyspace that already exists, specify a name for the cloned table. To do so, create a file named tables.txt in the root directory of the tool. In the file, add a line for each table that needs to be cloned, separating the source and destination table names using tabs.
For example:
activealarms    activealarms_copy
elementdata    elementdata_copy
timetrace    timetrace_copy
In the folder containing the tool:
Open the file db_src.yaml and specify the IP, port number, username, password, and keyspace name for the source Cassandra database.
Open the file db_dst.yaml and specify the IP, port number, username, password, and keyspace name for the destination Cassandra database.
Note
If you want to clone into the same keyspace, the content of both of these files should be identical. If you want to clone into another keyspace on the same Cassandra node, only the keyspace.name field should be different.
In the same folder, open the file settings.yaml and configure the following settings:
read.buffer.size: The number of records from the source table that are kept in memory and are ready to be written. Default: 200.
write.buffer.size: The number of possible concurrent write operations. Default: 10. If you notice that the load on the system is too high during the cloning process, we recommend to lower the write.buffer.size value (minimum value: 1).
token.range.divider: The number of token ranges the token ring will be split into per table. Default: 100. This setting is essentially the “save interval”. If this value is increased, less unnecessary write operations will need to be performed in case the program resumes from a crash; however, increasing the value increases the number of queries that have to be performed.
query.timeout.ms: The timeout value of all queries in milliseconds. Use -1 for an infinite timeout.
socket.read.timeout.ms: The timeout value of low-level socket reads in milliseconds. Use 0 for an infinite timeout.
Run CassandraClone.exe.
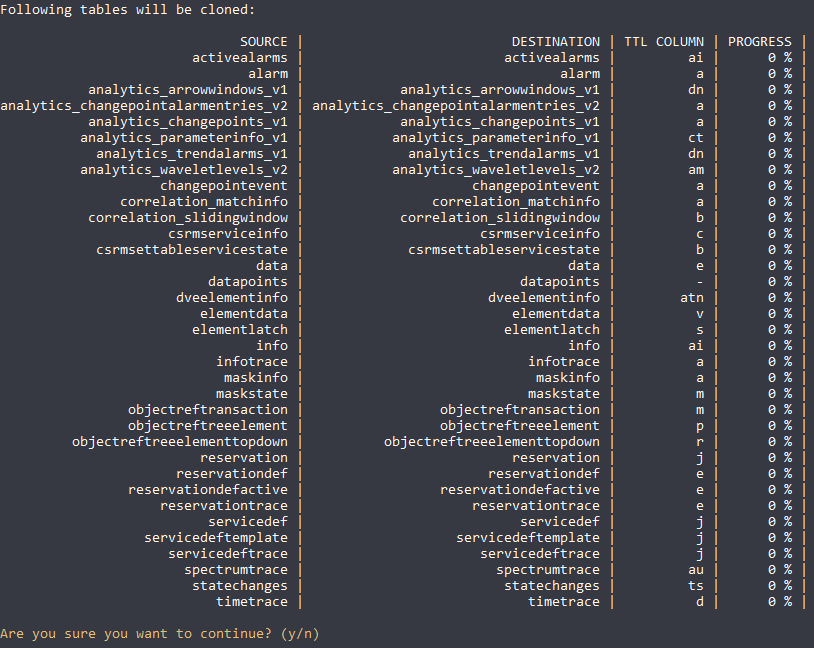
The tool will display a list of the tables that will be cloned, as illustrated below. Check the list and press
yto start the cloning process.
The tool will display the progress of the cloning operation. When a table is fully cloned, a short overview with the statistics of the operation will be shown.
After all selected tables have been successfully cloned, you can find the log files in the archived folder.
FAQ
Is it possible to pause the tool?
If you need to pause the process, you can do so at any time by simply closing the tool and running it again later. If you closed the tool and want to discard the progress instead of continuing, delete the temp and completed folders.
Does the time-to-live (TTL) of the cloned rows change?
The TTL remains the same for all rows that have TTL defined on at least one column. If a row was originally written with a TTL of 1 year, and at the time the row was cloned there were 4 months of TTL left, the cloned row will also have a TTL of 4 months.
Where can I find error information in case something goes wrong?
Errors are logged in the file errors.txt in the folder of the corresponding table.
How long does the cloning process take?
The duration of the cloning process depends on your hardware. Using an SSD instead of a HDD makes it go a lot faster. On the whole, cloning data is a lot faster than migrating from SQL to Cassandra. To improve speed, you can also change the advanced settings defined in the file settings.yaml.
What should I do if the process stops running because my RDP session is disconnected?
If your RDP session is automatically closed after some time because of inactivity, it can be a problem to use this tool. In that case, you can use the Automation script that you can find in the subfolder Automation Script – optional within the folder with the extracted files. This script starts the tool in a hidden command window.
Note
You should only use this solution if there are no other alternatives, as using the script means you will not be able to view any progress information.