Asset Designer
On the Asset Designer page, you can configure the asset classes used in your system. This is typically the first step when configuring the Asset Manager app. You can import the classes via CSV or from GitHub, but you can also manually create classes.
This page also allows you to configure device types, cable types, and port types via the buttons in the upper-left corner.
Importing asset classes
To start importing asset classes, click Import/Export Asset Classes in the upper-right corner. You can then choose between the following options:.
Import Netbox Asset Classes: Allows you to import assets from Netbox using the following GitHub repositories:
To do so, you will first have to select up to 60 files from the repositories, then click Selected files, and then click Import.
Import/export Asset Classes to/from CSV: Allows you to select whether to import or export the asset classes. To import them, keep the Import option selected, select and upload your CSV file, and click Import.
Manually creating an asset class
In the header bar, select New Asset Class.
Specify the following details:
Asset Class Name: A unique descriptive identifier for the asset class.
Device Type: The device type. This is intended to provide a higher-level classification (e.g., encoder, video router) and to determine how the asset class and its associated assets behave within the system. For info on how to manage these device types, see Configuring device types.
Manufacturer: Allows you to select a manufacturer. You can select any of the organizations configured in the People and Organization app.
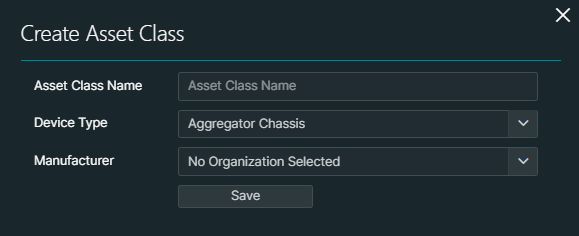
Click Save.
Configuring an asset class
When you have added an asset class, you can fine-tune it by clicking the details button (ⓘ) for the asset class in the table. This will open the Asset class details pane:
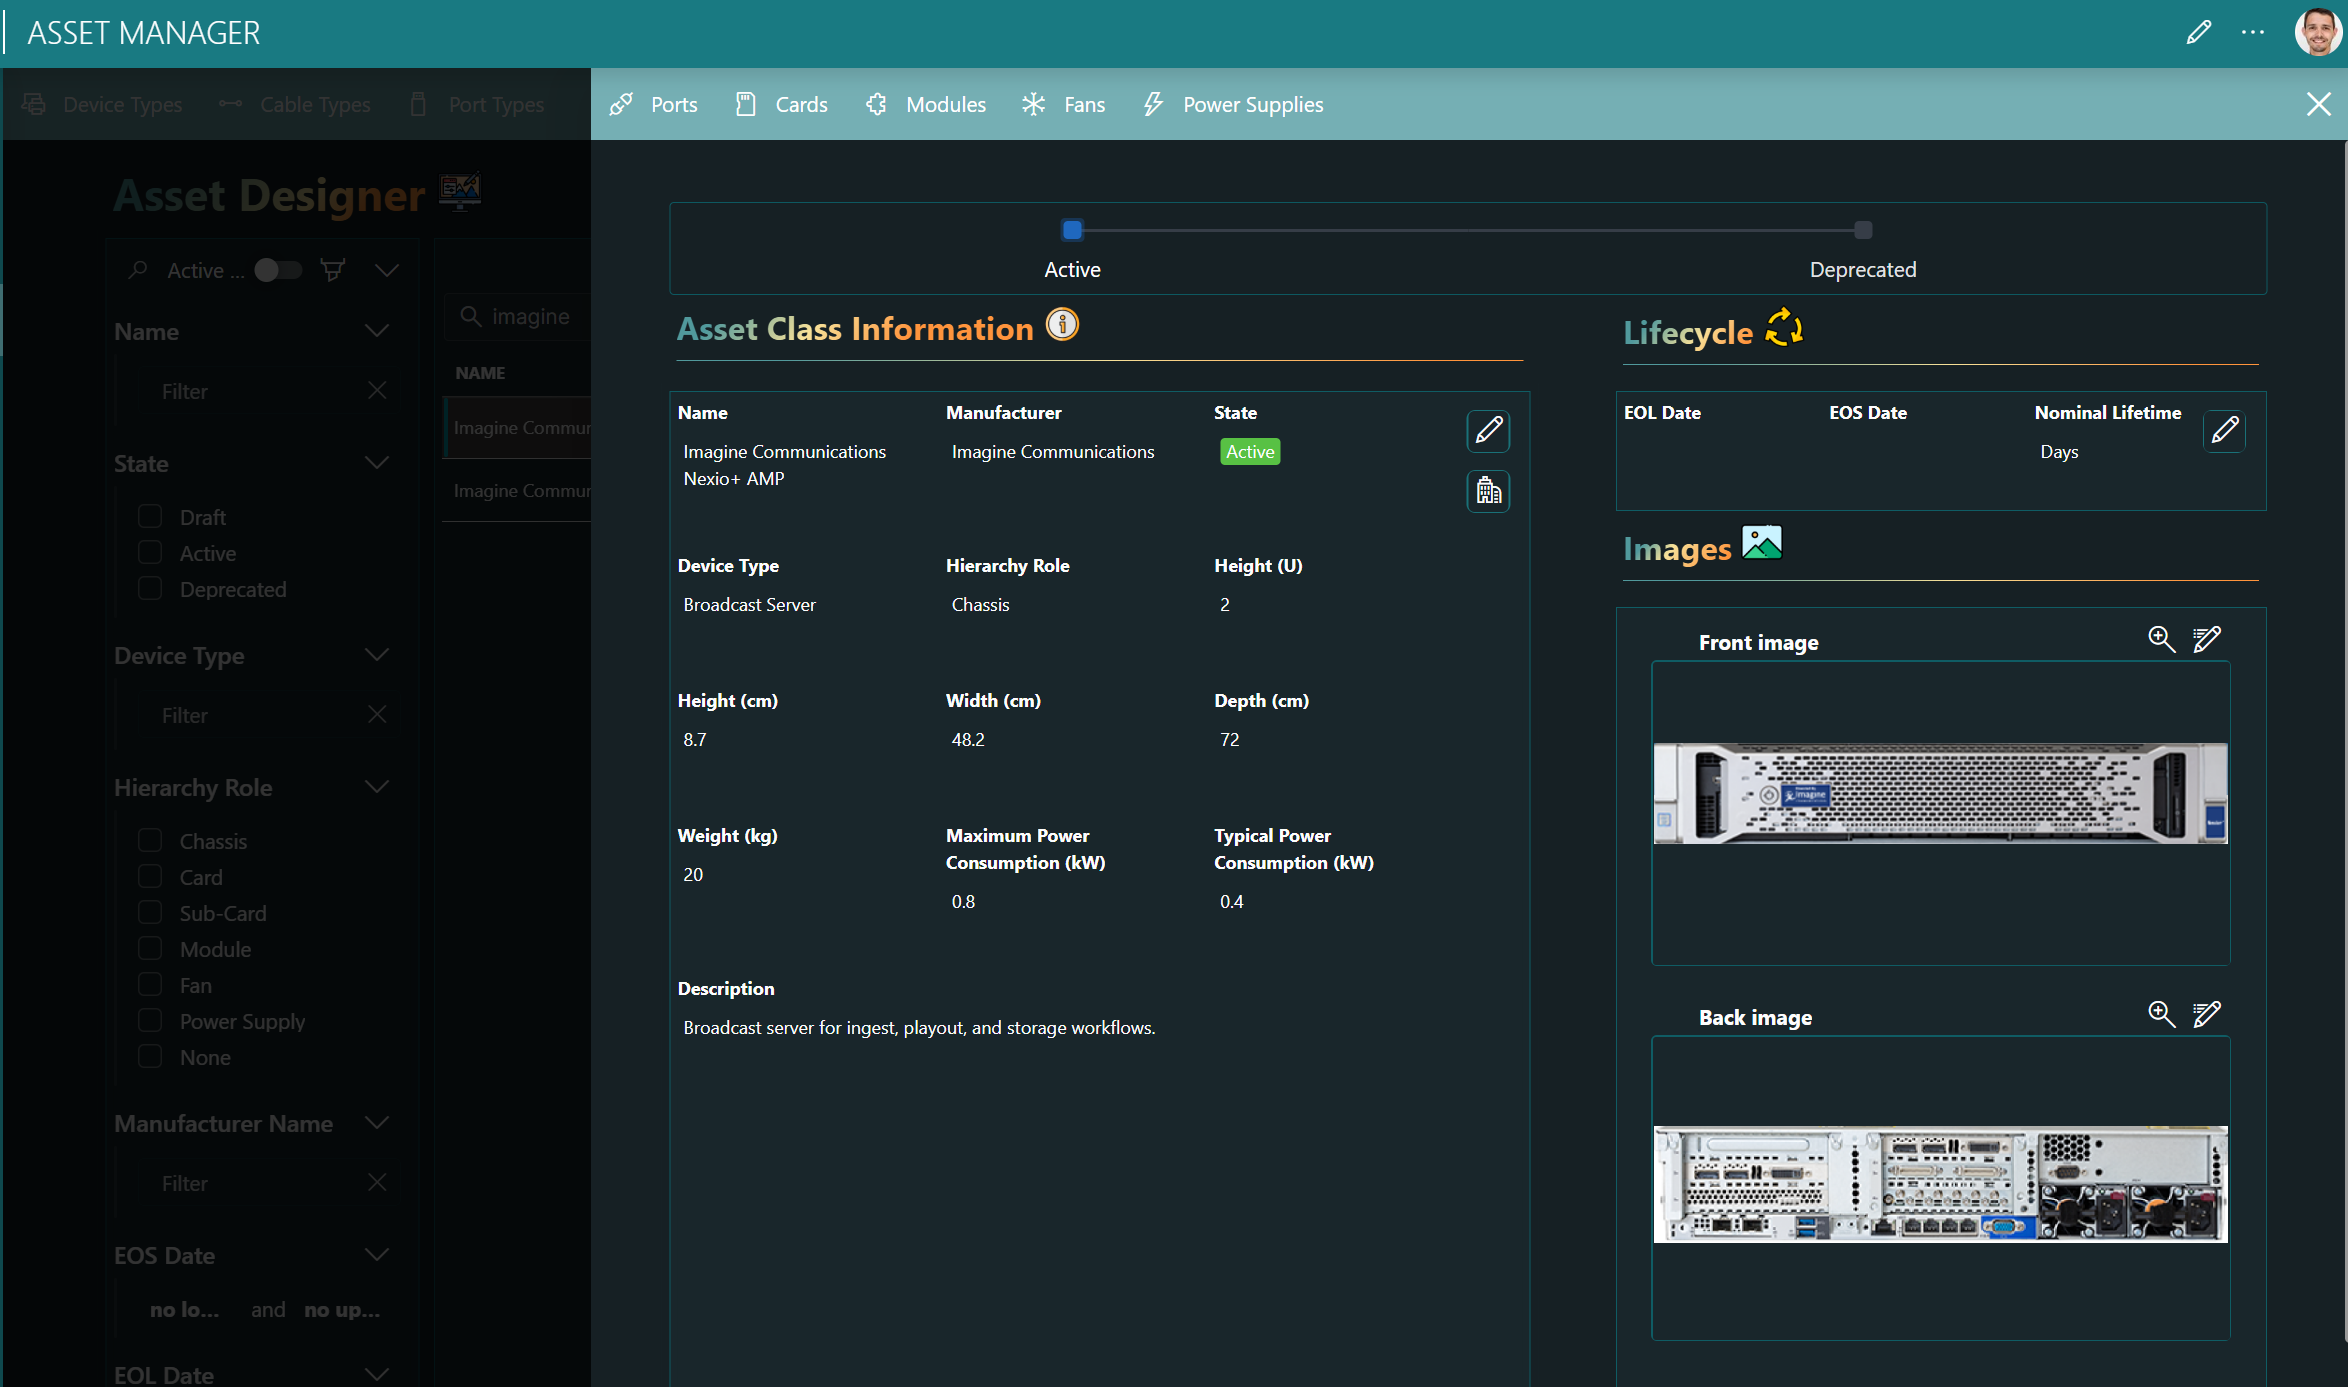
In this pane, you can configure the following details:
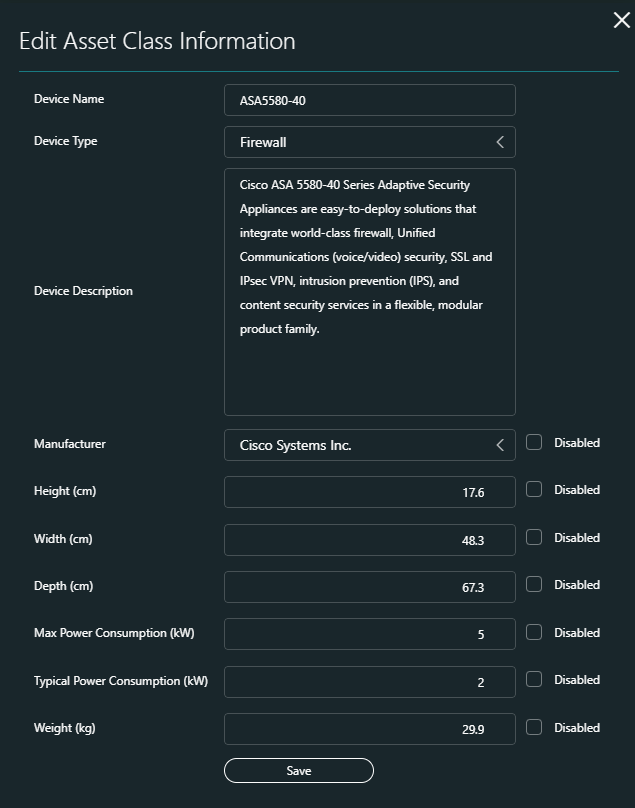
The asset class information:
- The asset class name.
- The corresponding device type.
- The description.
- The manufacturer.
- The height, which determines how many rack units are consumed when an asset with this asset class is assigned to a rack. The specified value will be converted to "U" (i.e., rack units, with 1 U being equal to 4.445 cm) and displayed as such in the details section.
- The width and depth. This optional information is only meant to inform the user and does not affect the asset assignment.
- The max power consumption, which will determine how much power (in percent) an asset assigned to the rack will consume compared to the available power consumption assigned to the rack.
- The typical power consumption. This optional information is only meant to inform the user and does not affect the asset assignment.
- The weight.
The lifecycle of the asset class:
- The End of Life (EOL) date for the asset class, i.e., when the manufacturer stops selling this equipment.
- The End of Service (EOS) date for the asset class, i.e., when the vendor no longer provides support for this equipment.
- The nominal lifetime of the asset class (in days), which will be used along with the installation date of the asset to calculate the expected End-of-Life date of the asset.

Any images for the asset class. These will be displayed in the rack visualization when the asset is placed on a rack. Additional images can be uploaded using the Web File Manager app.
Note
As long as the asset class is still in the "Draft" state, everything will be editable, but once it has been activated, you will only be able to edit some of the fields.
Defining the number of slots for an asset class
If you have created an asset class using a device type with a hierarchy level that has one or more levels below it in the hierarchy, for example a Chassis asset, you can define the number of slots available for each underlying level:
Click the details button (ⓘ) for the asset class in the table.
This will open the Asset class details pane.
Click the Cards, Modules, Fans, or Power Supplies button in the upper-left corner of the pane, depending on the type of slots you want to define.
For example, if you click Cards, this will open the following pane:
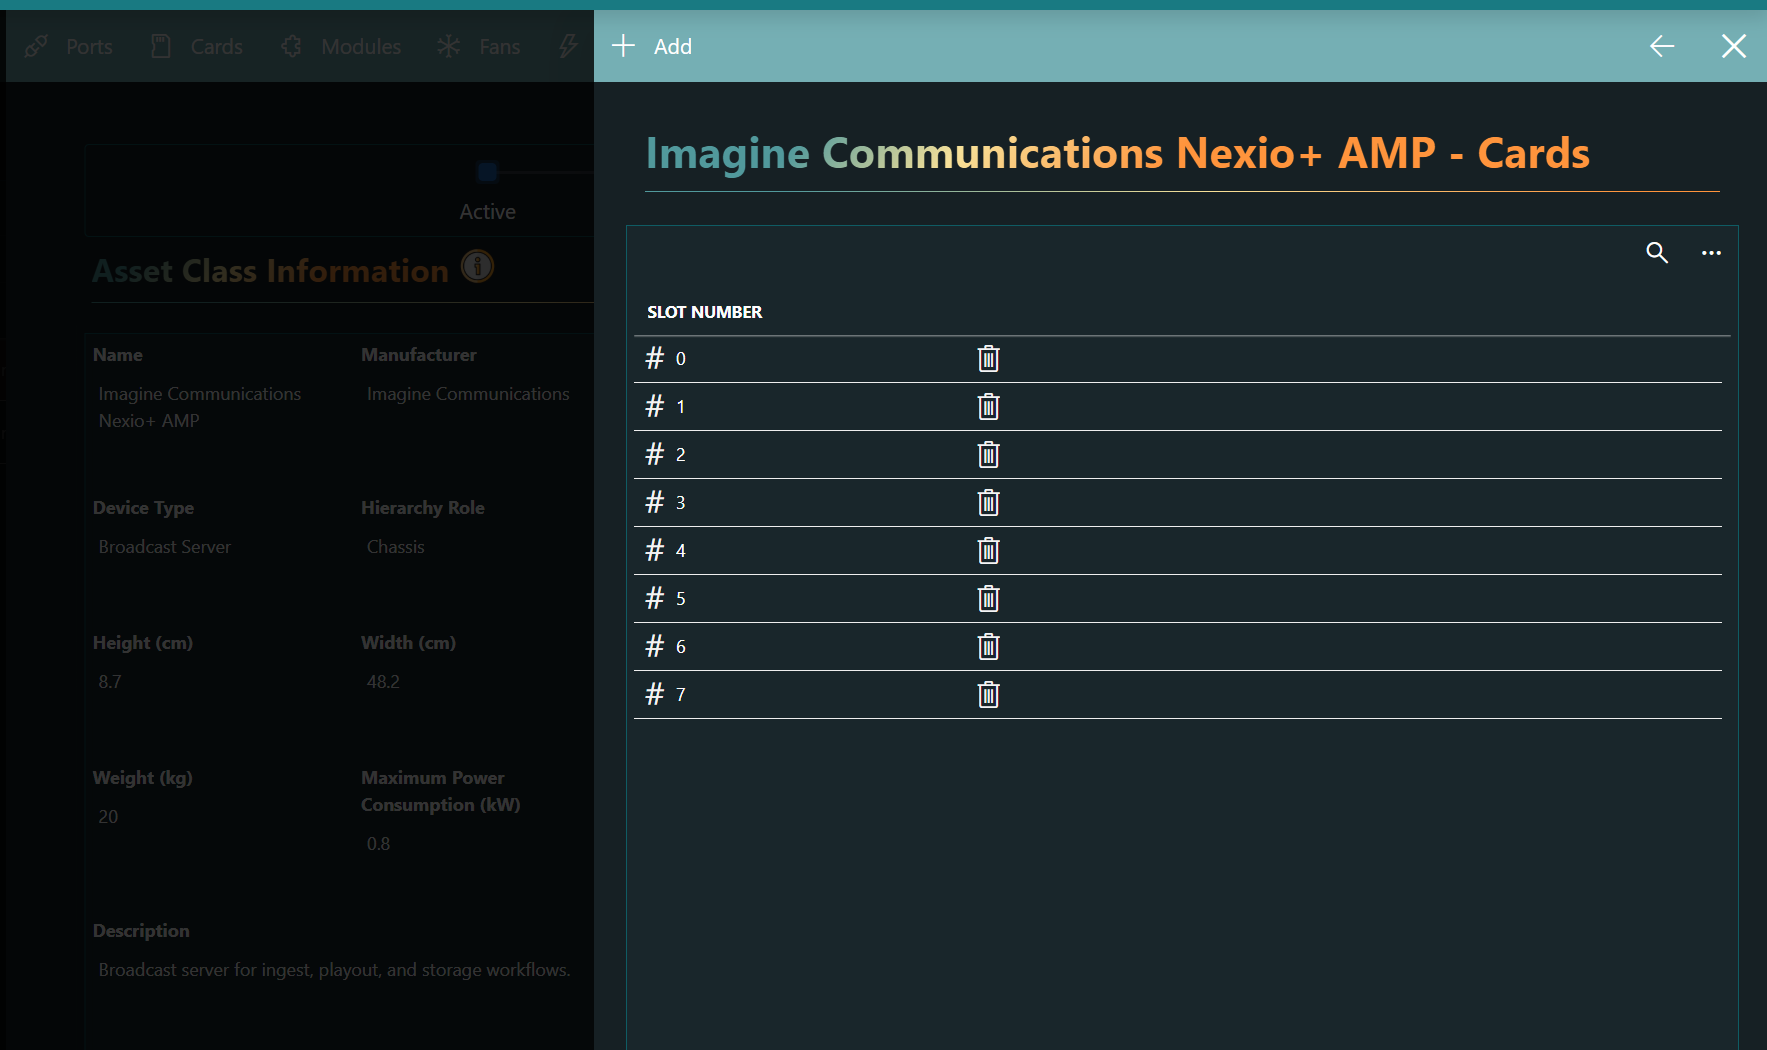
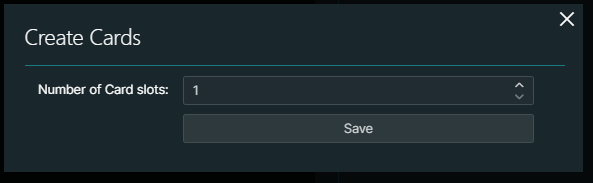
Click the Add button, specify the number of slots, and click Save.
Assets created based on this asset class will by default have the same number of slots as configured on the asset class, but you can adjust this number in the asset configuration (see Configuring the asset hierarchy).
Defining the ports for an asset class
Click the details button (ⓘ) for the asset class in the table.
This will open the Asset class details pane.
Click the Ports button in the upper-left corner of the pane.
This will open a pane with the ports details.
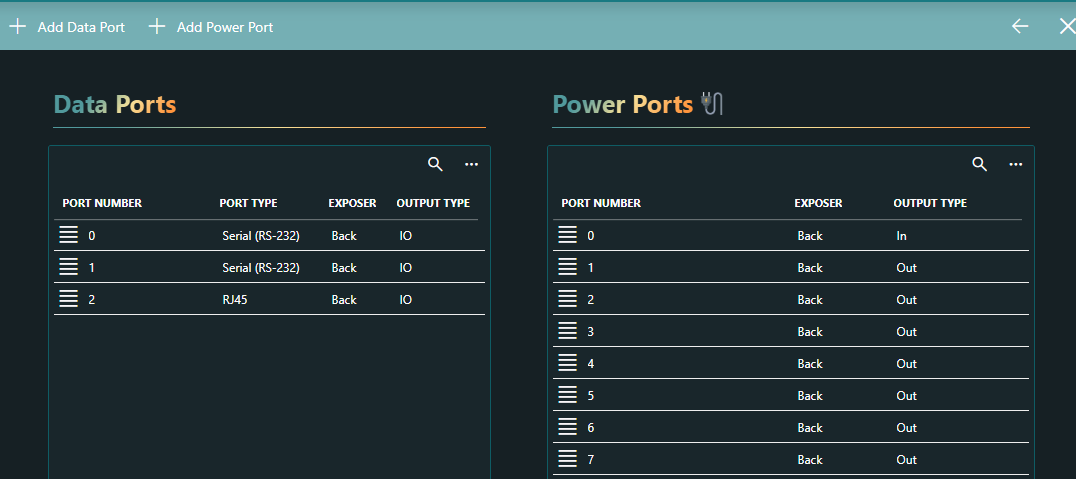
In this pane, you can edit or remove a defined port via the hamburger button for that port, or add a port with the Add Data Port or Add Power Port buttons at the top.
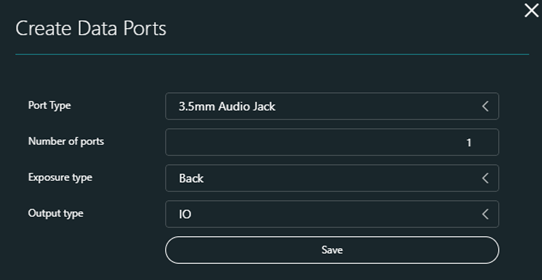
When you click the button to add a port, this will open a window where you can select the port type, the number of ports you want to add of this type, the exposure type (Front or Back of the rack), and the output type (In, Out, or IO).
Activating an asset class
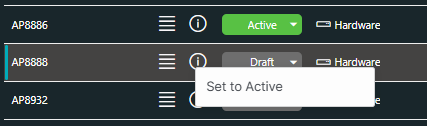
When an asset class has been imported or created, it will first be set to the Draft state. To be able to create assets for the asset class, you must first activate it.
To activate an asset class, click the state cell in the table and select Set to Active: