Creating a job and configuring it with resources
In this tutorial, you will learn how to create and schedule a job, swap resources, and confirm the created job, using the MediaOps Scheduling app.
Expected duration: 15 minutes
Note
The content and screenshots for this tutorial have been created using DataMiner version 10.5.5 and MediaOps version 1.4.0.
Prerequisites
- A DataMiner System using DataMiner 10.5.5 or higher.
- Access to the Scheduling application.
- You have complete the tutorial Configuring resources and resource pools.
Overview
- Step 1: Create a new job
- Step 2: Add an encoder resource to the job
- Step 3: Reserve the encoder resource
- Step 4: Add a decoder resource to the job
- Step 5: Swap resources
- Step 6: Confirm the job
Step 1: Create a new job
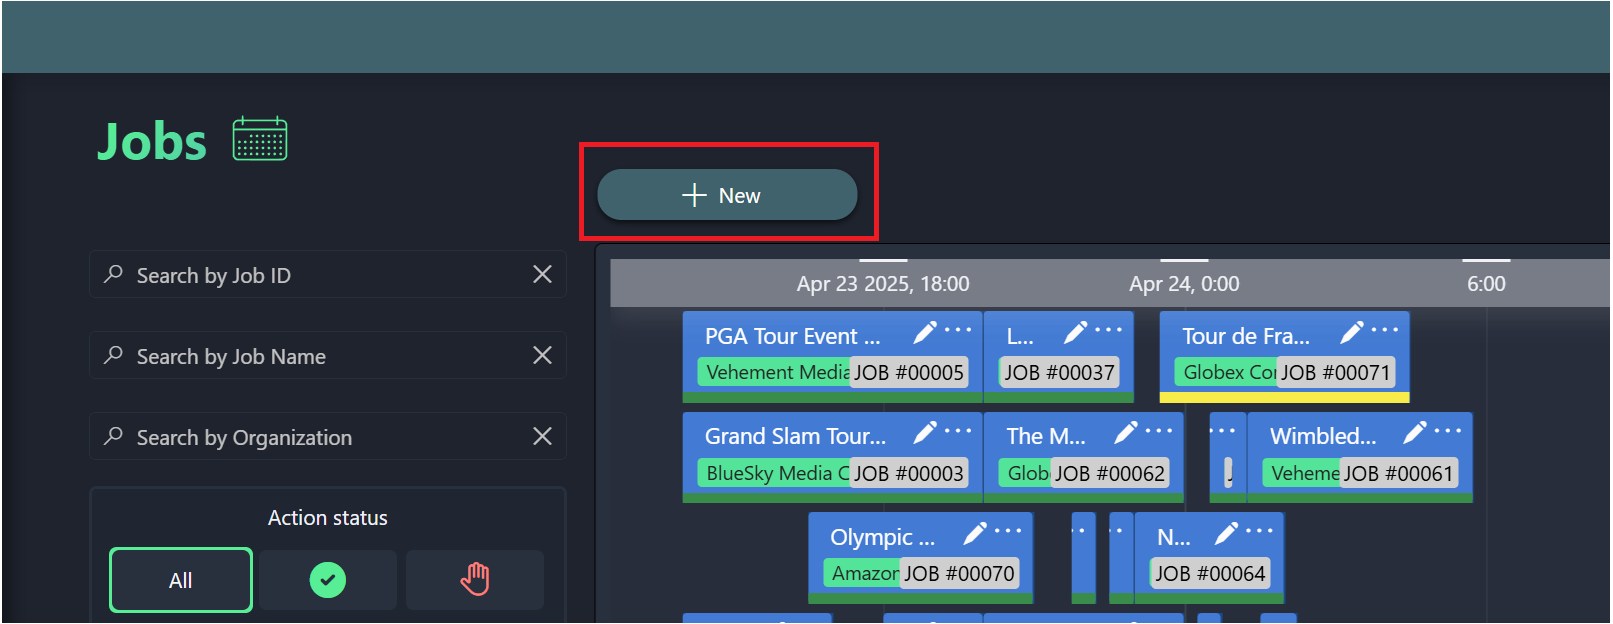
In the Scheduling app, go to the Job View page and click the + New button to open the new job panel.
Fill in a name of your choice in the Name box.
Delay the job Start Time and End Time for several hours to give the job some time before it starts.
By default the job will be set to last one hour and start at the job creation time.
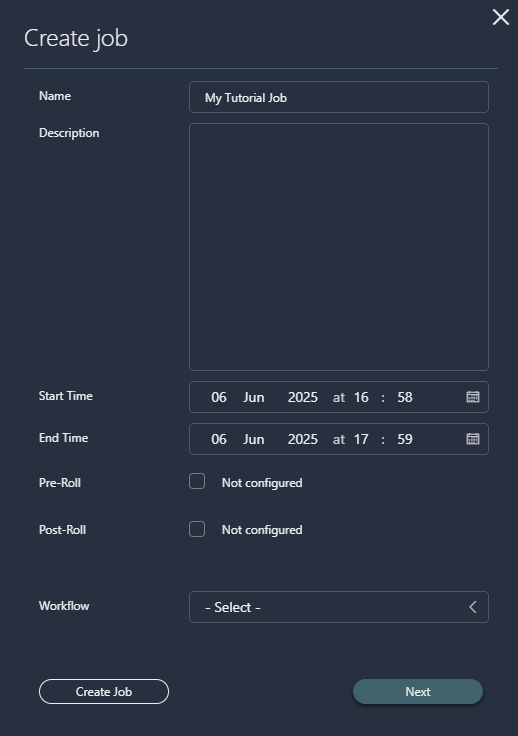
No other settings need to be configured, so click Create Job.
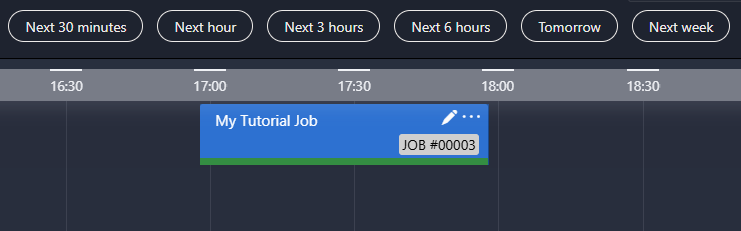
You should now be able to see the newly created job on the timeline.
Step 2: Add an encoder resource to the job
Click the pencil icon in the box representing the job to open the Edit job panel.

Scroll down to the Workflow section at the bottom of the panel.
In this section, you can add resources to a job as nodes in a workflow.
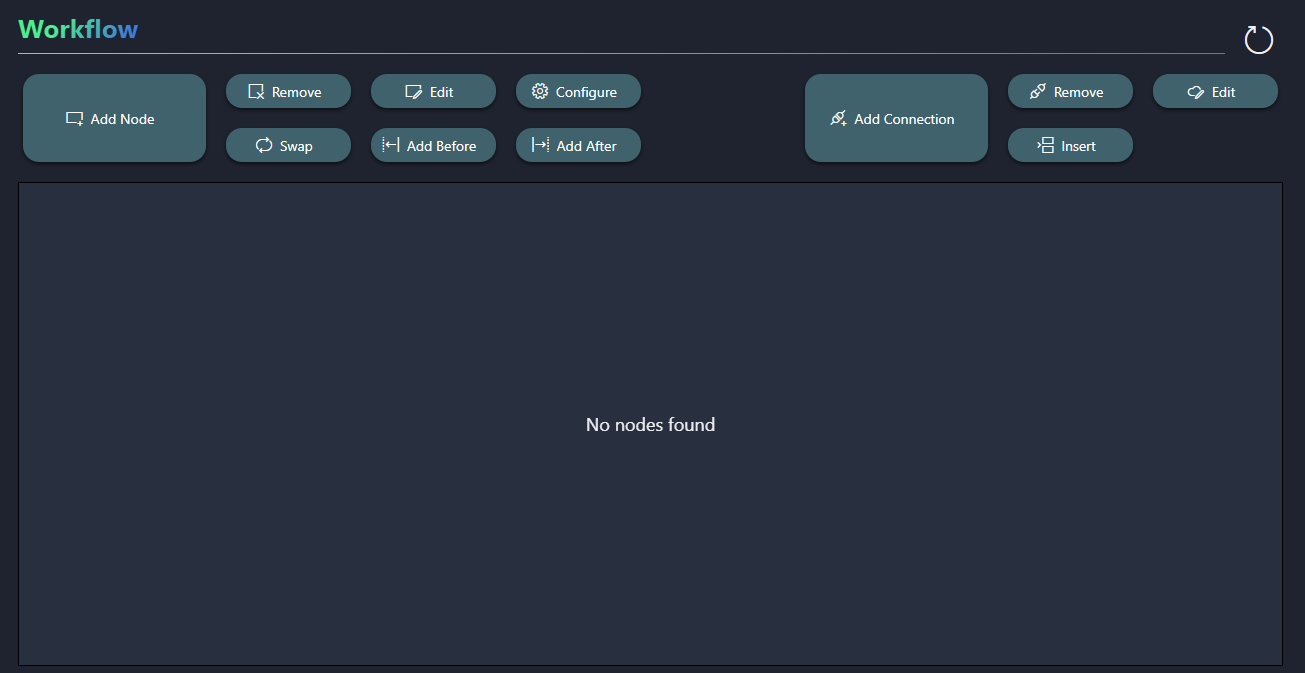
Click the Add Node button.
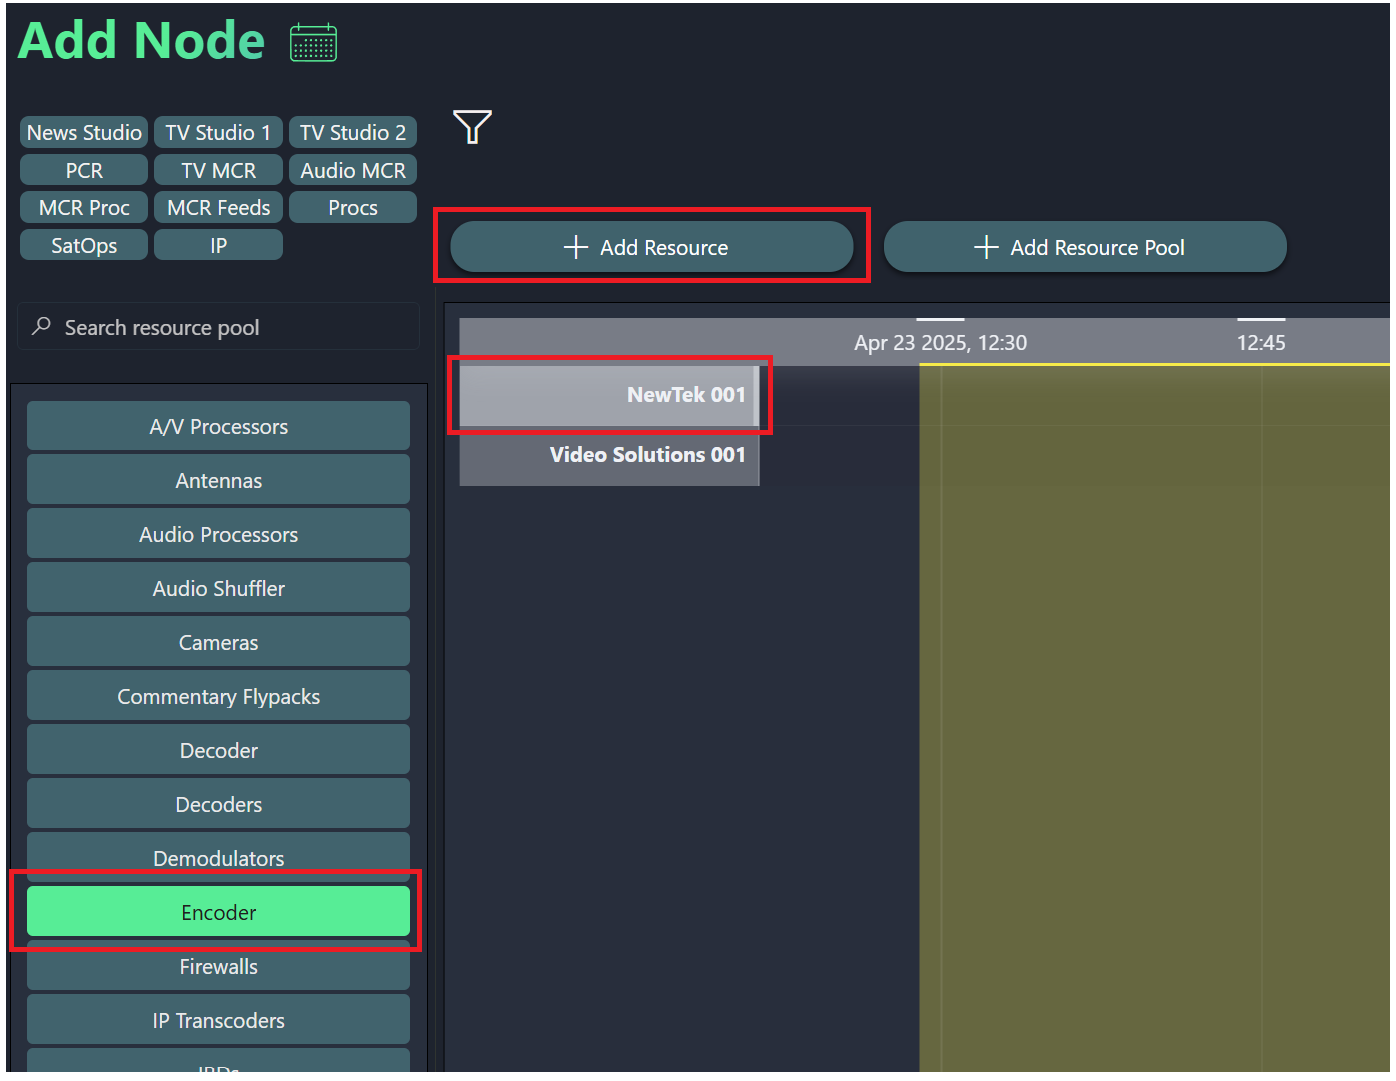
In the list of resource pools on the left, select Encoder, then select one of the available resources in this resource pool, and click + Add Resource at the top of the pane.
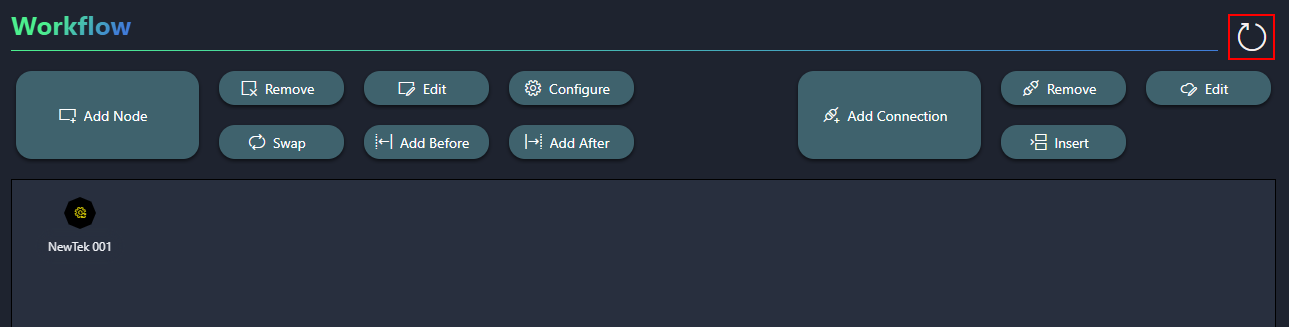
Close the Add Node panel and check if you can see your resource in the Workflow section.
If you cannot see the resource yet, click the refresh button in the top-right corner of the section.
Step 3: Reserve the encoder resource
To reserve the encoder resource for your job, you will need to save the job as tentative:
Scroll to the top of the Edit job panel, and click Save as Tentative.

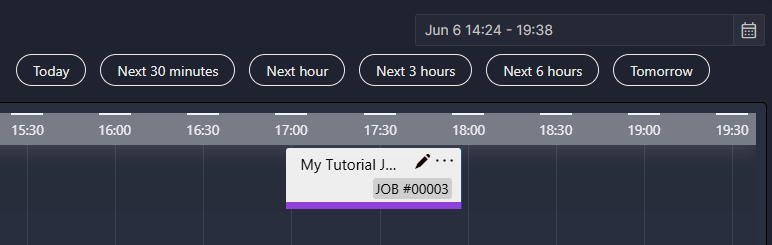
Close the Edit job panel and confirm that the color of the job has changed, indicating that it is now in the Tentative state.
Step 4: Add a decoder resource to the job
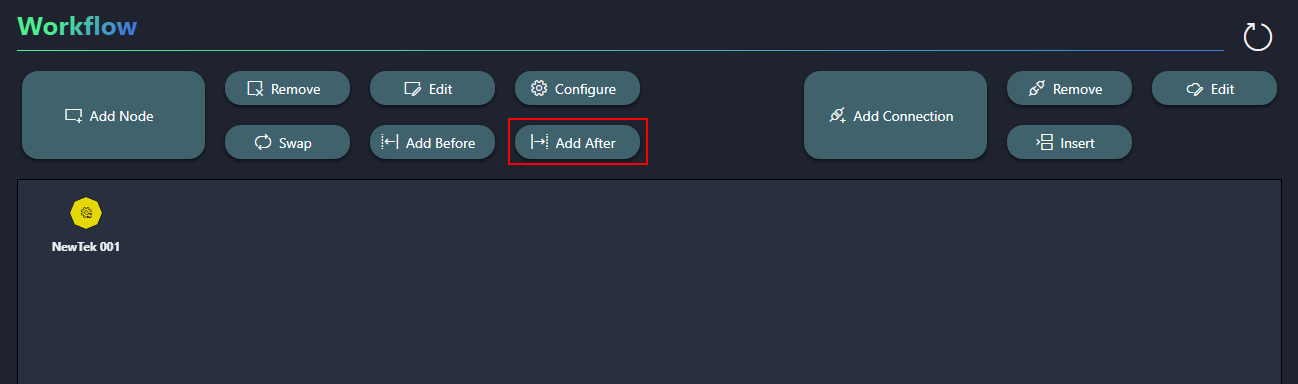
Open the Edit job panel and head over to the Workflow section again.
First select the NewTek 001 resource in the workflow, and then click Add After.
Select the Decoder pool, and then click Add Resource Pool.
If at this point, you have no resources available yet to add to the job, this is not a problem, because it will be taken care of later in this tutorial.
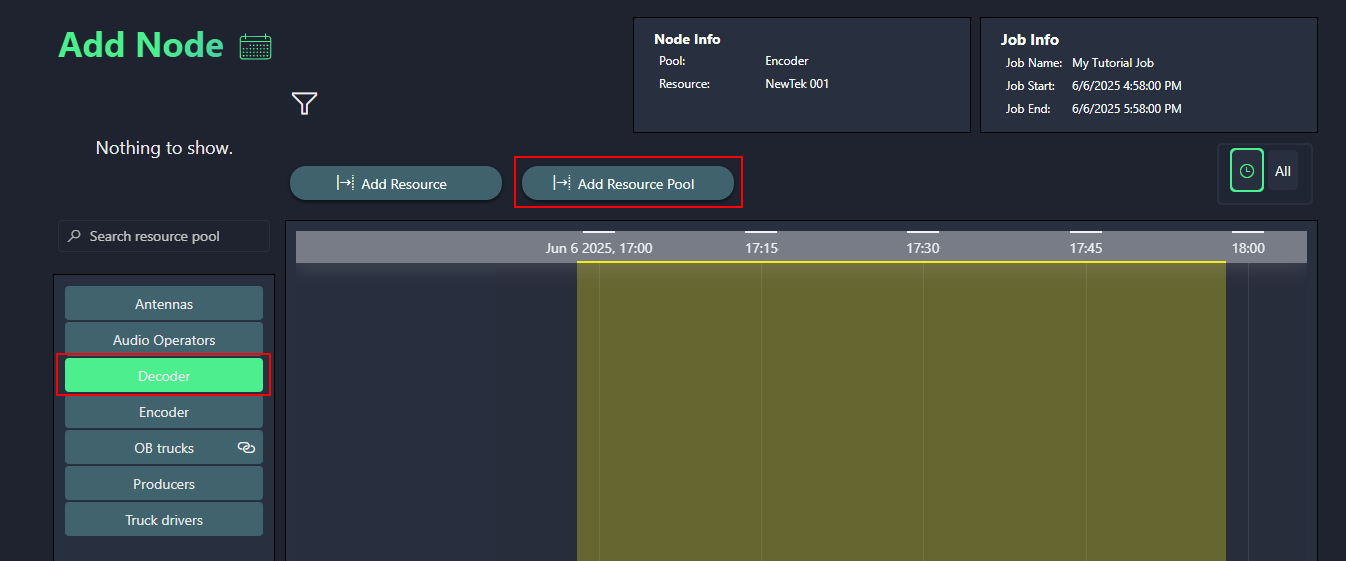
If you get an error in this step, this is likely because no resource was selected in the previous step, so in that case close the panel and try again from the previous step, making sure the resource is selected.
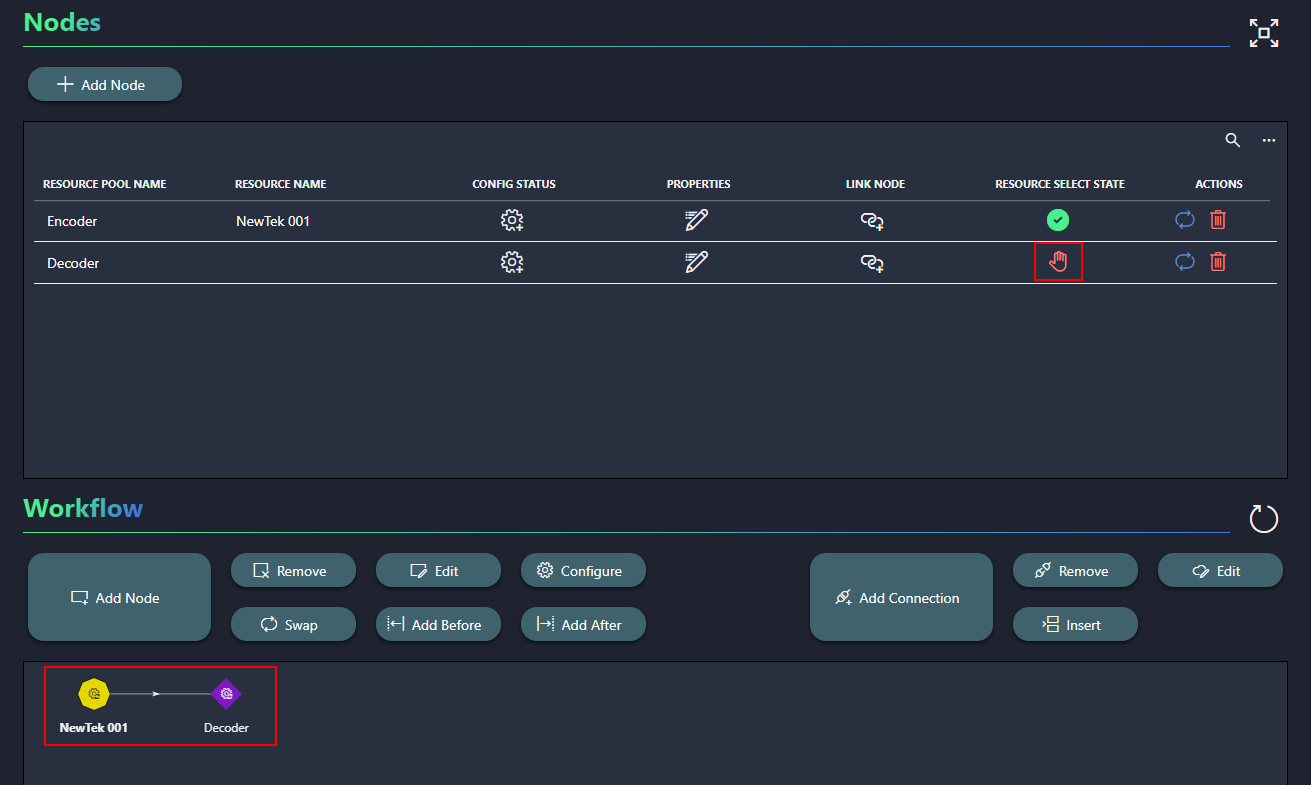
You should now see the resource pool in the list of nodes and in the workflow overview. Note that the red hand icon for the Decoder resource pool in the Nodes table indicates that an actual resource still has to be picked for the job.
Step 5: Swap resources
The NewTek 001 resource can act both as an encoder and as a decoder; however, because you added it as an encoder to the job earlier, it cannot be used as a decoder for the same job. To solve this, you can swap its role to decoder, and then use the Video Solutions 001 resource as an encoder.
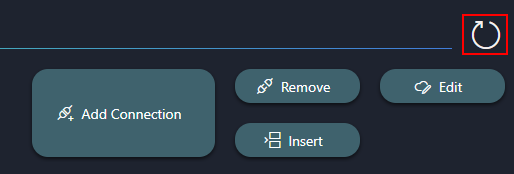
In the Nodes table of the Edit job panel, select the Encoder row.
In the Actions column, click the
 icon.
icon.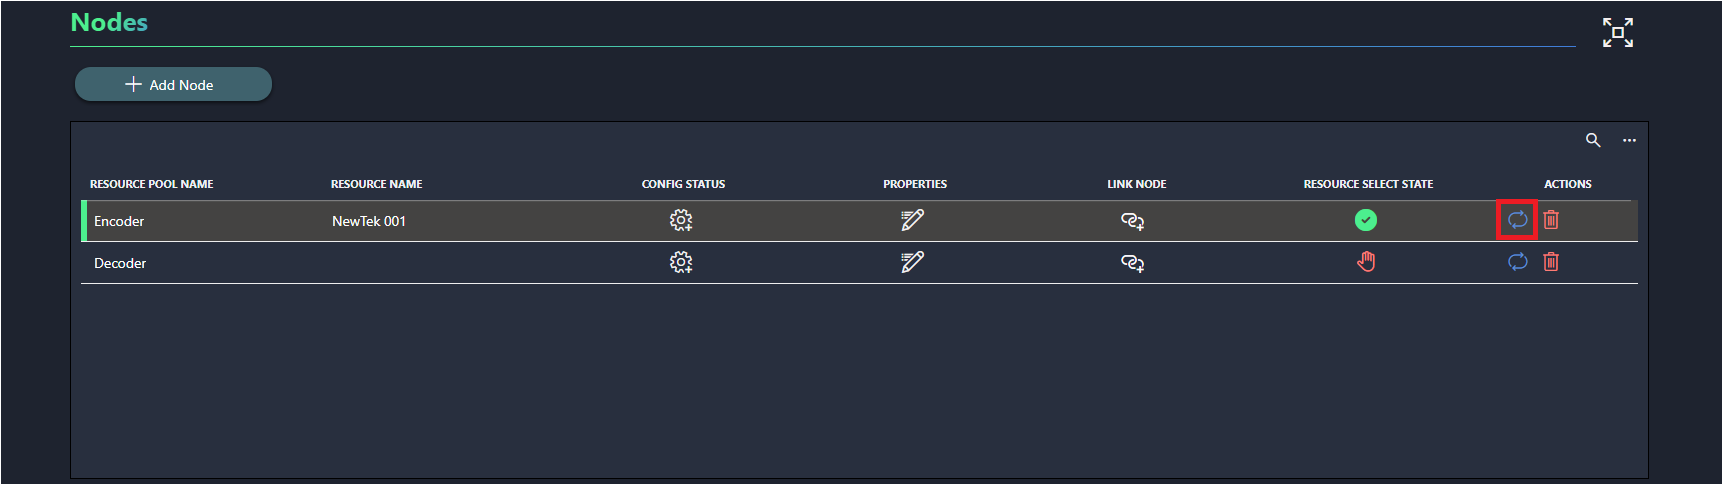
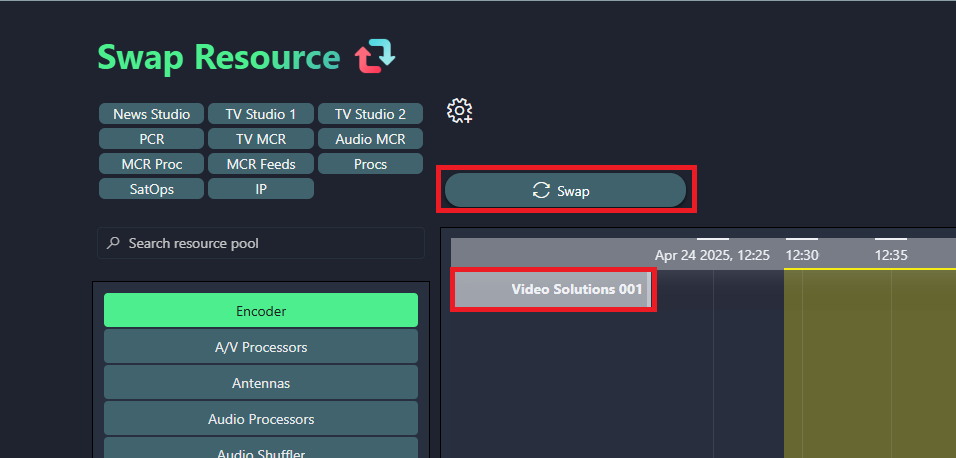
This will open the Swap Resources pane, where the Encoder resource pool will be selected already.
Select the Video Solutions 001 resource and click the Swap button.
You should now see this resource in the Edit job panel instead, and a resource will be available in the decoder pool to assign to the job. If you do not see the results immediately, use the Workflow section's Refresh button.
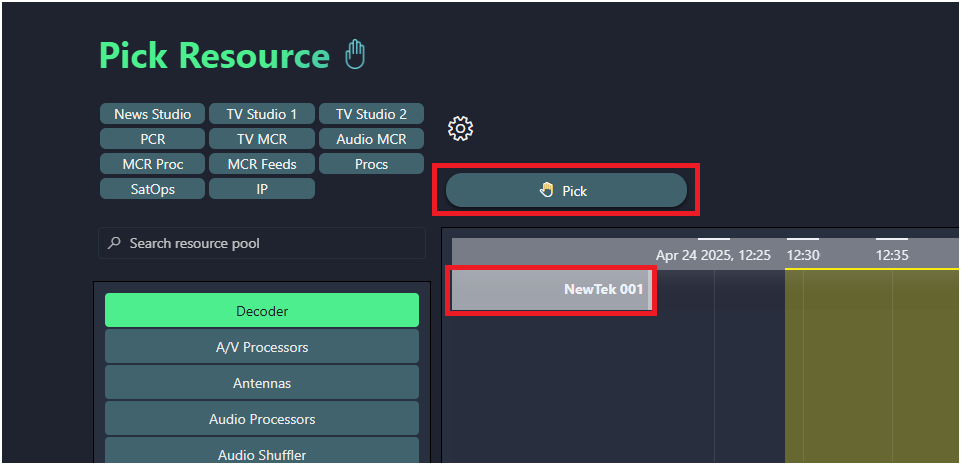
In the Nodes table, select the Decoder resource pool and click the
 icon.
icon.This will open the Pick Resource pane, where the Decoder resource pool will be preselected
Select the NewTek 001 resource and click the Pick button.
You should now see both resources displayed in Nodes and Workflow sections.
Step 6: Confirm the job
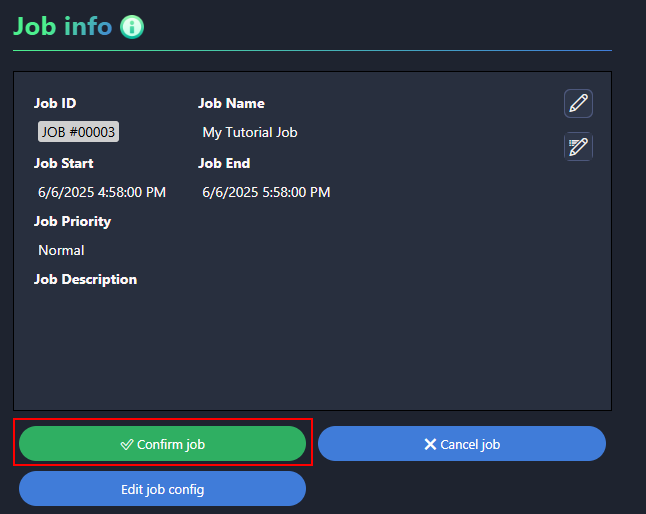
Now that the resources are in place, you can confirm the job:
In the Job info section of the Edit job panel, click Confirm job.
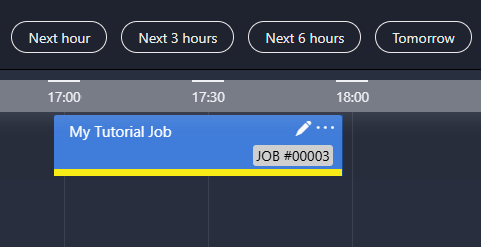
Close the panel and check what your job looks like on the timeline.
The job should now be colored blue, with a green underline, indicating that it has been successfully created.