Configuring resources and resource pools
In this tutorial, you will learn how to create and configure resource pools and resources using the Resource Studio app. By way of example, a set of items will be added as resources that convert signals between SDI and IP. SDI-to-IP devices act as encoders, and IP-to-SDI devices as decoders.
Expected duration: 15 minutes
Note
The content and screenshots for this tutorial have been created using DataMiner version 10.5.5 and MediaOps version 1.3.1.
Prerequisites
- A DataMiner System using DataMiner 10.5.4 or higher.
- Access to the Resource Studio application.
Overview
- Step 1: Create the resource pools
- Step 2: Create the resources
- Step 3: Assign the resources to the pools
Step 1: Create the resource pools
In the Resource Studio app, create two matching resource pools to represent the two different device types:
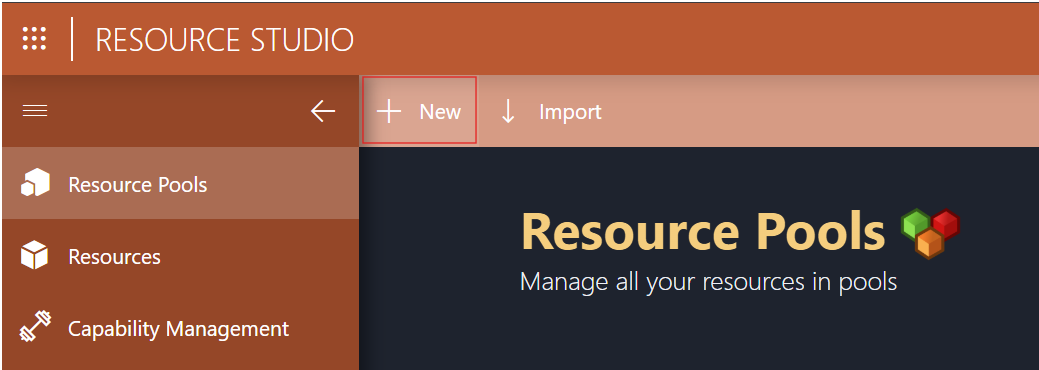
On the Resource Pools page of the Resource Studio app, click + New.
Fill in the form with the name
Encoder, and click Save as Completed.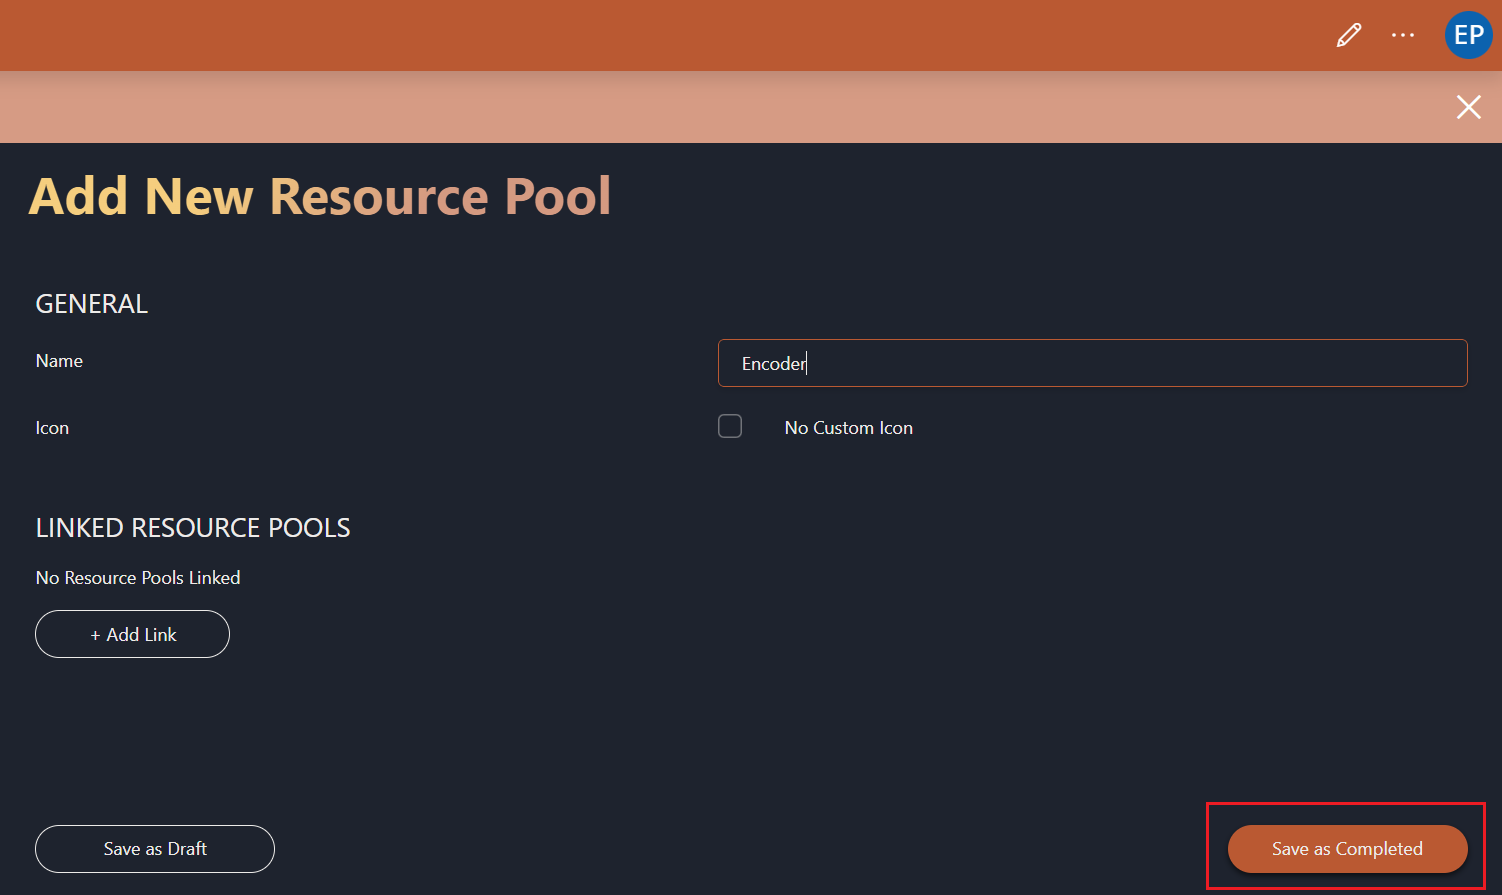
Note
You do not need to modify other fields in the form for this tutorial.
Tip
Complete is one of the states a resource pool can be in. If you choose to save it in the Draft state (with the button on the left) instead, you will be able to finish the tutorial, but the resource pools will not be available for use in other apps like Scheduling and Resource Studio.
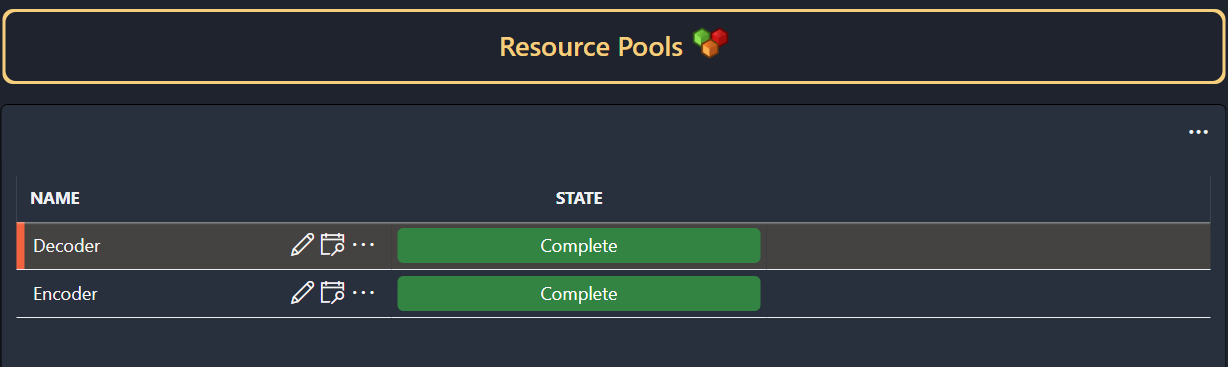
Repeat the steps above for the "Decoder" resource pool.
Both resource pools will now be listed in the Resource Pools table.
Step 2: Create the resources
Now that you have created the resource pools, you can proceed to create resources and assign them to the resource pools.
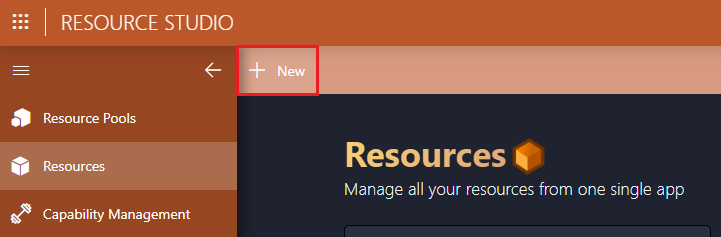
Go to the Resources page.
Create a first resource:
Click the + New button at the top.
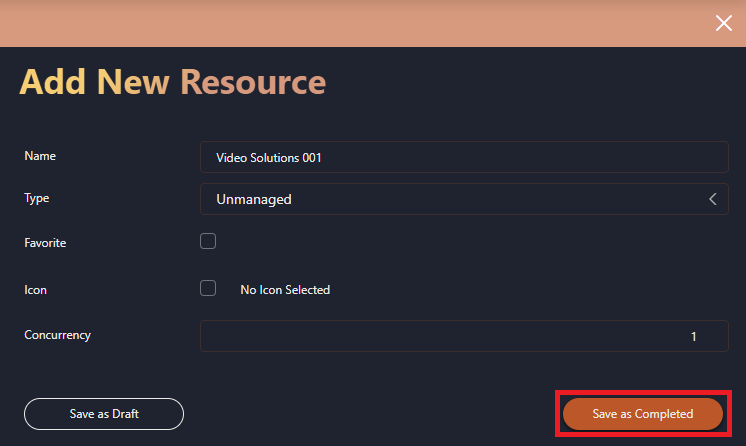
Fill in the name
Video Solutions 001.Optionally, if you want a custom icon to be shown for the resource, click the checkbox next to Icon, and select the icon of your choice.
Keep the Type set to Unmanaged.
Click Save as Completed.
Create a second resource by following the same steps, but fill in the name
NewTek 001.
Step 3: Assign the resources to the pools
In this tutorial, Video Solutions 001 will be used as an encoder only, while NewTek 001 will be used as either an encoder or decoder, but only one at a time. To configure this behavior, you should assign the resources to the resource pools as follows:
Navigate to the Resource Pools page.
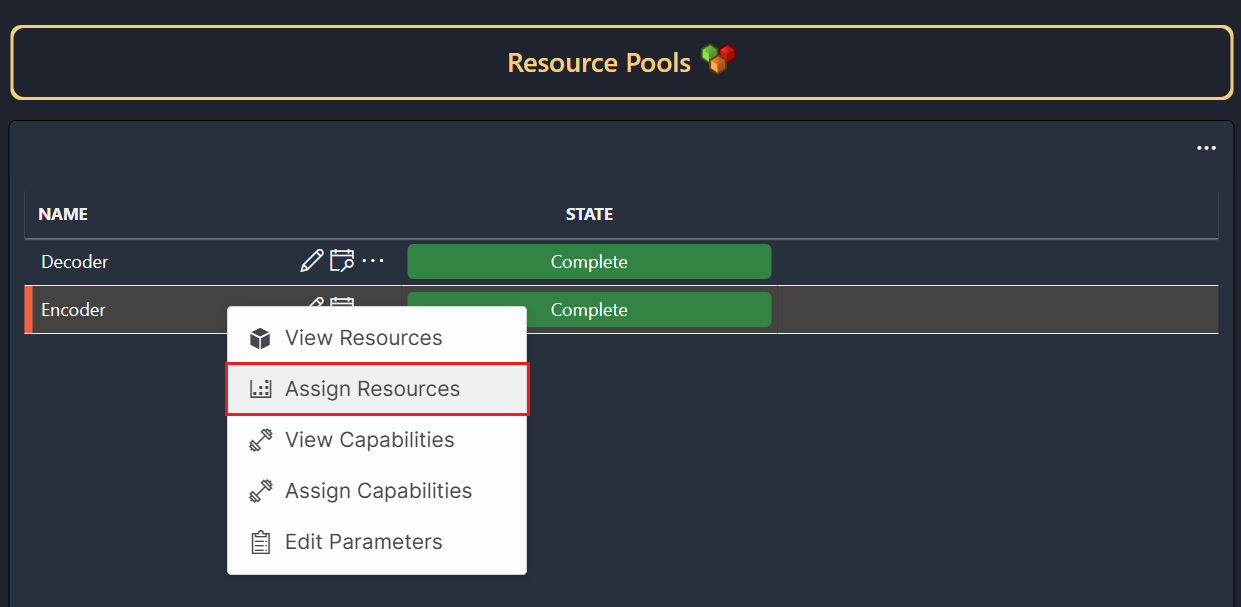
Next to the Encoder resource pool that you created earlier, click ... to open up the context menu, and select Assign Resources.
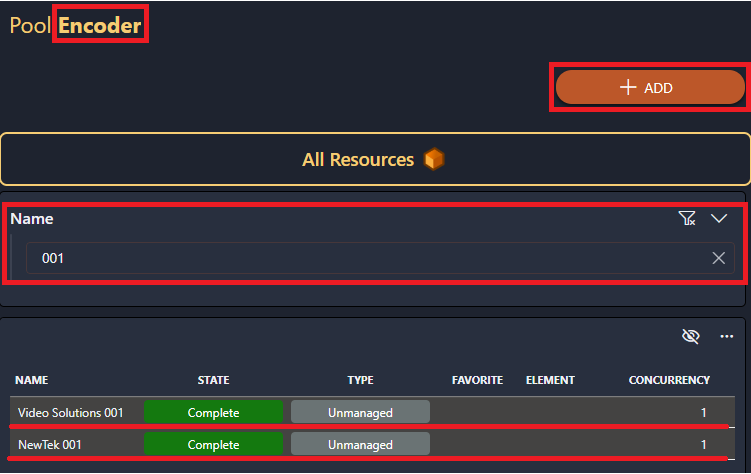
Select the Video Solutions 001 and NewTek 001 resources, and click + ADD.
You can select multiple resources in one go by keeping Ctrl pressed while you select them. If you have many resources, use the filter box at the top to quickly locate the resources you want to assign.
Tip
If one of the resources you have made does not show up in the list of resources you can select, it is most likely still set to draft. In that case, edit the resource and click Complete to mark it as complete.
Similarly, assign the NewTek 001 resource to the Decoder pool.
When the resource pool is selected in the Resource Pools table, the table to the right will now show the resources you have added to it. These are now ready for use in other applications such as Scheduling and Resource Studio.
Up next
When you have finished this tutorial, you can learn how you can add the resources you have created to a job in the tutorial Creating a job and configuring it with resources, or learn how to further fine-tune your resources in the tutorial Assigning capabilities to resources.