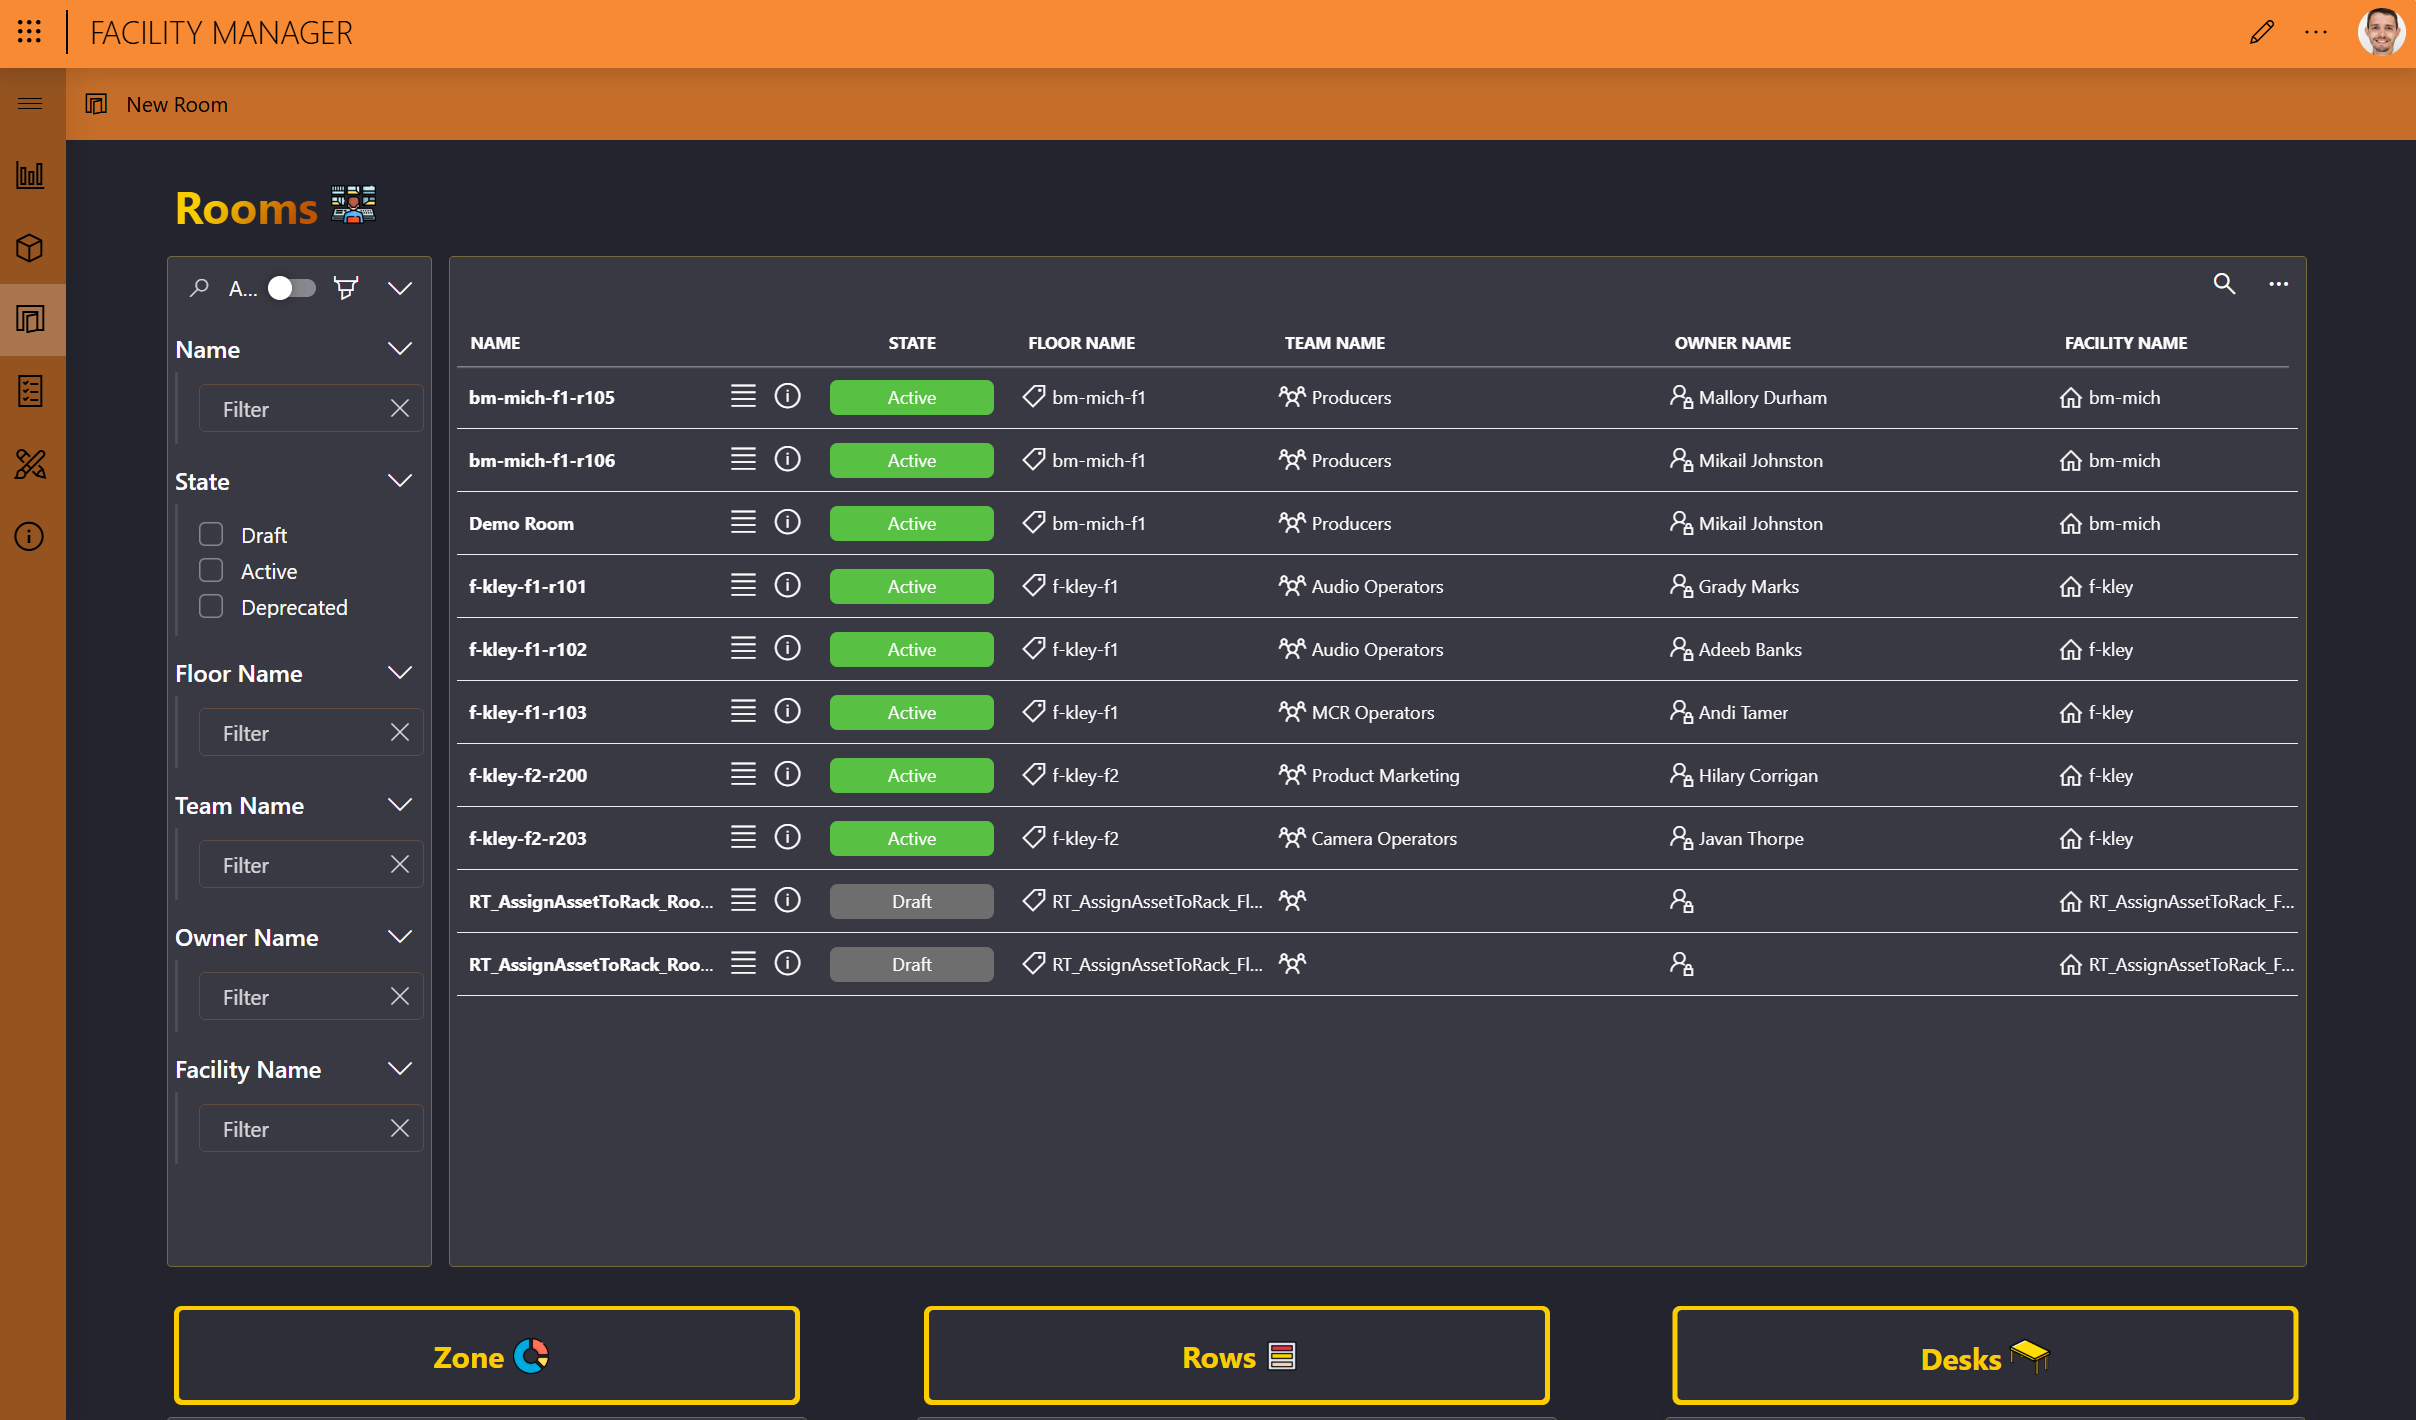
Rooms
The Rooms page of the Facility Manager contains an overview of rooms, zones, rows, and desks. Selecting a room filters the other tables accordingly.
For zones, the cooling usage percentage is displayed, which is calculated based on the maximum power consumption of the assets assigned to the racks placed in the zone. This is defined in the Asset Manager app, specifically with the asset class configuration.
When facilities, floors, and rooms have been added, this page is where you will typically continue your configuration by further detailing the rooms with zones, rows, and/or desks.
Adding a zone
In the Rooms table, click the details button (ⓘ) for the room.
At the top of the Room details pane, click Add Zone.
Specify the zone name and optionally its cooling capacity and thermal type, and click Save.
On the Room Designer page, the thermal type of the zone, i.e., Warm or Cold, will be highlighted in red or blue, respectively.
Optionally, add a plan for the zone:
Back on the Rooms page, click the details button (ⓘ) for the zone.
in the Plan section, Click the pencil icon and then select the image you want to add as the zone plan. More images can be uploaded using for selection using the Web File Manager app.
Adding a row
In the Rooms table, click the details button (ⓘ) for the room.
At the top of the Room details pane, click Add Zone.
Specify the row name and optionally a label, and click Save.
Optionally, add a plan for the row:
Back on the Rooms page, click the details button (ⓘ) for the row.
in the Plan section, Click the pencil icon and then select the image you want to add as the row plan. More images can be uploaded using for selection using the Web File Manager app.
Adding a desk
In the Rooms table, click the details button (ⓘ) for the room.
At the top of the Room details pane, click Add Desk.
Specify the desk name and click Save.
Optionally, add a plan for the desk:
Back on the Rooms page, click the details button (ⓘ) for the desk.
in the Plan section, Click the pencil icon and then select the image you want to add as the desk plan. More images can be uploaded using for selection using the Web File Manager app.