Tickets page
The Tickets page is displayed by default when you open the app.
This page provides an overview of all tickets in the system that are currently open, sorted by creation time.
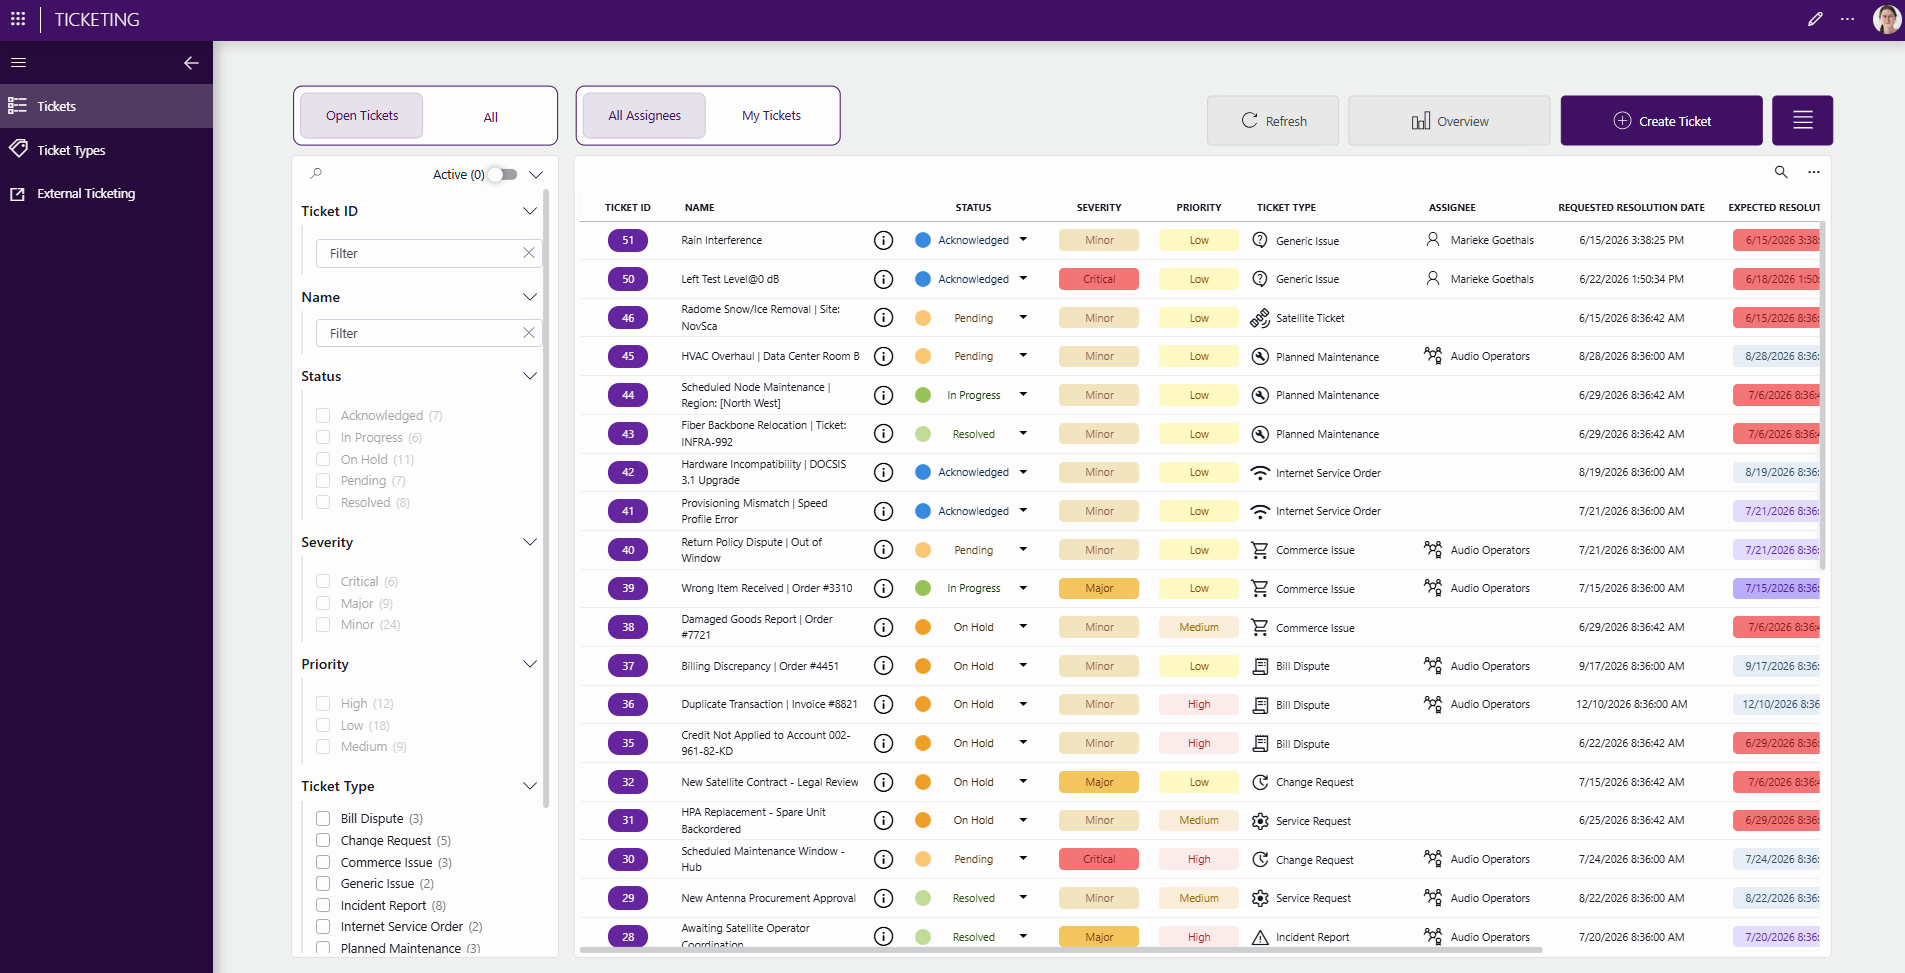
Displayed fields
For each ticket, the following information is shown:
- Ticket ID
- Name
- Status, with a button that allows you to trigger a state transition (see Ticket state transitions)
- Severity
- Priority
- Ticket type
- Assignee
- Creation date
- Requested and expected resolution dates
Color indications
The Ticketing app uses a standardized color-coding scheme for the Status, Severity, Priority, and Expected Resolution Date fields to provide instant visual feedback and make it easy to identify tickets that require attention. Below you can find more information about what the different colors represent.
Status colors
The status color allows you to quickly distinguish active tickets from completed or inactive tickets. Ticket statuses are represented using the following colors:
| Status | Color |
|---|---|
| Acknowledged | Blue |
| In Progress | Green |
| Pending | Amber |
| On Hold | Orange |
| Resolved | Light Green |
| Closed | Black |
| Rejected | Gray |
| Canceled | Gray |
Severity colors
The severity colors make high-impact incidents immediately recognizable within ticket lists and dashboards. Severity indicates the impact of the issue and is displayed using distinct colors:
| Severity | Color |
|---|---|
| Critical | Red |
| Major | Orange |
| Minor | Light Brown |
Priority colors
Priority indicates how urgently a ticket needs to be resolved. These colors help support teams focus on the most urgent work first.
| Priority | Color |
|---|---|
| Critical | Red |
| High | Light Red |
| Medium | Beige |
| Low | Light Yellow |
Expected resolution date colors
The expected resolution date is color-coded based on the remaining time before the target resolution date:
| Resolution Timeline | Color |
|---|---|
| Closed, Rejected, or Canceled tickets | No coloring applied (inactive tickets) |
| Past due date | Red |
| Due today | Orange |
| Due within the next 3 days | Dark Purple |
| Due in 4–7 days | Light Purple |
| Due more than 1 week away | Light Pigeon Blue |
This color scheme helps you identify overdue tickets, upcoming deadlines, and tickets with sufficient remaining resolution time at a glance. Tickets that are no longer active do not display urgency-based coloring because no further action is required.
Filtering
The Tickets page includes several filtering options:
Basic filters, available via the magnifying glass icon in the upper-right corner of the tickets table:
- Filter by status (for example, In Progress, Pending, Resolved, On Hold, Acknowledged)
- Filter by severity (for example, Critical, Major, Minor)
- Filter by priority (for example, High, Medium, Low)
- Filter by ticket type (for example, Generic Issue, Service Disruption)
- Filter by assignee (for example, P&O Team, P&O Person)
- Search by Ticket ID
- Search by name or keyword
Predefined filters, available via buttons in the upper-left corner:
Open Tickets: Default view.
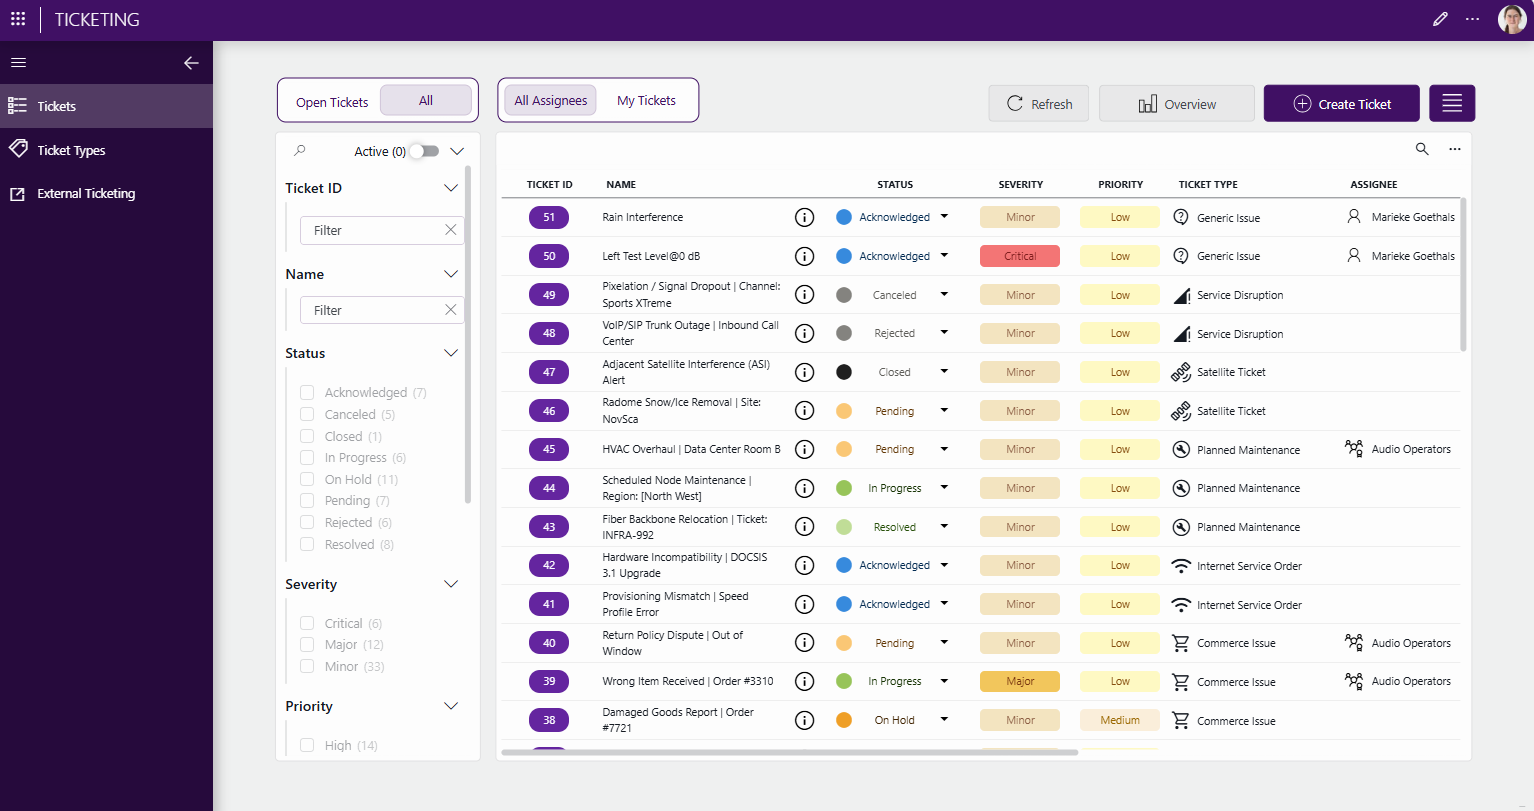
All: Shows all tickets, including closed, canceled, and rejected tickets.
For example, below all tickets are set to be shown:
Assignment filter, available to the right of the predefined filters:
All Assignees: View tickets assigned to all users.
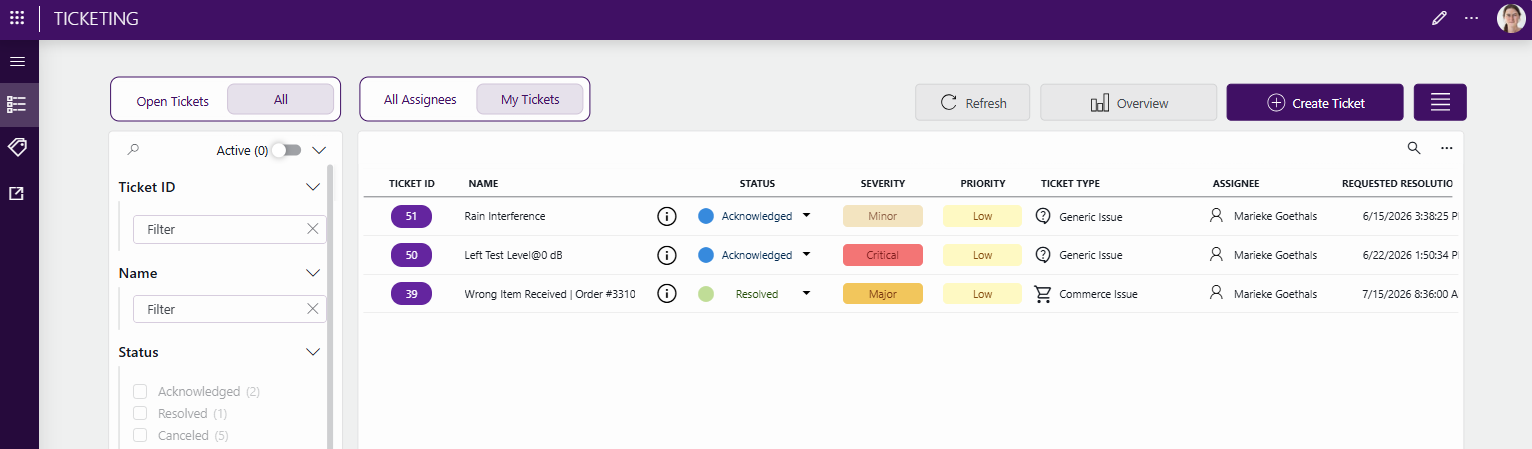
My Tickets: View tickets assigned to the current user (based on People & Organizations), for example:
Tip
To make sure tickets can be assigned to DataMiner users, the user accounts must be mapped to People & Organizations contacts.
Viewing closed tickets
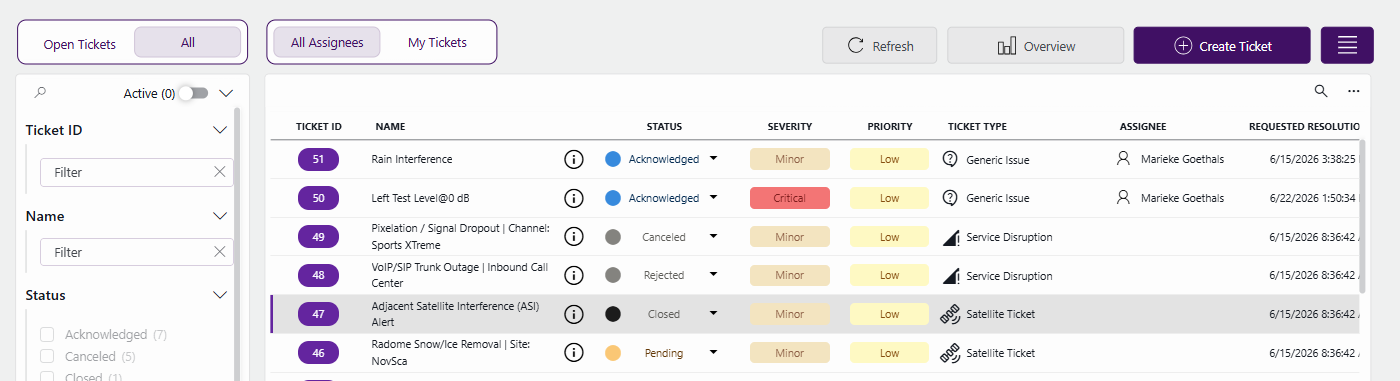
Once a ticket is closed, it is no longer shown in the default Open Tickets view. To locate it, switch to the All filter, which includes closed, canceled, and rejected tickets.
For example, the ticket #47 below is shown as Closed in the full ticket list:
Creating tickets
The Create Ticket button in the upper-right corner can be used to manually add a ticket. For details, refer to Manually creating a ticket in the Ticketing app.
Overview subpage
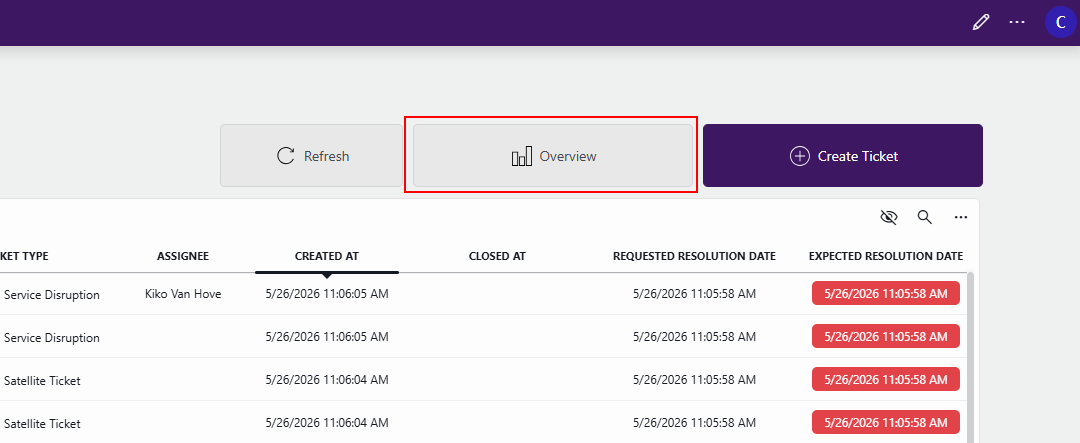
Via the Overview button in the upper-right corner of the Tickets page, you can access the Overview subpage.
This subpage provides a high-level summary of all tickets in the system, allowing you to quickly monitor workloads, identify trends, and track the current status of open issues. It serves as a central dashboard where key ticket statistics and recently created tickets are displayed in one place.
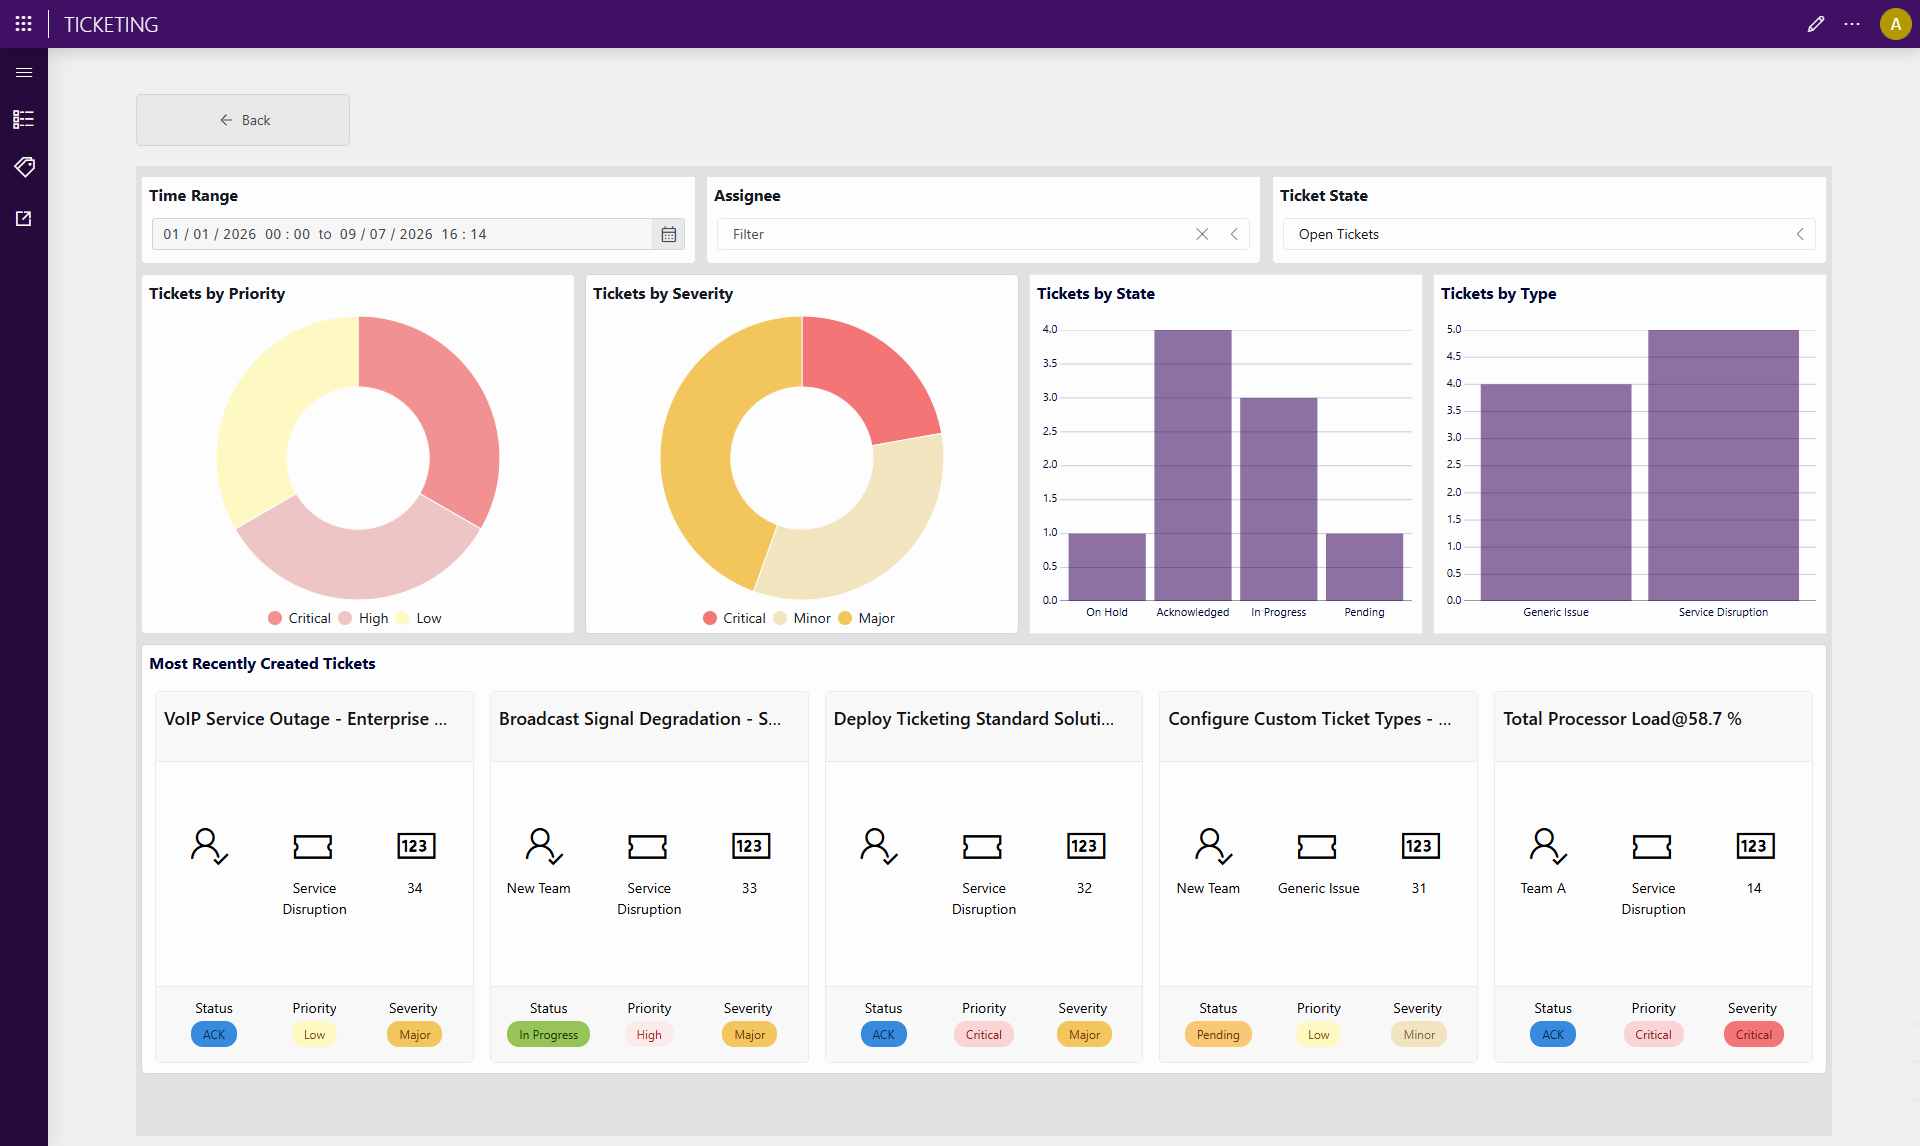
At the top of the page, you can use the available filters to narrow down the displayed information:
- Time Range: Display ticket statistics for a specific period.
- Assignee: Display tickets assigned to a particular user or team.
- Ticket State: Focus on tickets in a specific status, such as Open, Pending, Resolved, or In Progress.
The dashboard includes several charts that provide insight into your ticket data:
- Tickets by Priority: Shows how tickets are distributed across priority levels (for example: Low, Medium, and High).
- Tickets by Severity: Displays the number of tickets based on their severity, helping identify critical issues that may require immediate attention.
- Tickets by State: Provides an overview of the current status of tickets, such as Open, Pending, Acknowledged, Resolved, or In Progress.
- Tickets by Type: Breaks down tickets by category or ticket type, giving visibility into the kinds of requests being handled.
At the bottom of the page, the Most Recently Created Tickets section displays the latest tickets added to the system. This section allows you to quickly review newly created tickets and access them for further investigation or action.
Ticket Information subpage
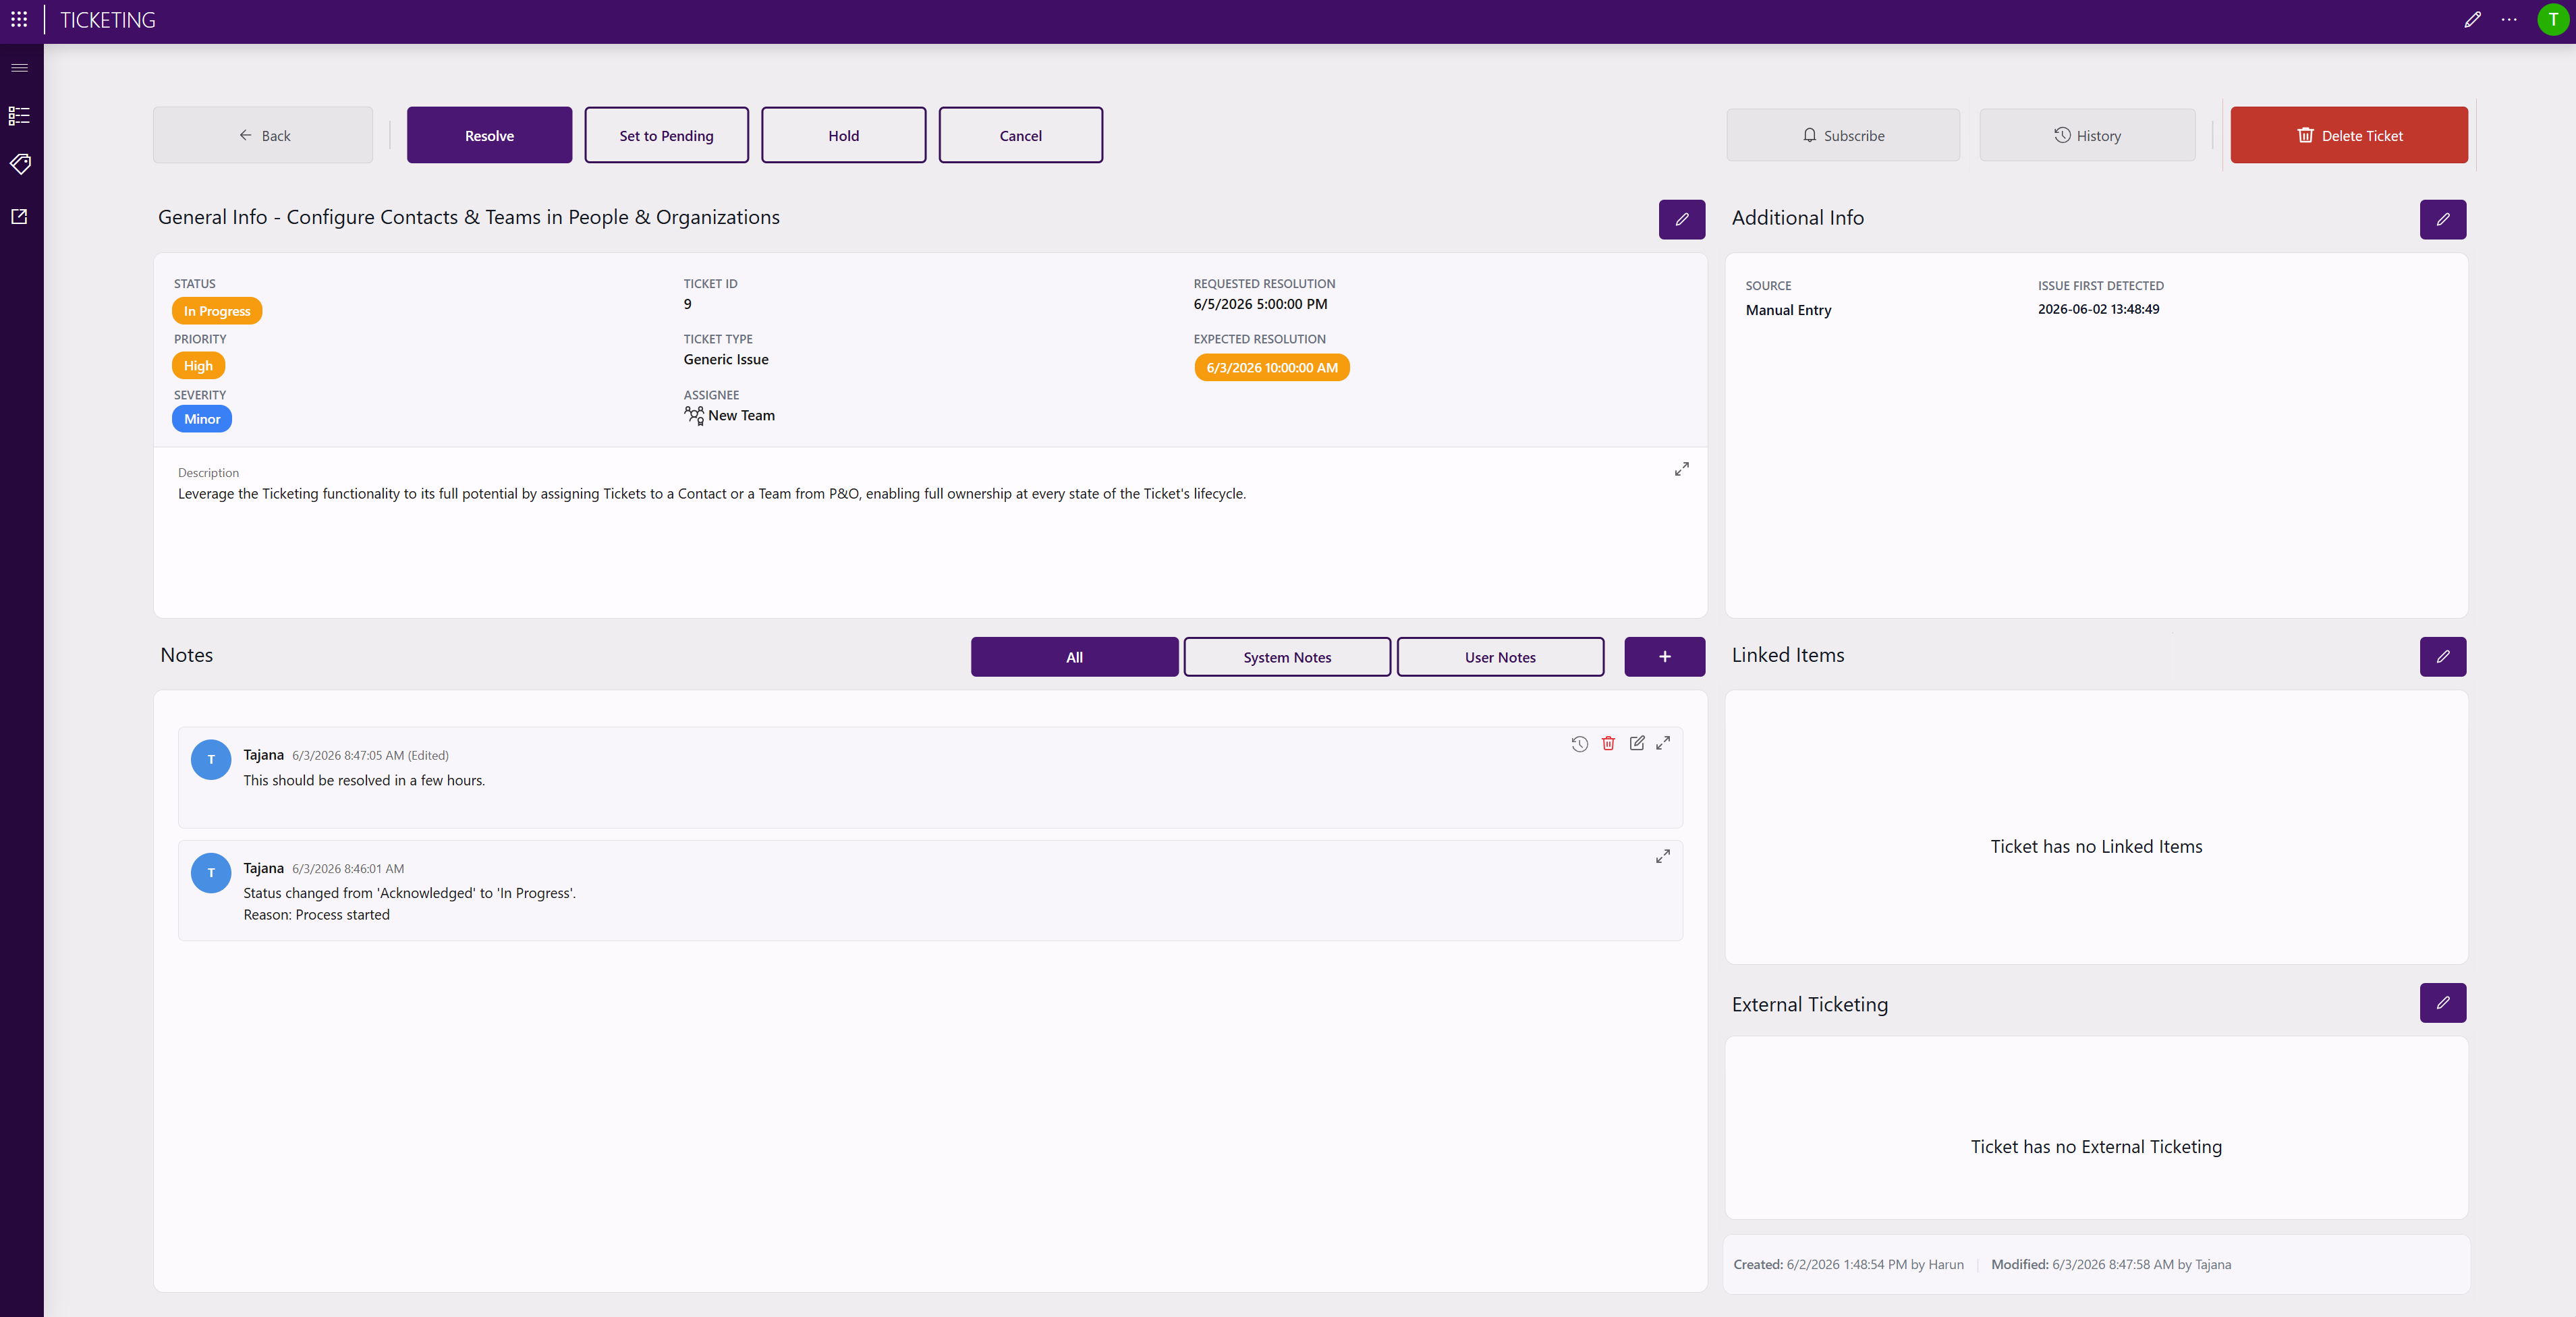
When you click the information icon for a ticket on the Tickets page, this will open the Ticket Information subpage for this ticket.
General Info section
In the upper-left corner, this page displays the following general information:
- Status
- Priority
- Severity
- Ticket ID
- Ticket type
- Assignee
- Requested and expected resolution dates
- Description
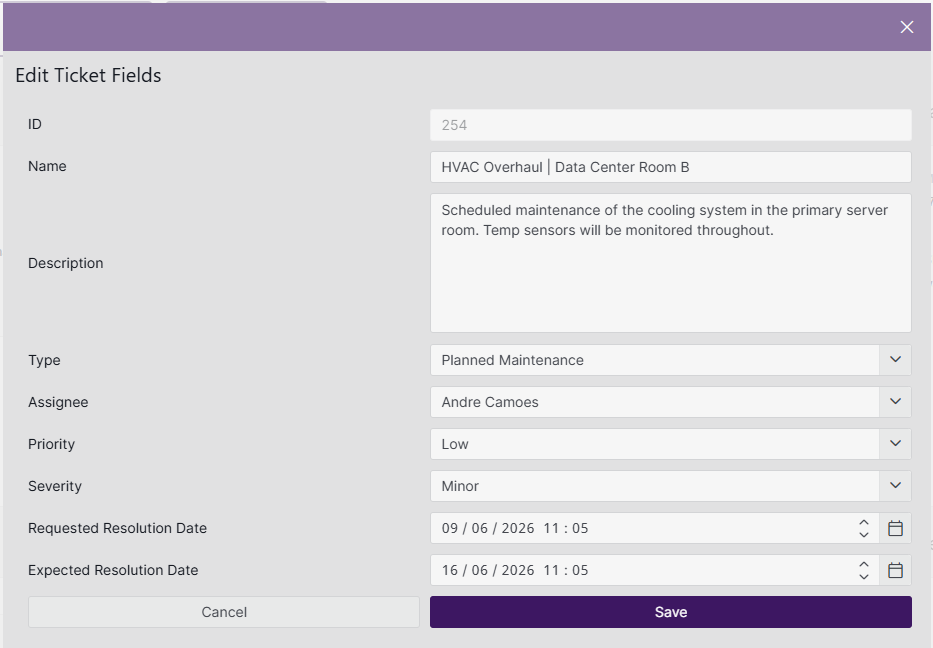
Via the pencil icon in the upper-right corner of this section, you can open a pane where you can edit this general information, for example:
Additional Info section
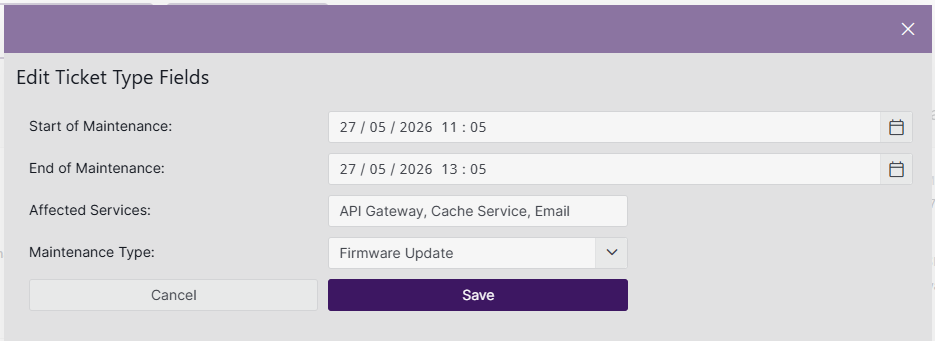
In the upper-right corner, any additional fields defined in the ticket type are displayed.
Via the pencil icon in this section, you can edit the values as needed, for example:
Ticket state transitions
The ticket transition controls at the top of the Ticket Information subpage can be used to progress the ticket through its lifecycle. A reason must be provided for every state change, which is automatically recorded in the Notes section.
Tickets usually follow a defined lifecycle. The ideal path for them to follow, i.e., the "happy path", goes as follows: Acknowledged → In Progress → Resolved → Closed.
The suggested next step according to the happy path is highlighted and placed first in the list of state transition controls, for example:
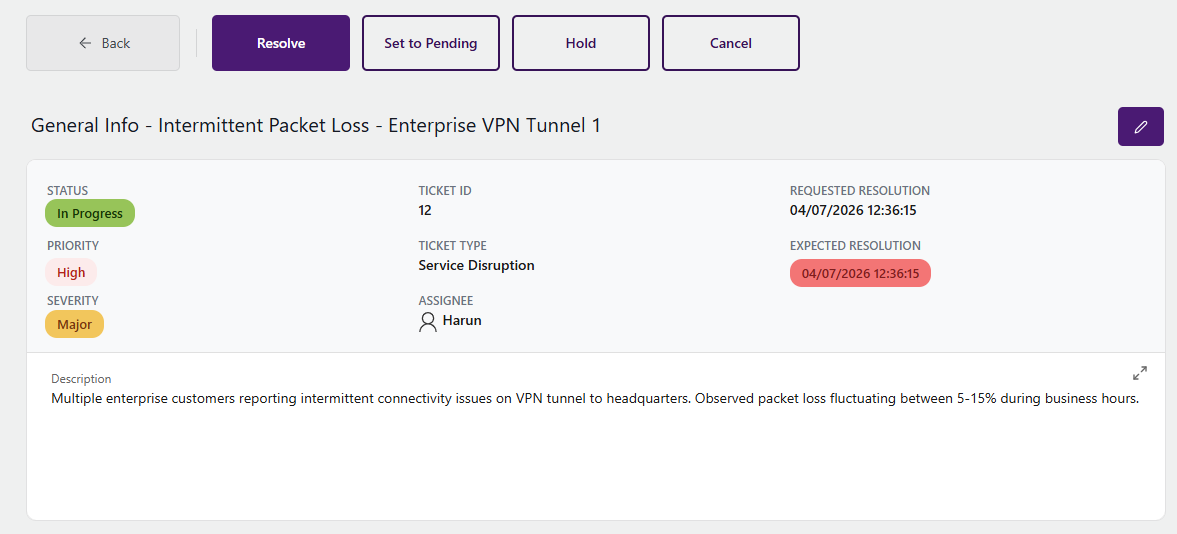
When applicable, alternative transitions are also available.
Tip
Quick state transitions are also possible via the drop-down buttons in the State column of the main Tickets page, or via the bulk actions button.
Subscribe button
You can subscribe to a ticket by using the Subscribe button on the Ticket Information page.
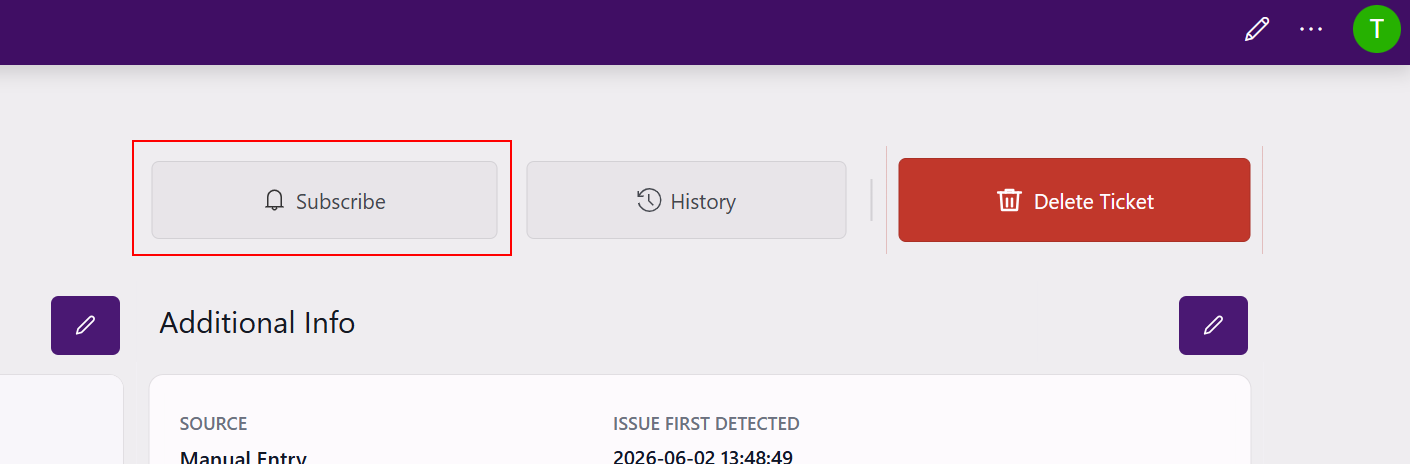
When you are subscribed to a ticket, you will receive email notifications whenever the ticket is updated, including:
- State changes
- Field updates
- New notes
- Changes to linked items
- Other modifications made to the ticket
This way, you can stay informed about ticket progress without being assigned to the ticket directly.
History button
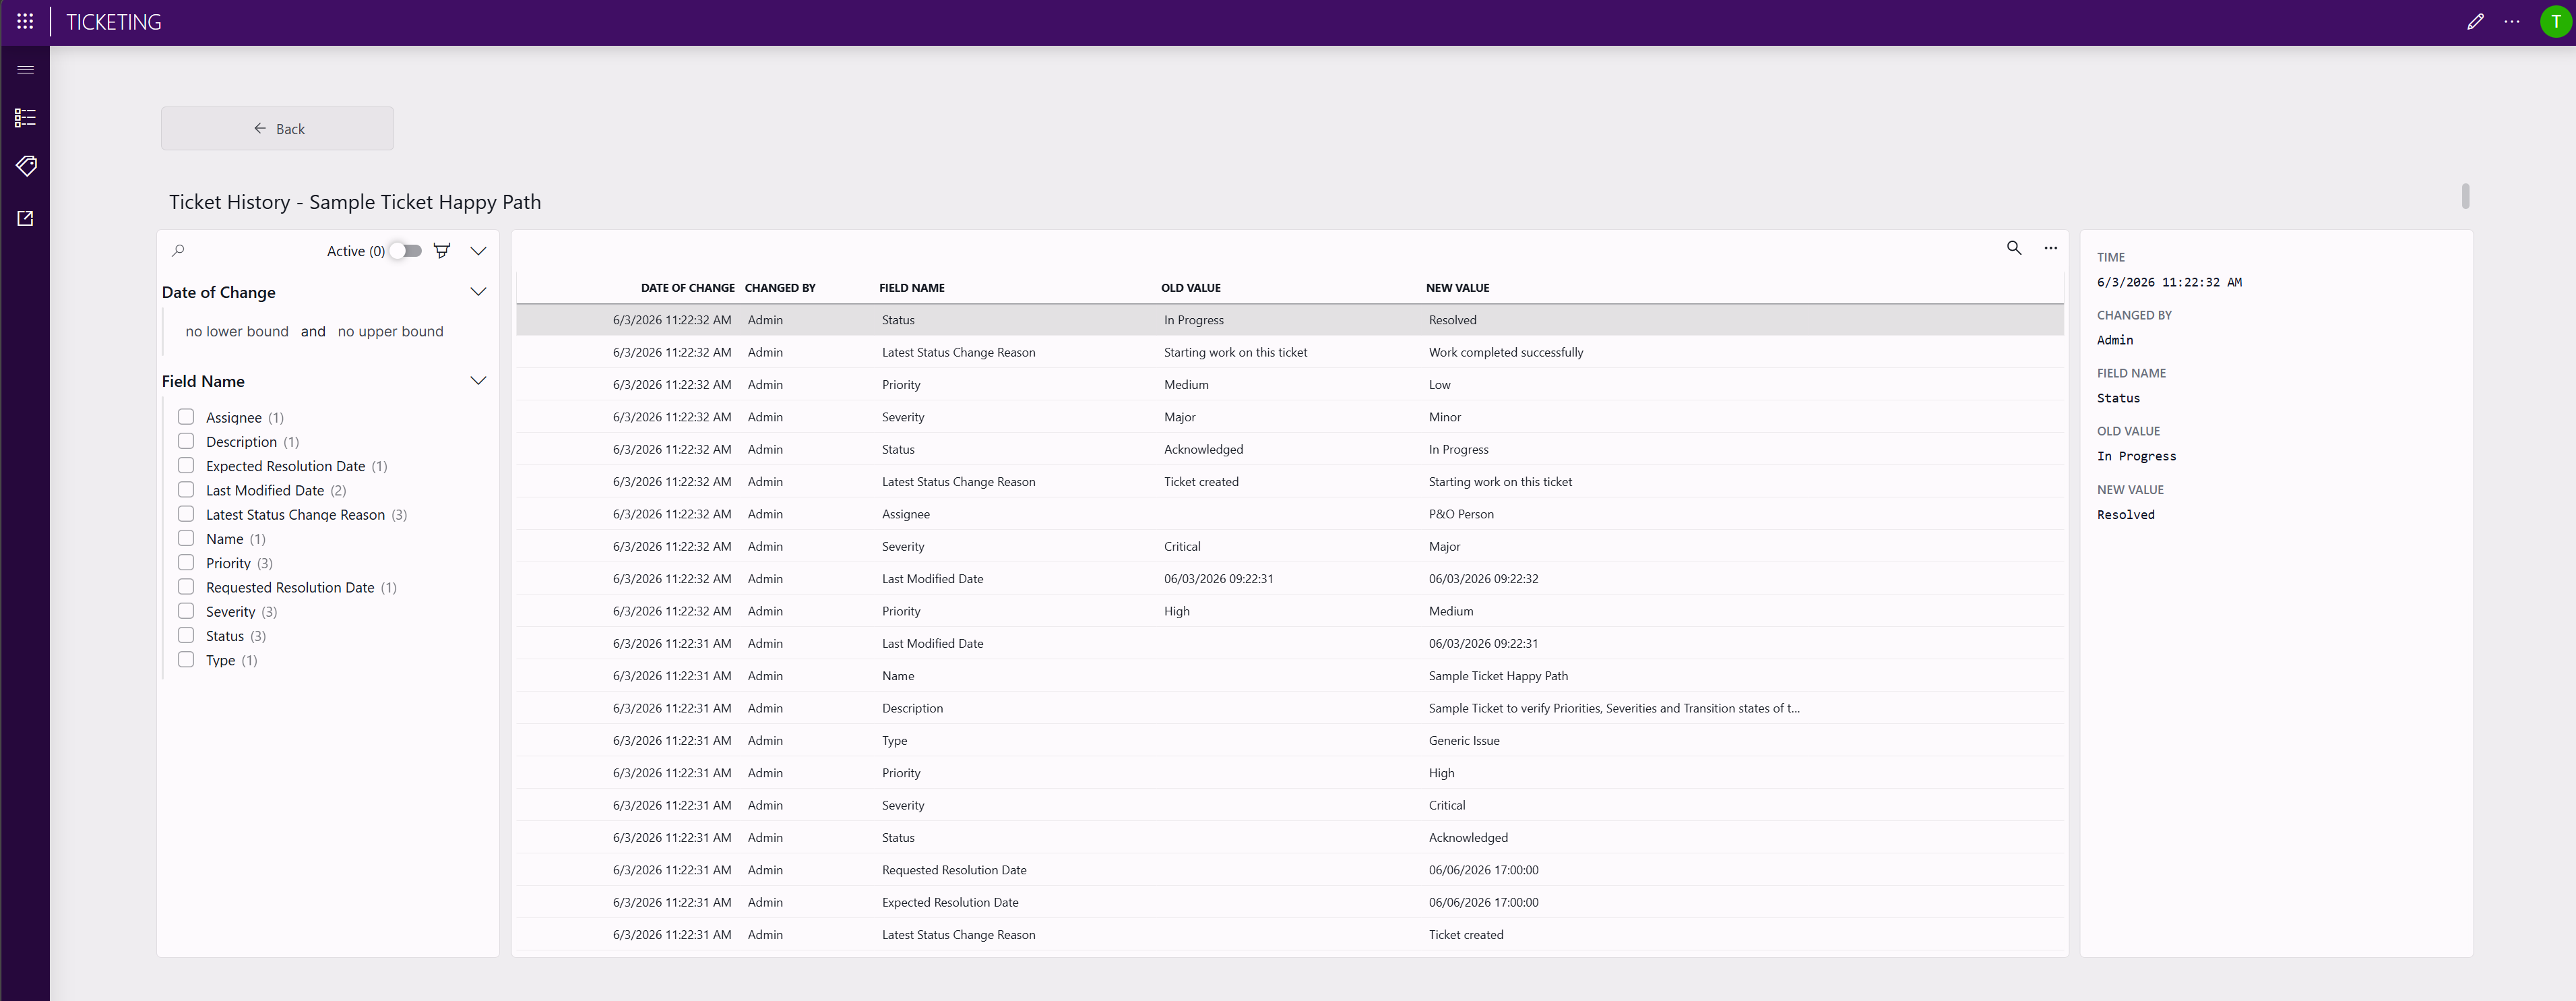
Via the History button on the Ticket Information page, you can access a complete audit trail of all changes made to a ticket throughout its lifecycle.
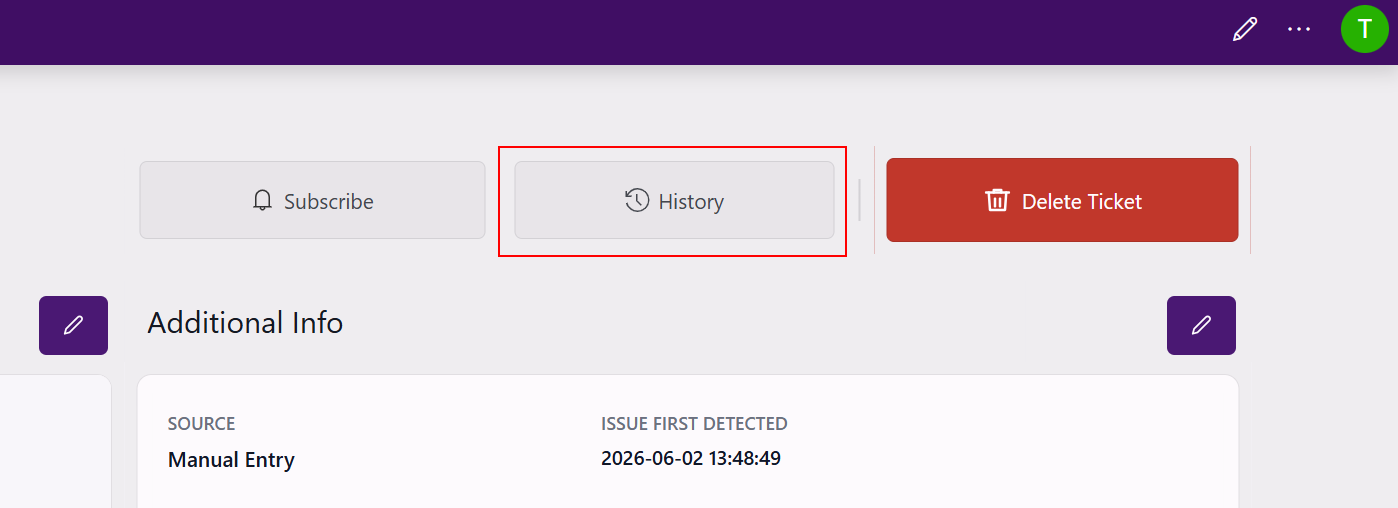
For every modification, the history records show the following information:
- The date and time of the change
- The user who performed the change
- The modified field name
- The previous value
- The new value
The history page also includes filtering options, allowing you to focus on specific field changes and quickly locate relevant updates.
This audit trail provides full visibility into how a ticket evolved over time and supports operational reviews, troubleshooting, compliance requirements, and accountability.
Linked Items section
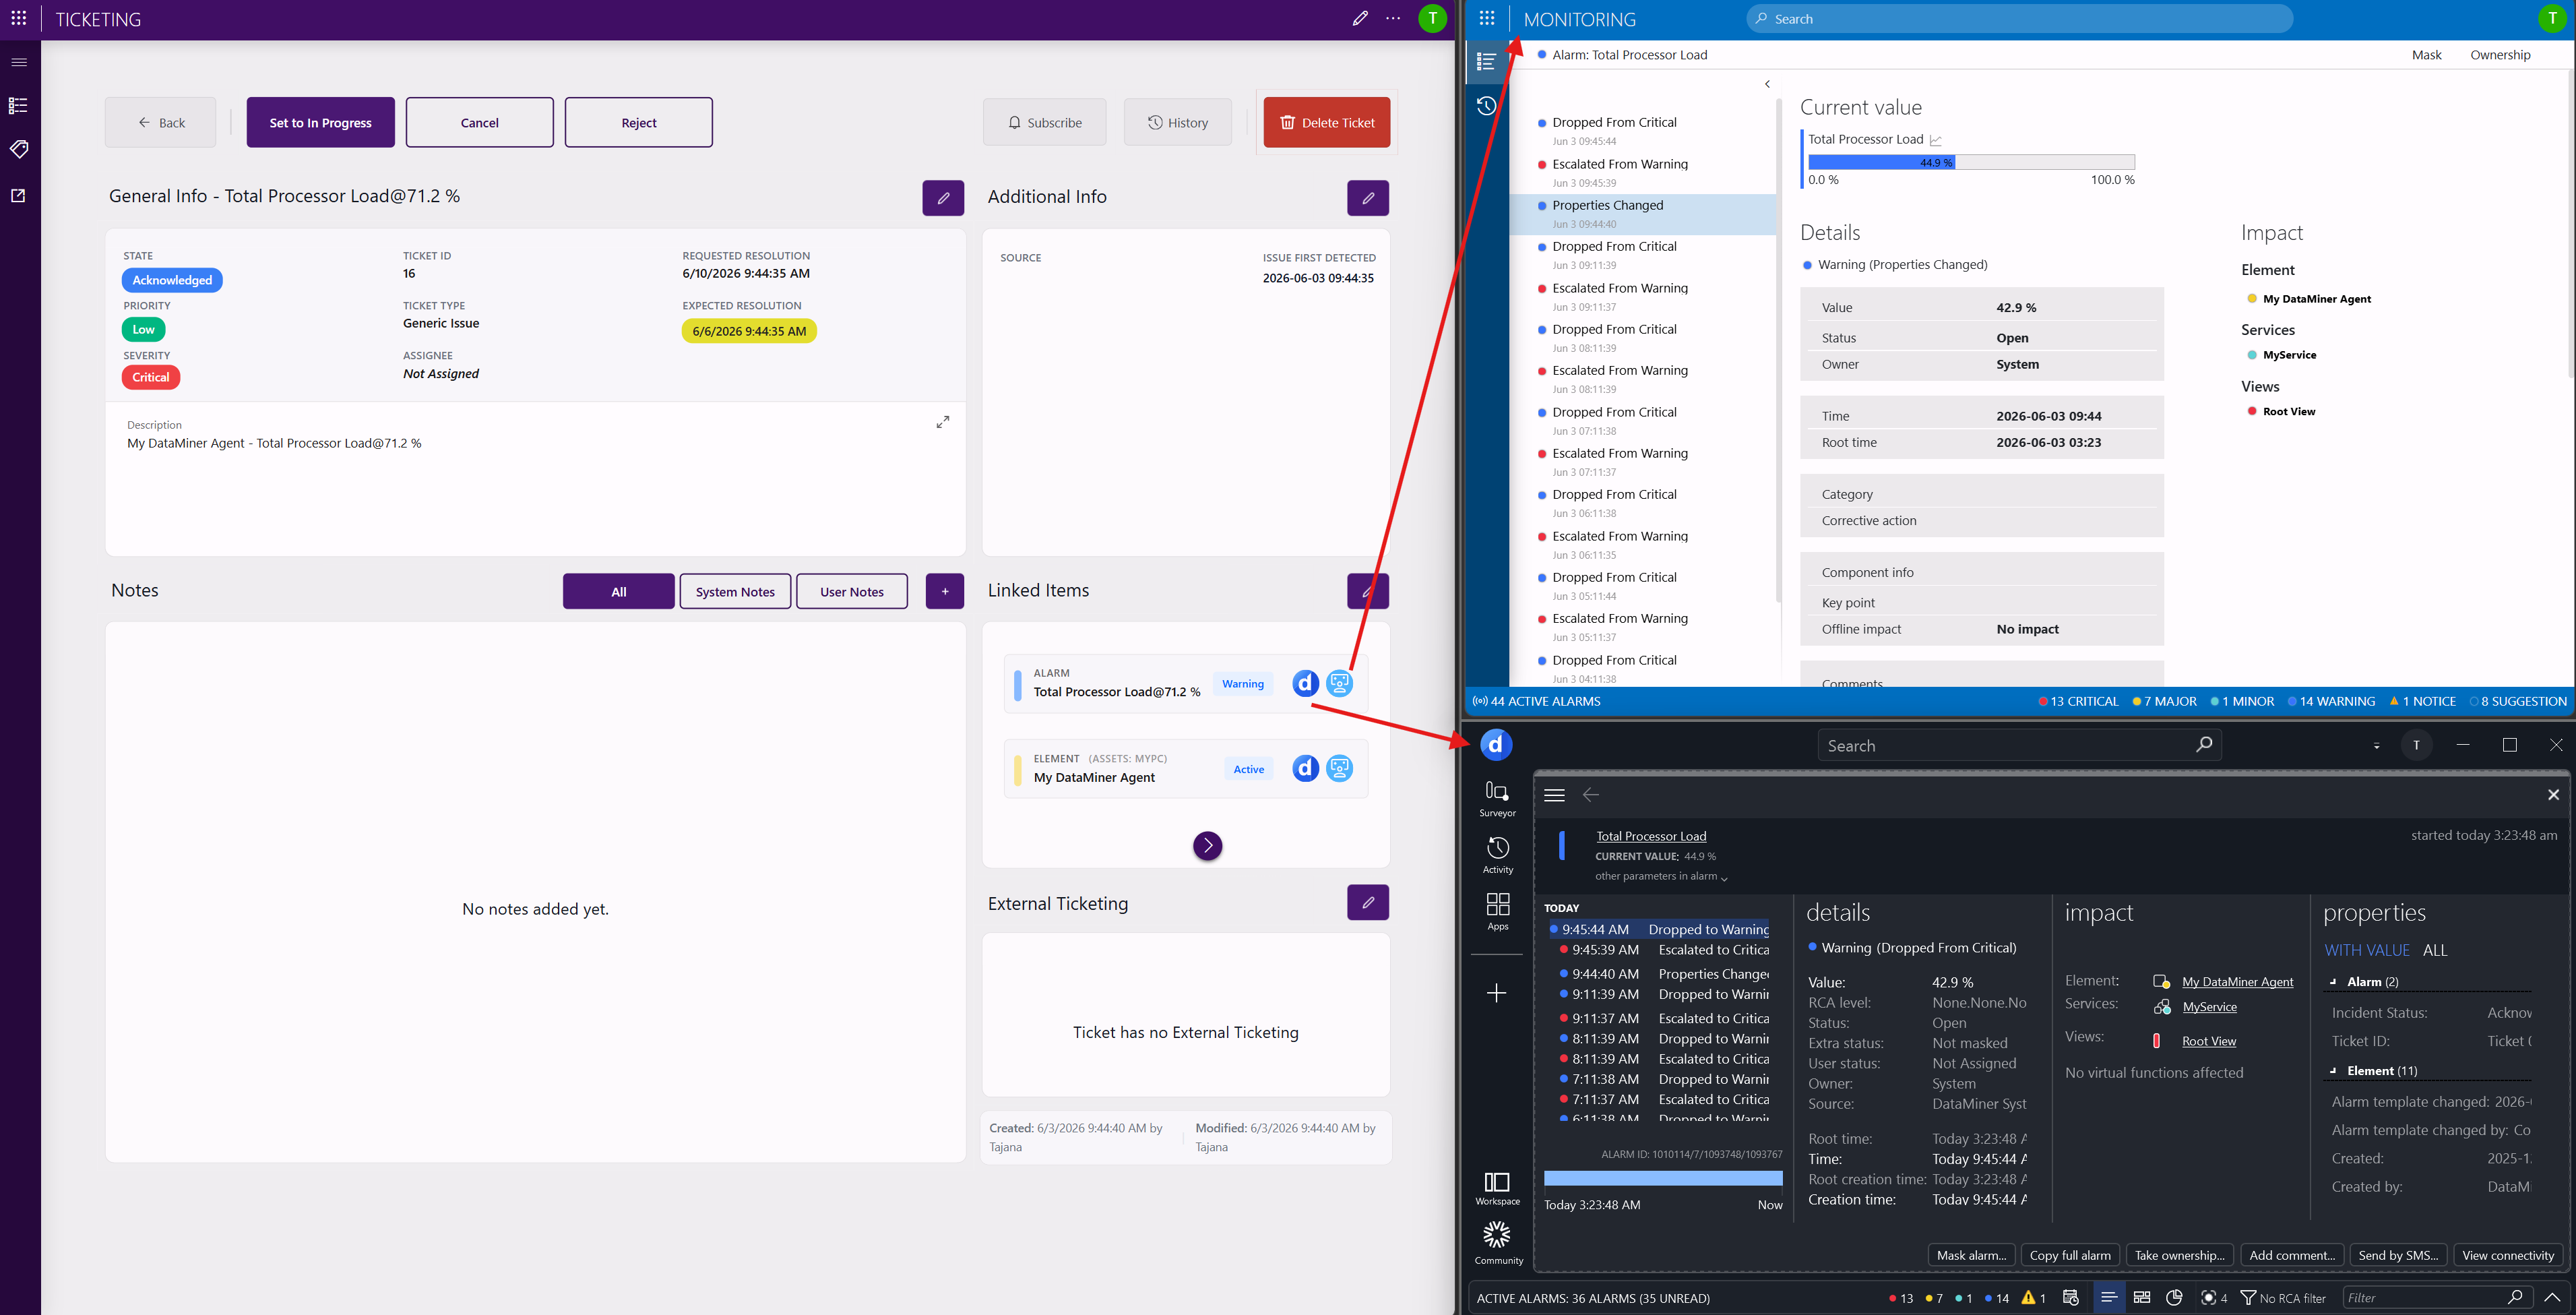
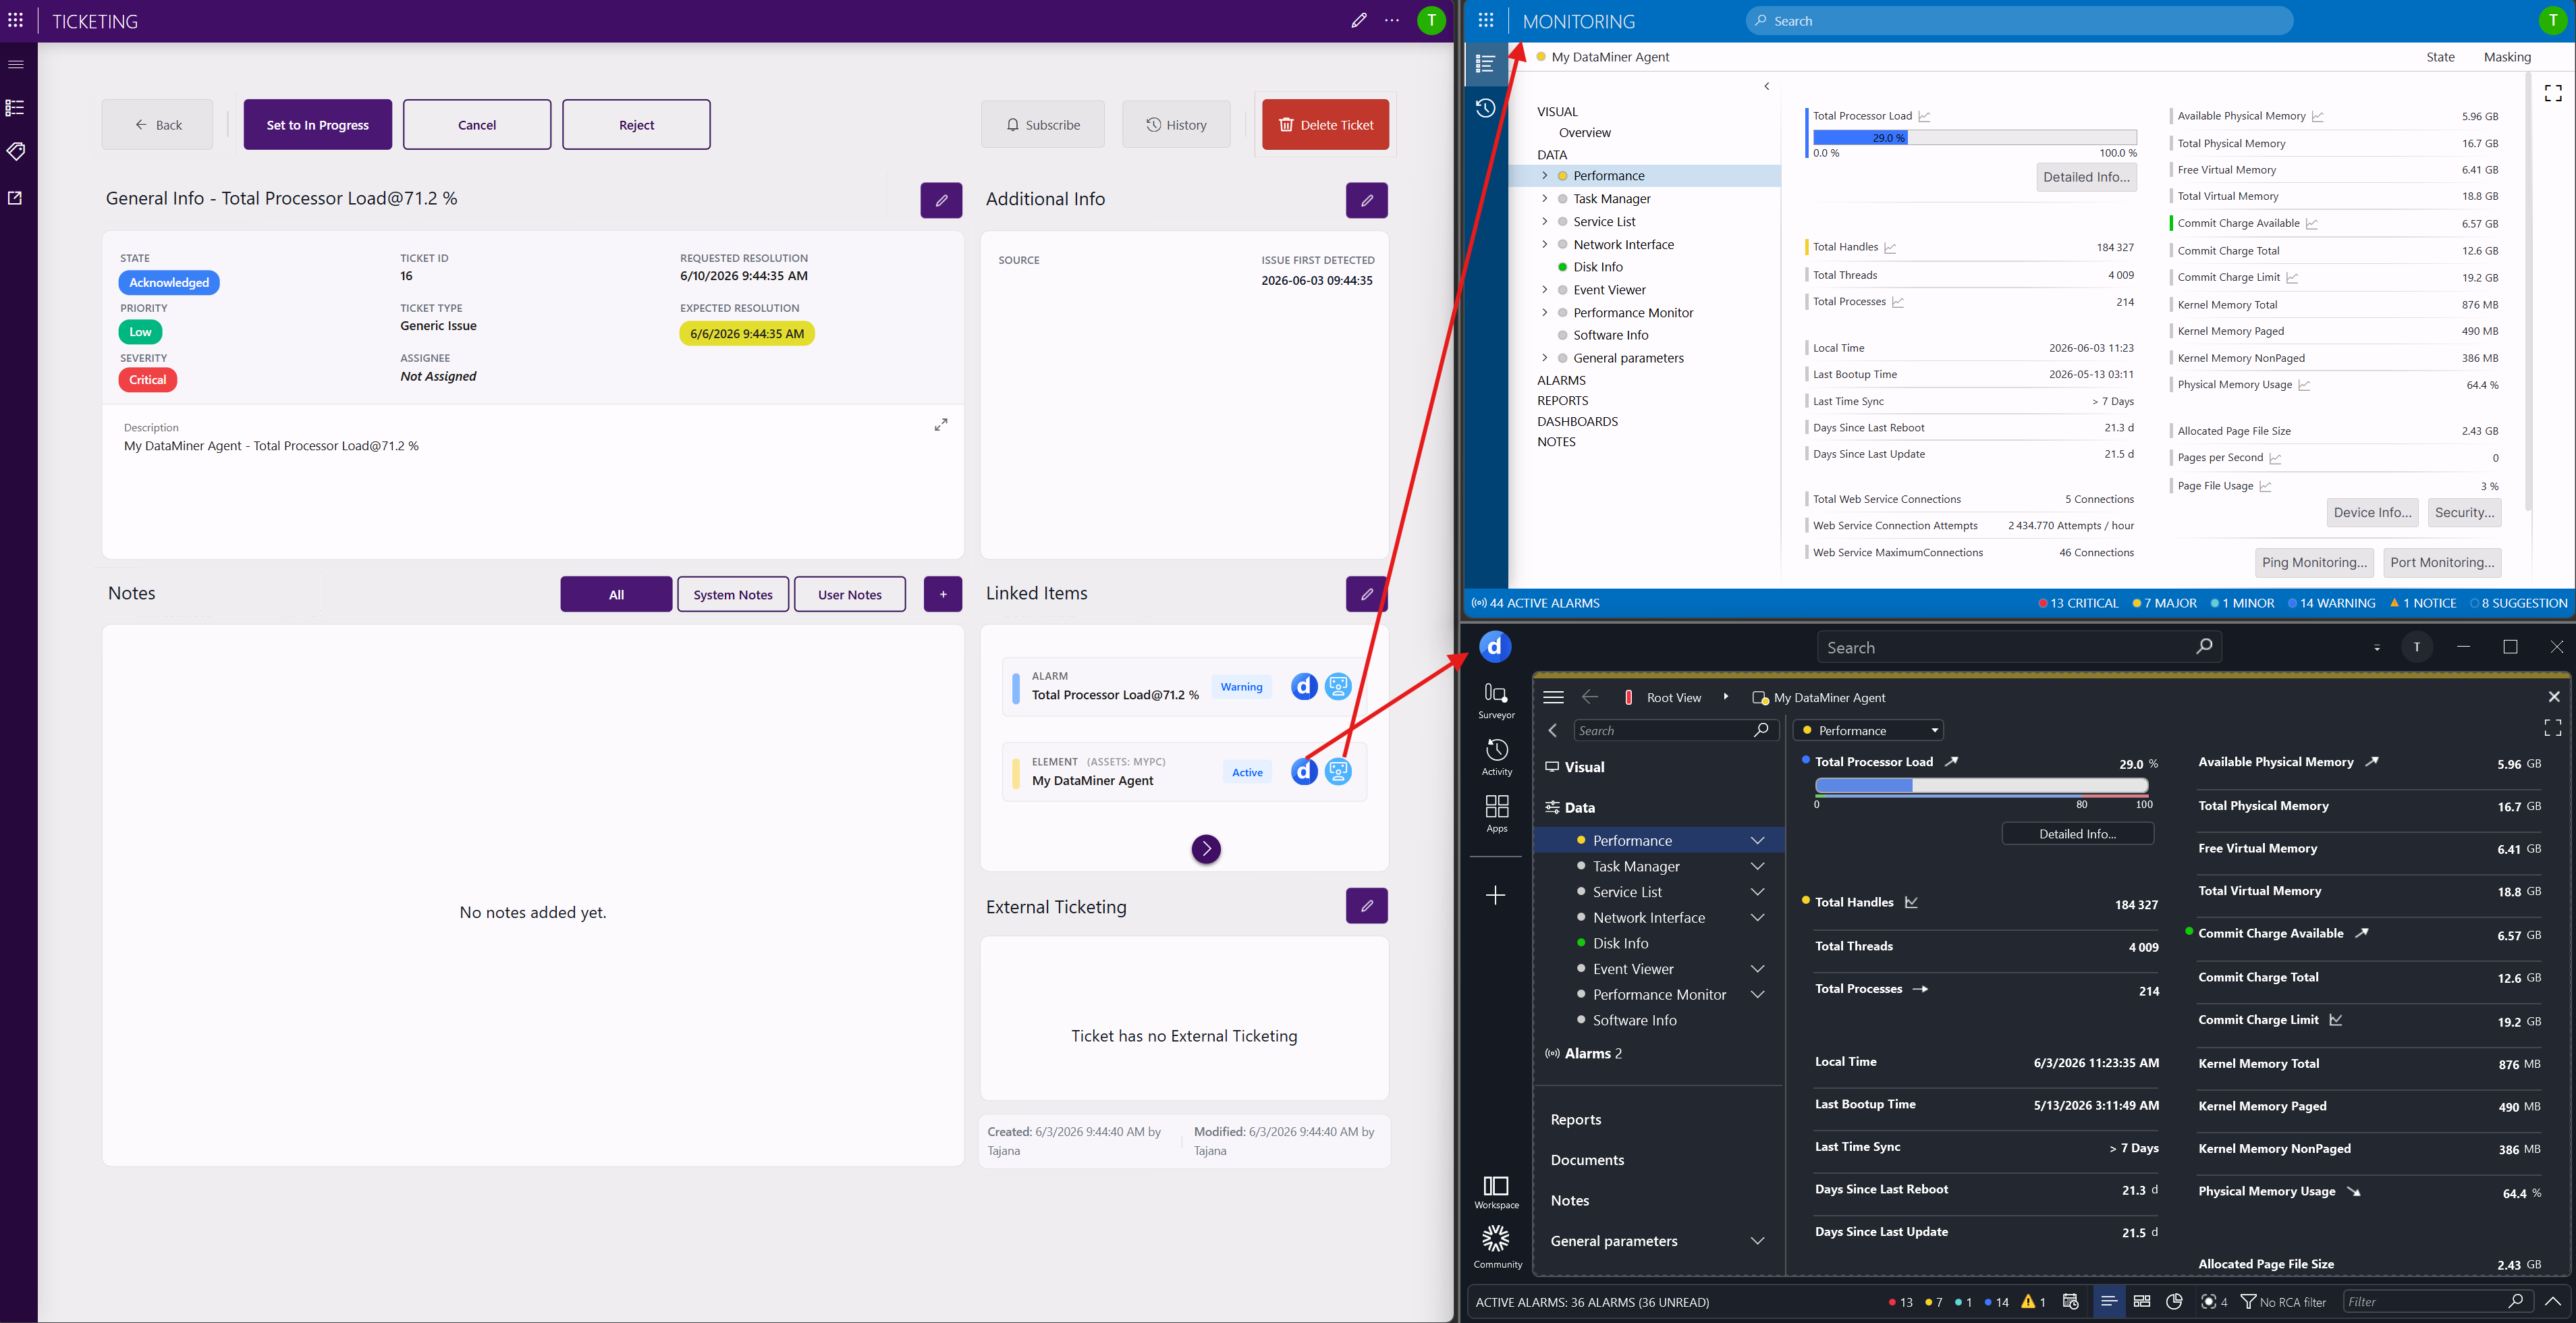
If a ticket has been linked to an item, this is shown in the Linked Items section.
Tickets can be linked to the following objects (depending on your setup):
- Alarms
- Elements
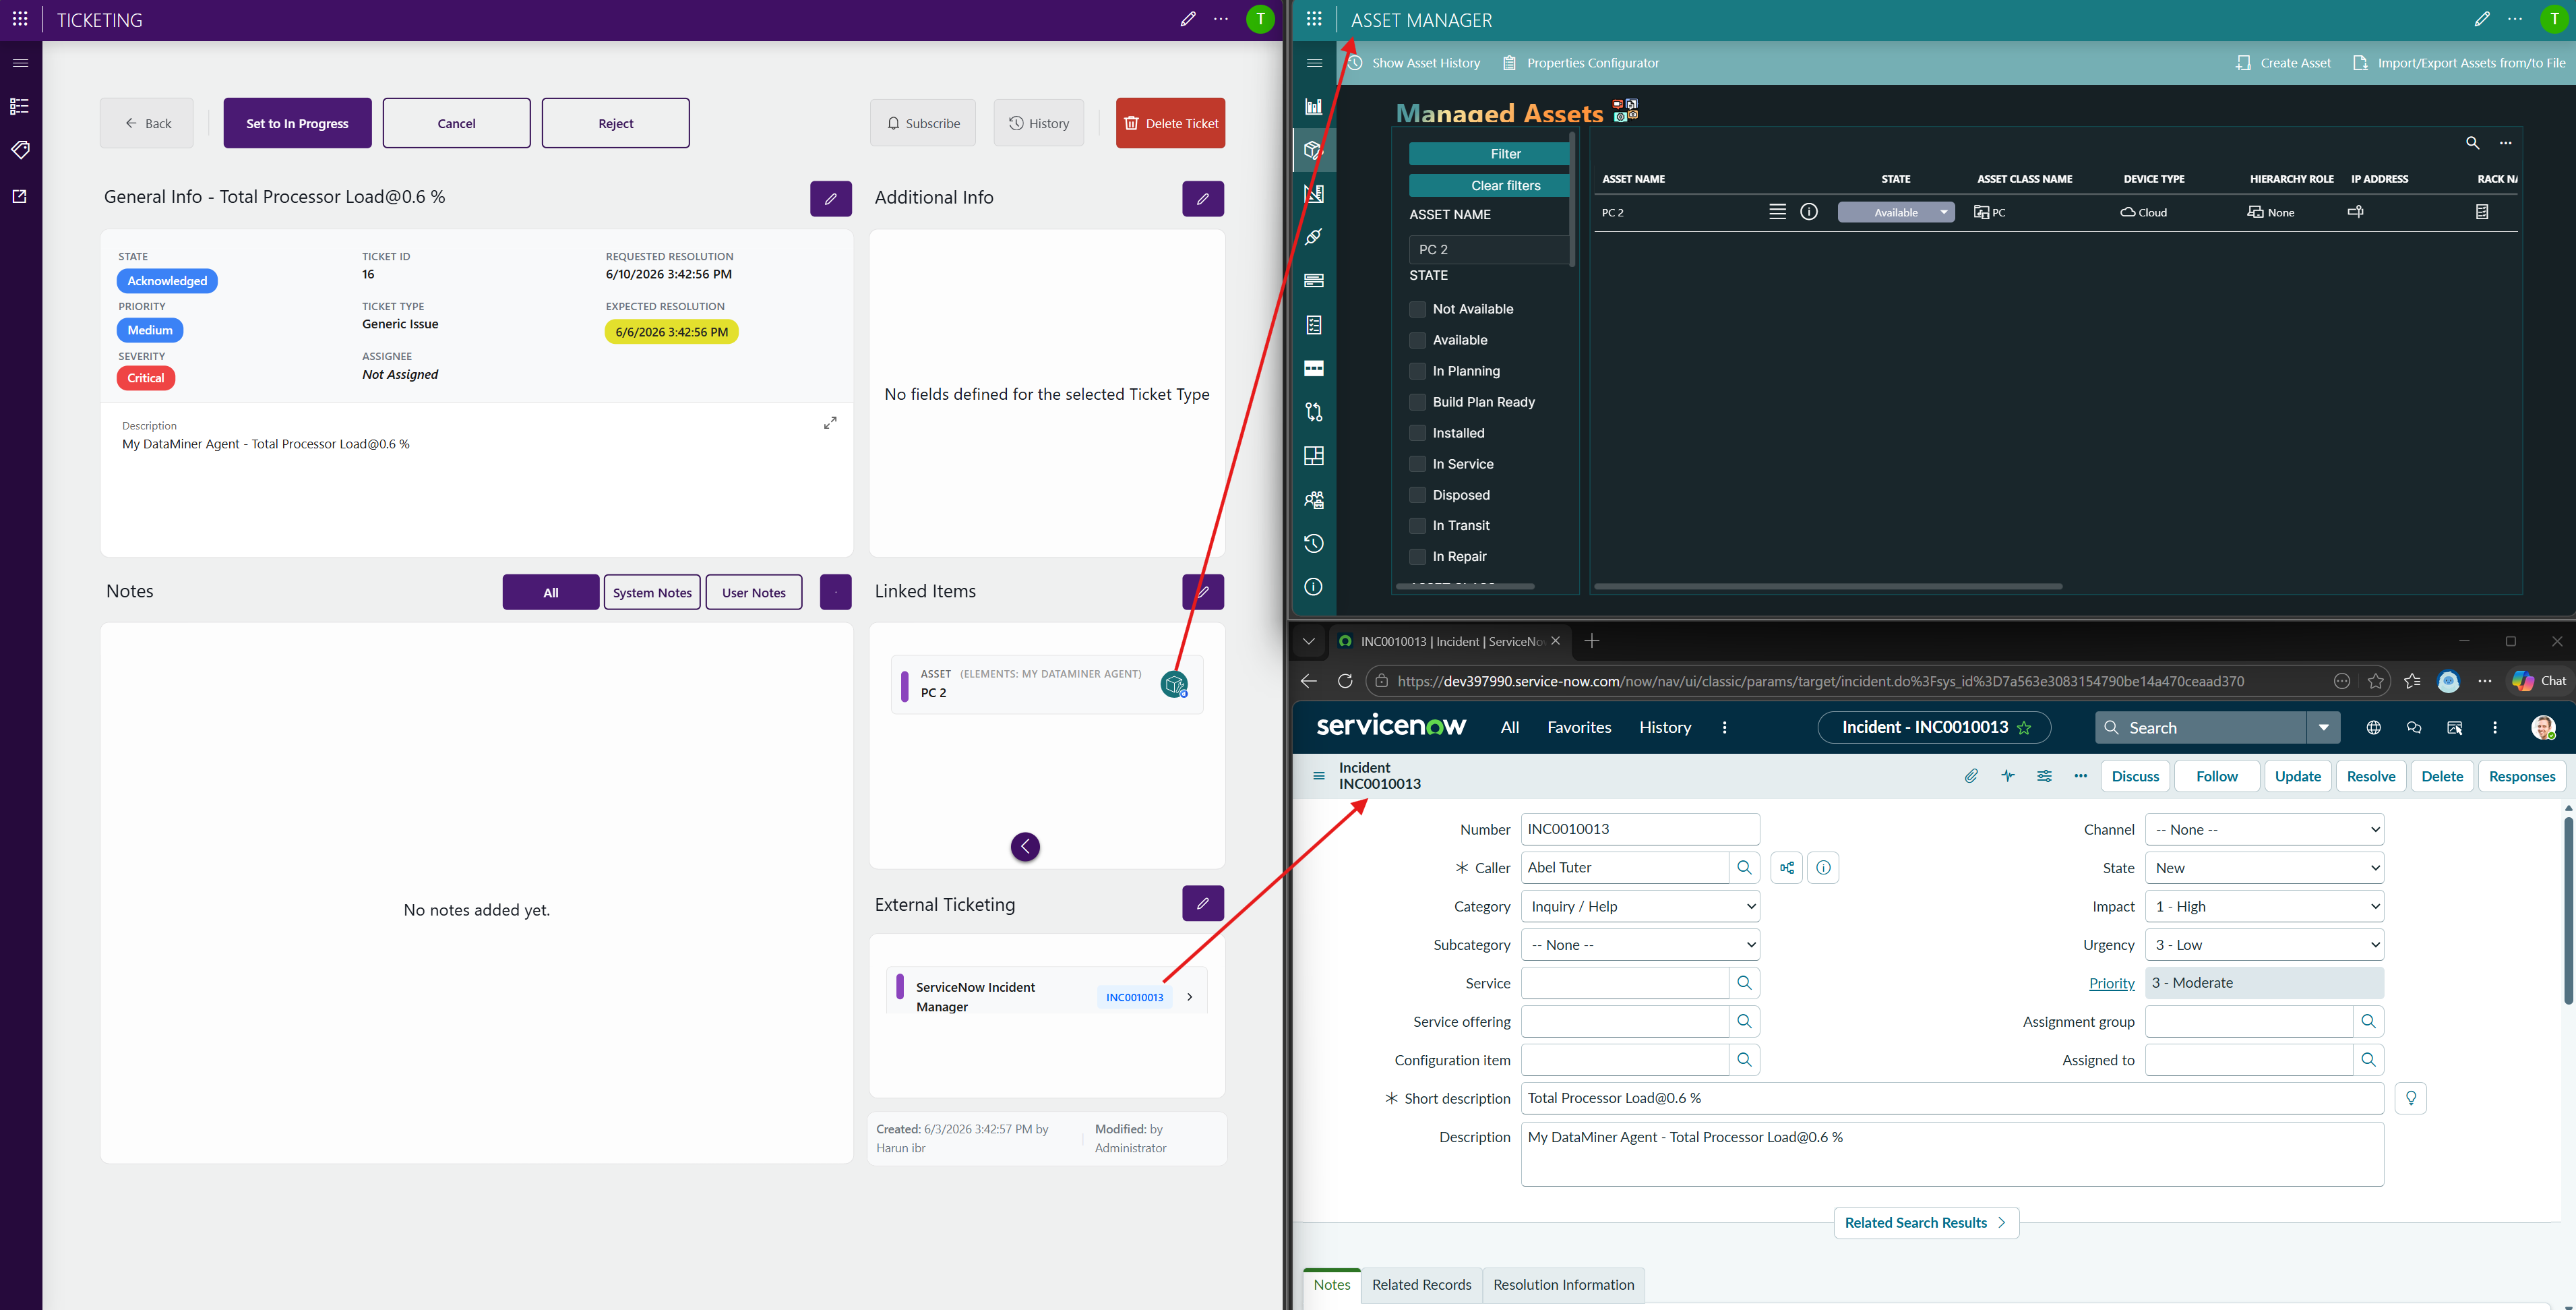
- Assets
- Services
- External tickets
Clicking the  or
or  icon for a linked alarm, element, or service will show the corresponding item in the Monitoring app or Cube app, respectively.
Clicking a linked asset will open Asset Manager, while clicking an external ticket will open the external ticketing system (for example, ServiceNow):
Notes section
The Notes section provides a history of system notes and user notes:
- System notes are created for state changes. Whenever a user changes the state of a ticket, they need to provide the reason, which is then included in a system note.
- Additional user notes can be added at any point. These can also be edited or removed.
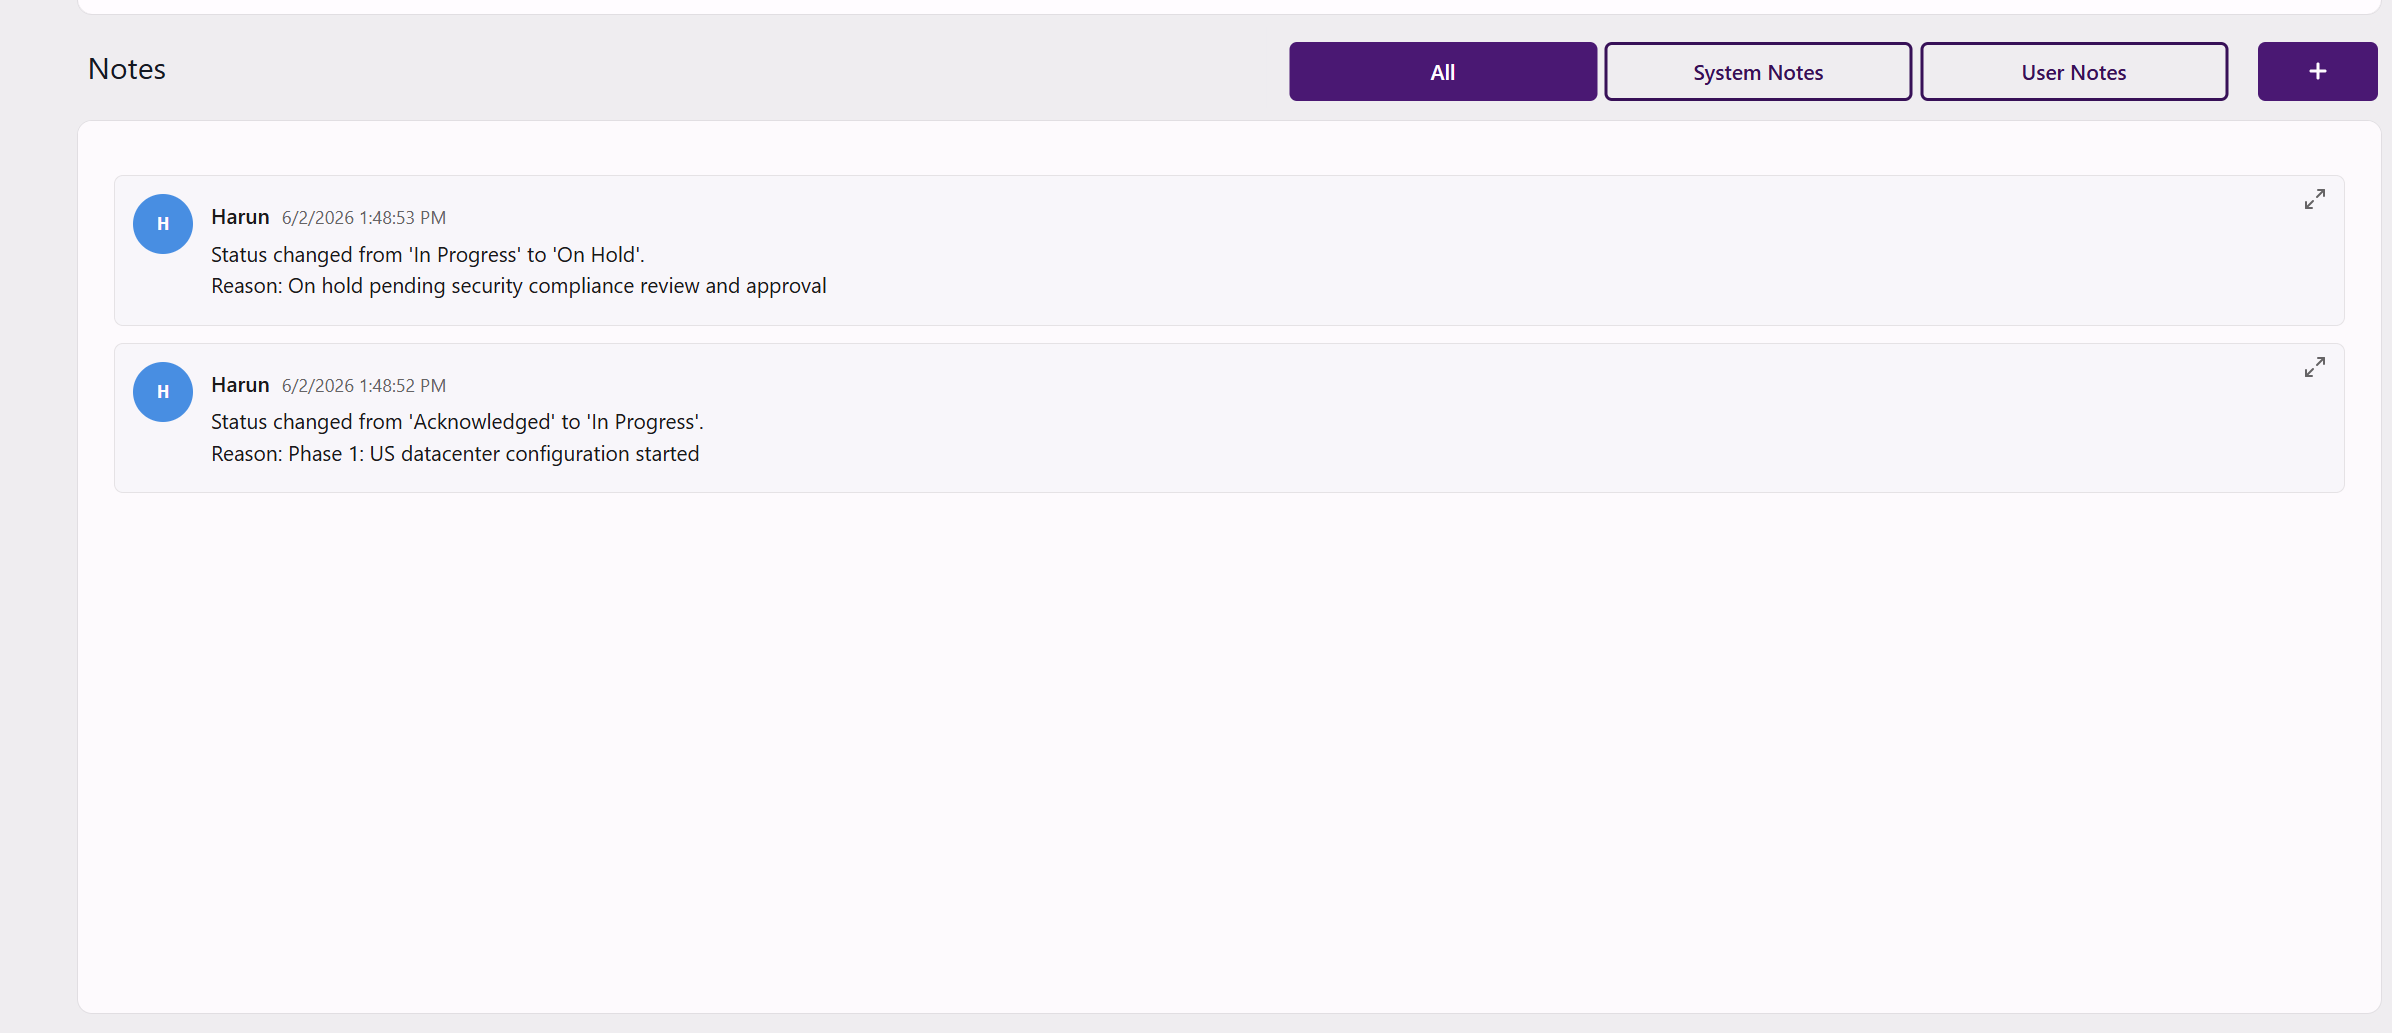
Each user note maintains its own change history. When a note is modified, previous versions are preserved, and these can be viewed from the note history.
Bulk actions
With the bulk actions button in the upper right corner of the Tickets page, you can perform common operations on multiple tickets in one single action.
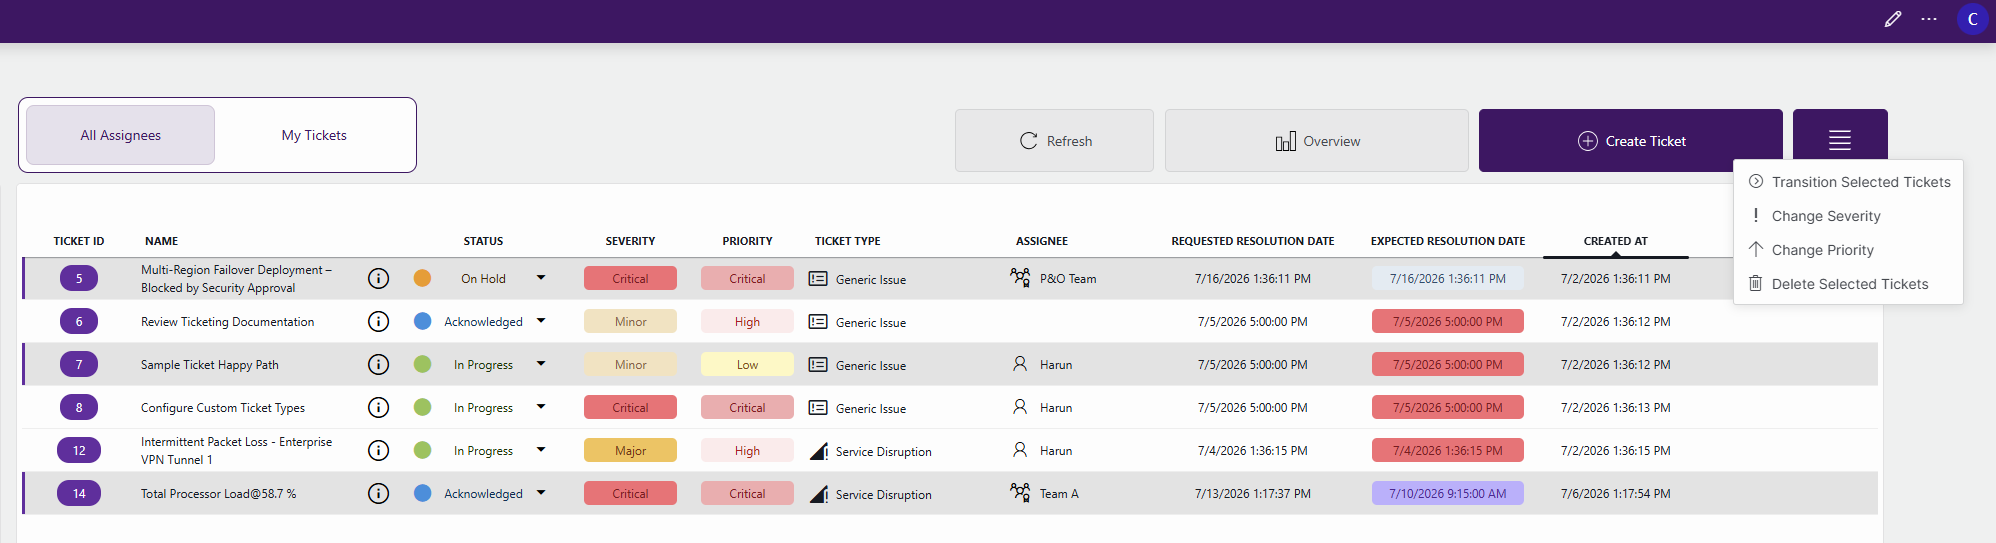
The following bulk actions are available via this button:
- Transition Selected Tickets: Move multiple tickets to a new lifecycle state in a single operation.
- Change Severity: Update the severity level of multiple tickets at once.
- Change Priority: Modify the priority of multiple tickets simultaneously.
- Delete Selected Tickets: Remove multiple tickets in a single action.