Configuring a panel of a low-code app
In addition to pages, panels can be configured in apps in the Low-Code Apps module. These contain secondary content that can be shown on top of pages. Panels can be shown or hidden via actions, for example when a user clicks a button. They can also be reused on multiple different pages.

While you are editing a page, in the page configuration pane, open the panels section.
To add a new panel, click the "+" button in this section, and then specify a name for your panel.
Note that from DataMiner 10.4.0 [CU13]/10.5.0 [CU1]/10.5.4 onwards, panel names are limited to 150 characters.
To configure a panel, click the pencil icon next to the panel. This will open the panel configuration pane.
To configure a header bar for the panel, follow the same steps as to configure this for a page. See Configuring the header bar of a low-code app page.
From DataMiner 10.3.0 [CU16]/10.4.0 [CU4]/10.4.7 onwards, if one or more actions should be triggered when the panel is opened or closed, in the panel configuration pane, open the Events section and click the Configure actions button next to On open or On close. Then configure the action(s) that should be triggered. See Configuring low-code app events.
Click the pencil icon to configure the components on the panel. See Configuring components and Changing dashboard settings. For a list of the available components, refer to Available visualizations.
Opening a panel
To allow users to open a panel, you will need to configure an event with the action Open a panel.
From DataMiner 10.3.0 [CU16]/10.4.0 [CU4]/10.4.7 onwards, an opened panel will by default remain open when you navigate to a different page using the sidebar. However, if a Close a panel or Close all panels action is configured for an On open or On close page event, the panel will close.
Note
To ensure older apps function correctly after upgrading to DataMiner 10.3.0 [CU16]/ 10.4.0 [CU4]/10.4.7 or higher, an On close page event with a Close all panels action is automatically configured for each page of apps created before the upgrade. As a result, these older apps will continue to show the same behavior as before the upgrade: panels will close when you navigate to another page in the sidebar. New pages and new apps added after the upgrade will not have these events configured.
Closing a panel
Users can close a panel in different ways:
If the panel is opened as an overlay (i.e. the background is slightly blurred), clicking outside the panel will close it.
Prior to DataMiner 10.3.0 [CU16]/10.4.0 [CU4]/10.4.7), a panel is closed when you navigate to a different page using the sidebar.
By means of an event that triggers one of the following actions:
A Close a panel action.
A Close all panels action (available from DataMiner 10.3.0 [CU16]/10.4.0 [CU4]/10.4.7 onwards).
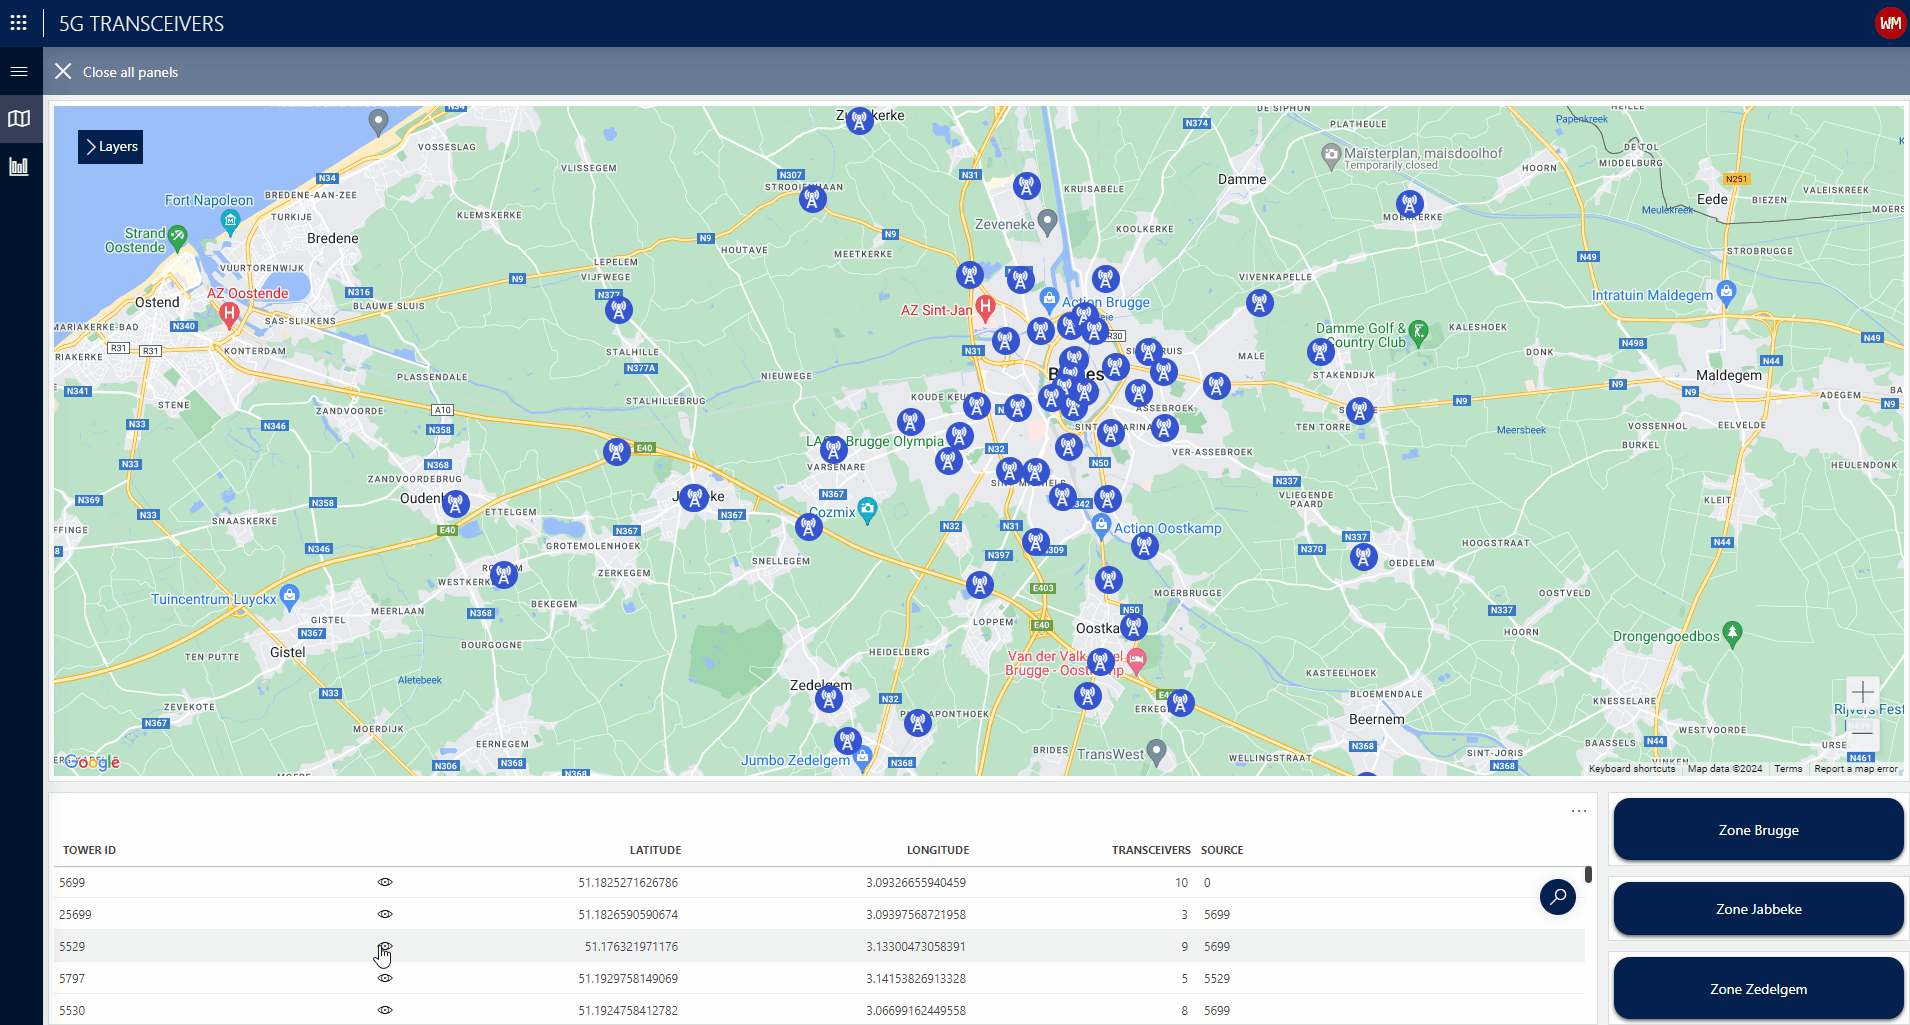
Low-Code Apps module in DataMiner 10.4.7
Deleting a panel
From DataMiner 10.3.6/10.4.0 onwards, to delete a panel, click the ellipsis button next to the panel name in the page configuration pane, and select Delete. Prior to DataMiner 10.3.6/10.4.0, to delete a panel, click the garbage can icon next to the panel name in the page configuration pane, and then click the confirmation icon.
Duplicating a panel
From DataMiner 10.3.6/10.4.0 onwards, to duplicate a panel, click the ellipsis button next to the panel name in the page configuration pane, and select Duplicate.