Getting started with the grid component
This tutorial demonstrates how you can create your first grid visualization.
Expected duration: 5 minutes.

Note
This tutorial uses DataMiner version 10.4.1.
Prerequisites
- A DataMiner System using DataMiner 10.4.1 or higher.
- The Style a table tutorial has been completed.
Overview
Step 1: Create a query
You can now create the query using the Orders.json file as the data source.
Note
The Orders.json file should have been created while following the Style a table tutorial.
Create a new low-code app. See Creating low-code applications.
In the Data pane, expand Queries.
Click the + icon to add a new query.
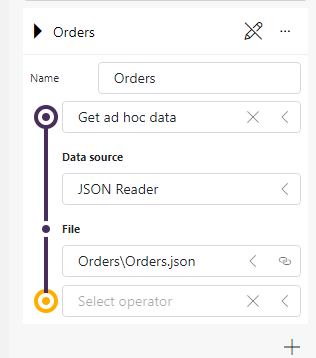
Provide the necessary information:
Give the query a name, e.g. "Orders".
Open the selection box, and select Get ad hoc data.
Open the Data source selection box, and select JSON Reader.
Open the File selection box, select Orders.json.
Step 2: Add a grid component
Drag the created query onto an empty section of the low-code app page.
Hover the mouse pointer over the component, and click the
 icon.
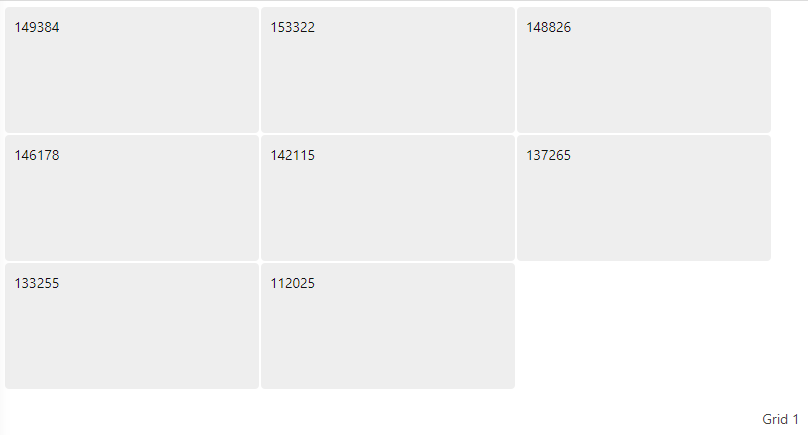
icon.Choose the grid visualization. The grid will be populated with a block for every order in the orders dataset.
Step 3: Style the blocks
The default grid blocks look quite basic and do not provide a lot of information. If required, you can change their style.
Note
For more information about the Template Editor, see Using the Template Editor
Make sure the grid component is selected, and go to Layout > Item templates.
Click Edit to open the Template Editor.
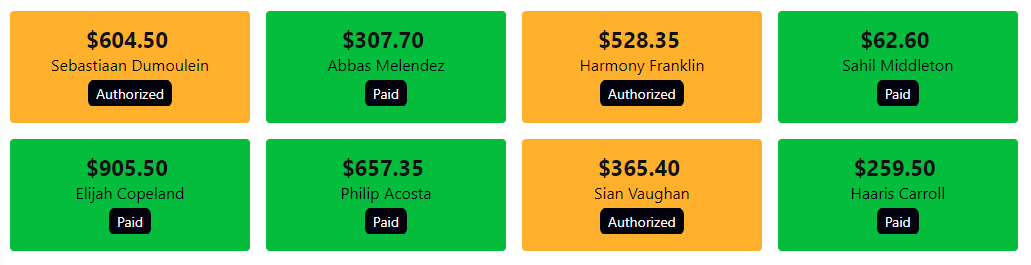
Use the Template Editor to style the grid blocks.
Step 4: Tweak the grid layout
Change the way the blocks are positioned. The goal is to have a row of four blocks.
Make sure the grid component is selected, and go to Layout > Advanced.
Locate the Grid template section. There you can change the way the grid blocks are positioned.
Set the number of columns to 4, and ensure that Scaling is applied.
For the rows, opt for 1 row, and apply Scaling.
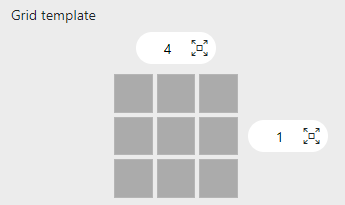
Applying these settings will make sure your grid has 4 columns, 1 row and a button to navigate to the next items.
