Using the stepper component in a low-code app
In this tutorial, you will learn how to add and configure a stepper component in a low-code app, by means of an example where the stepper component is used to help with managing incidents and their different states.
The content and screenshots for this tutorial have been created in DataMiner version 10.3.10.
Overview
- Step 1: Set up the data
- Step 2: Create the components
- Step 3: Add the data
- Step 4: Add a save action
- Step 5: Style the stepper
- Step 6: Use the low-code app
Step 1: Set up the data
Before you can begin to create the app, you will need to add some data to your system that you can visualize in the app. To do so, deploy the Incident Manager package from the catalog.
The package will create an "Incident" DOM definition and some DOM instances using it.
Tip
For information on how to deploy a package, see Deploying a Catalog item.
Step 2: Create the components
Now that you have deployed the package with the data, you can create the app to visualize this data.
Click the pencil icon next to the initial page of the application in order to edit it.
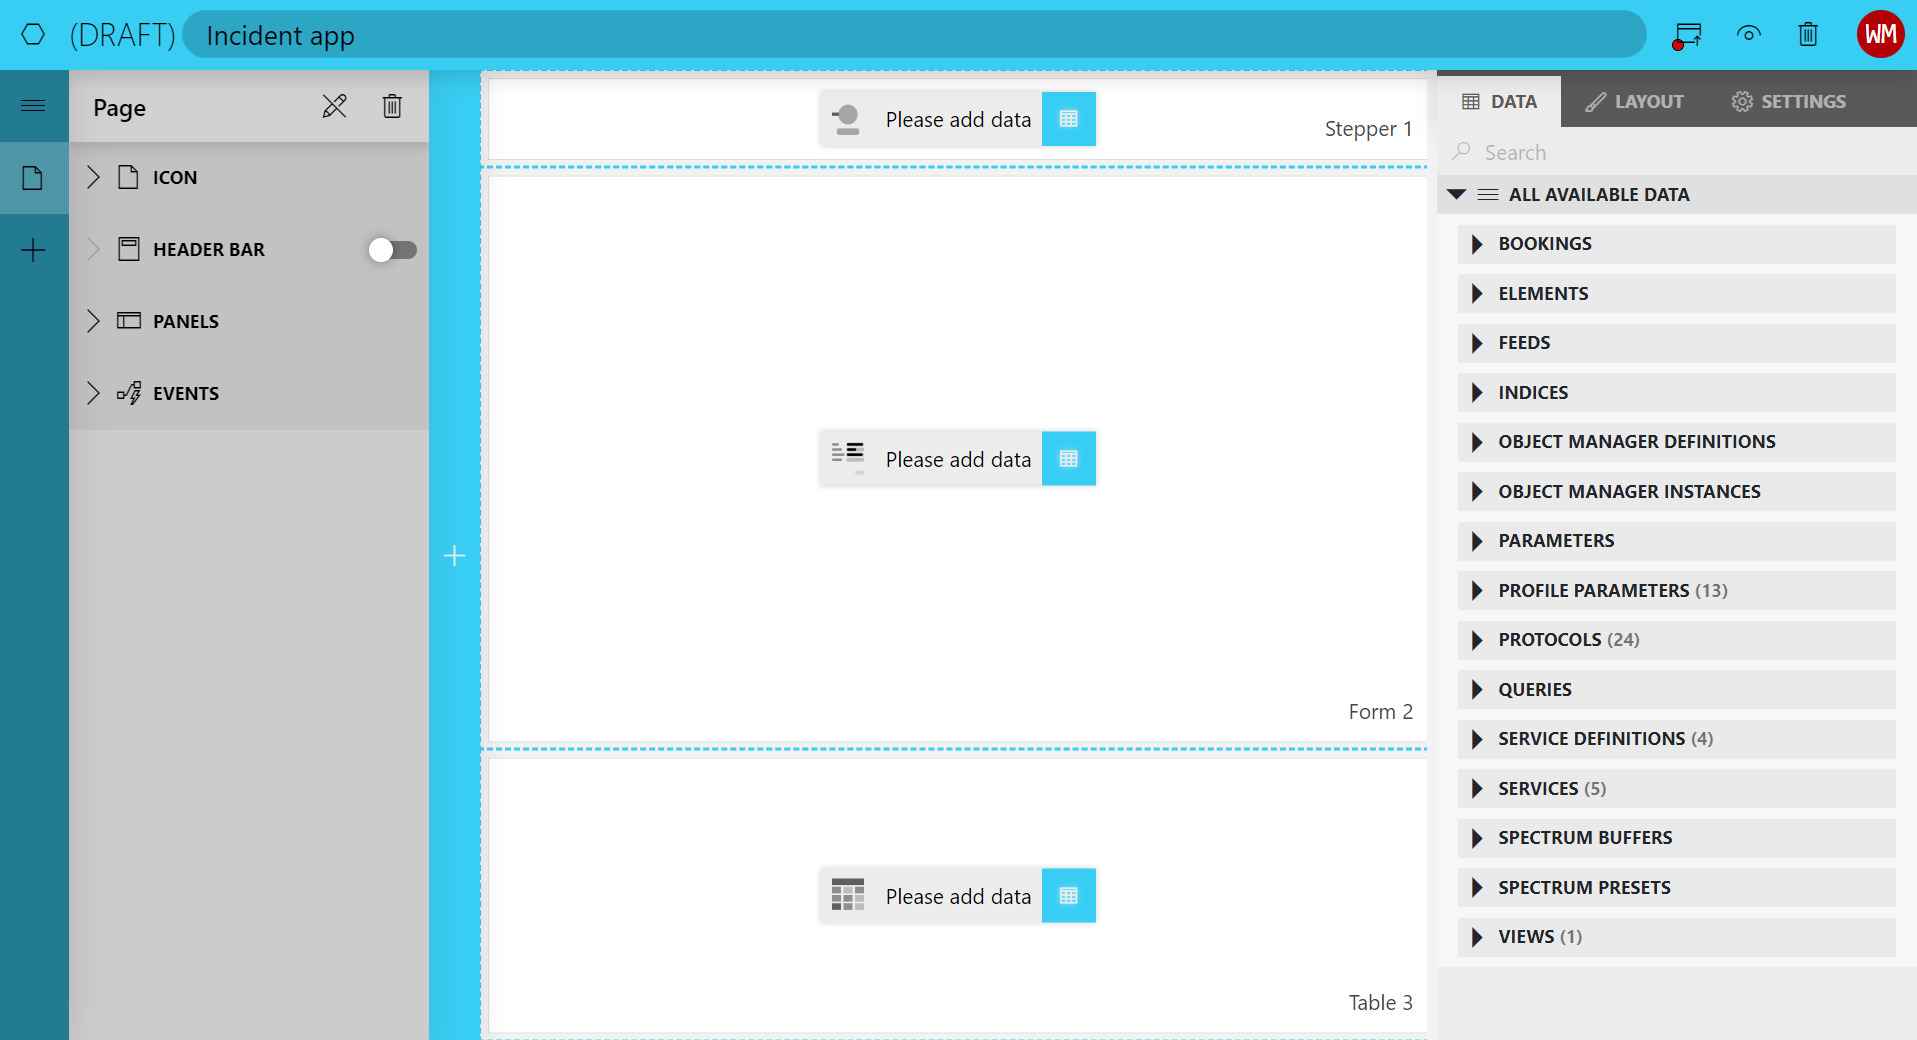
Hover the mouse pointer over the bar with the "+" on the left until it expands to show the Visualizations pane, and add a stepper, a form, and a table component by dragging them onto the page.
You can find the stepper and form components in the General category and the table in the Tables category.
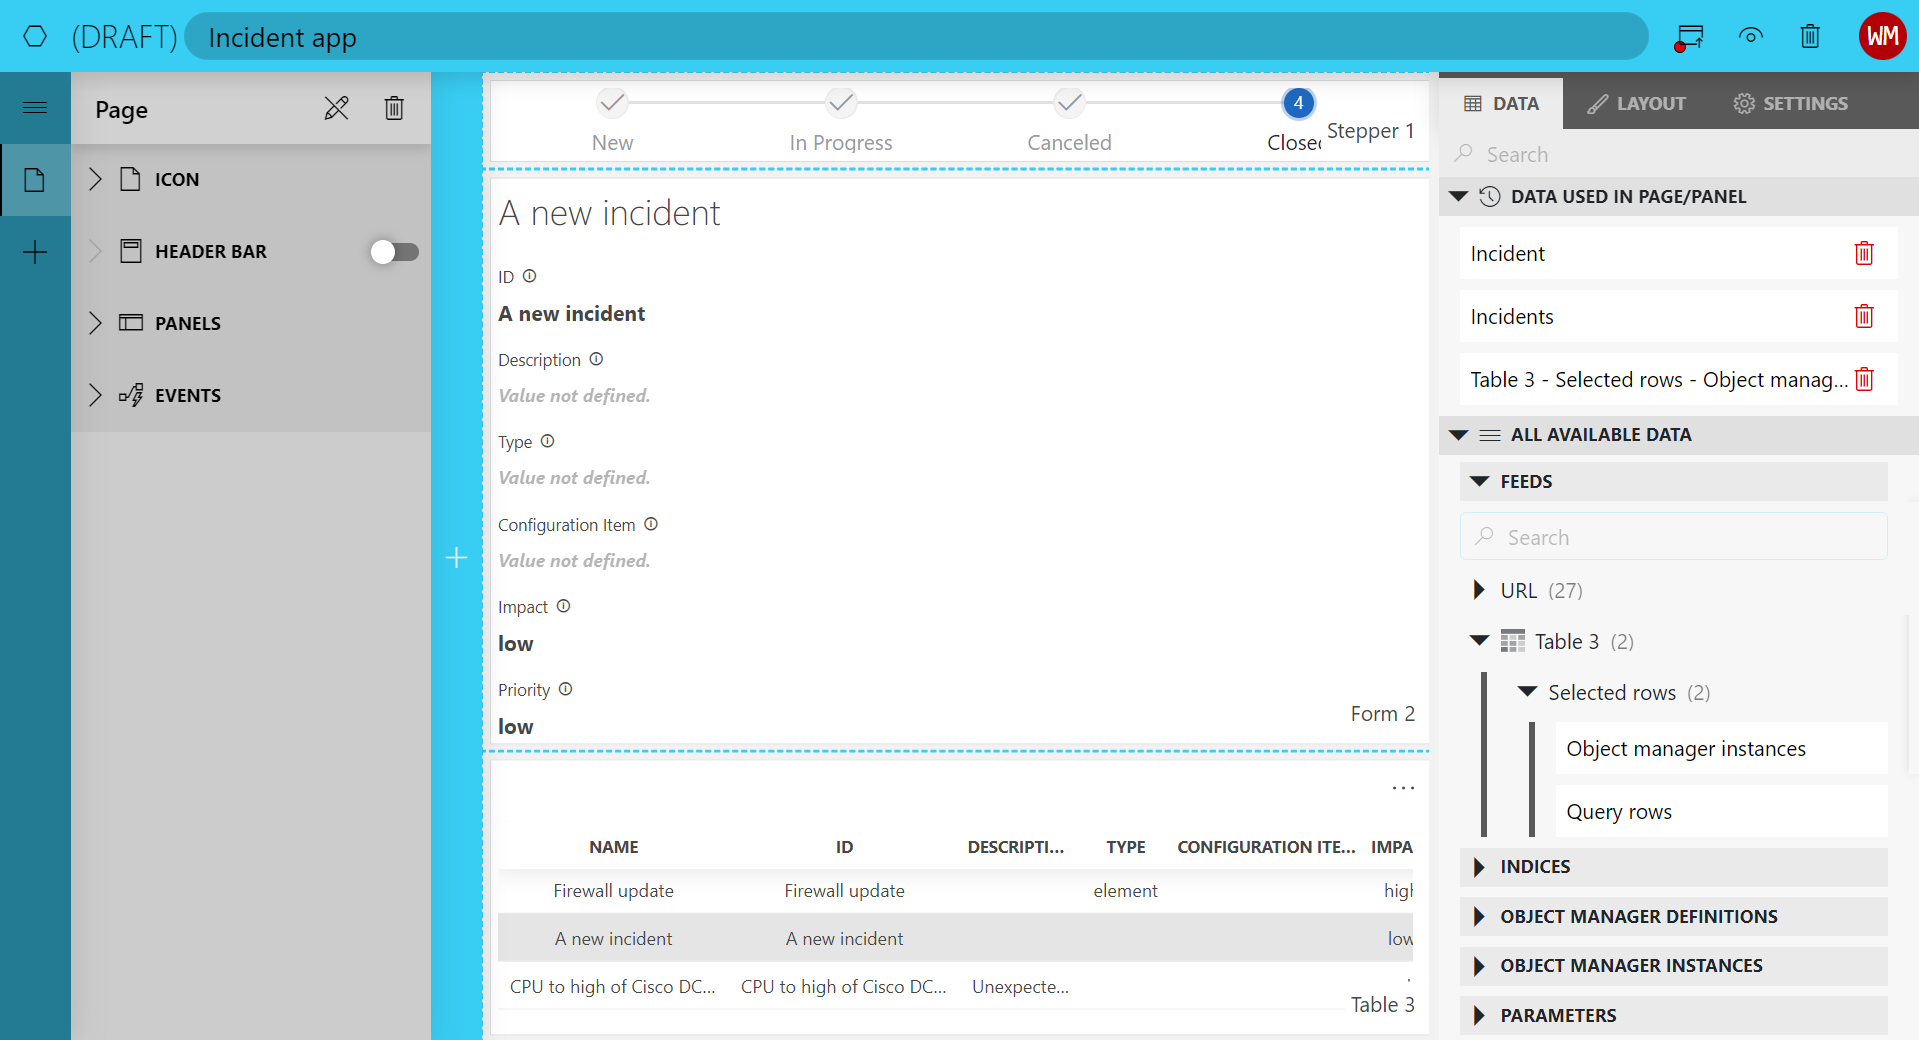
The end result of this step should look like this:
Step 3: Add the data
Each of the components on the page has to receive some data:
Add the DOM definition to the stepper component and the form component.
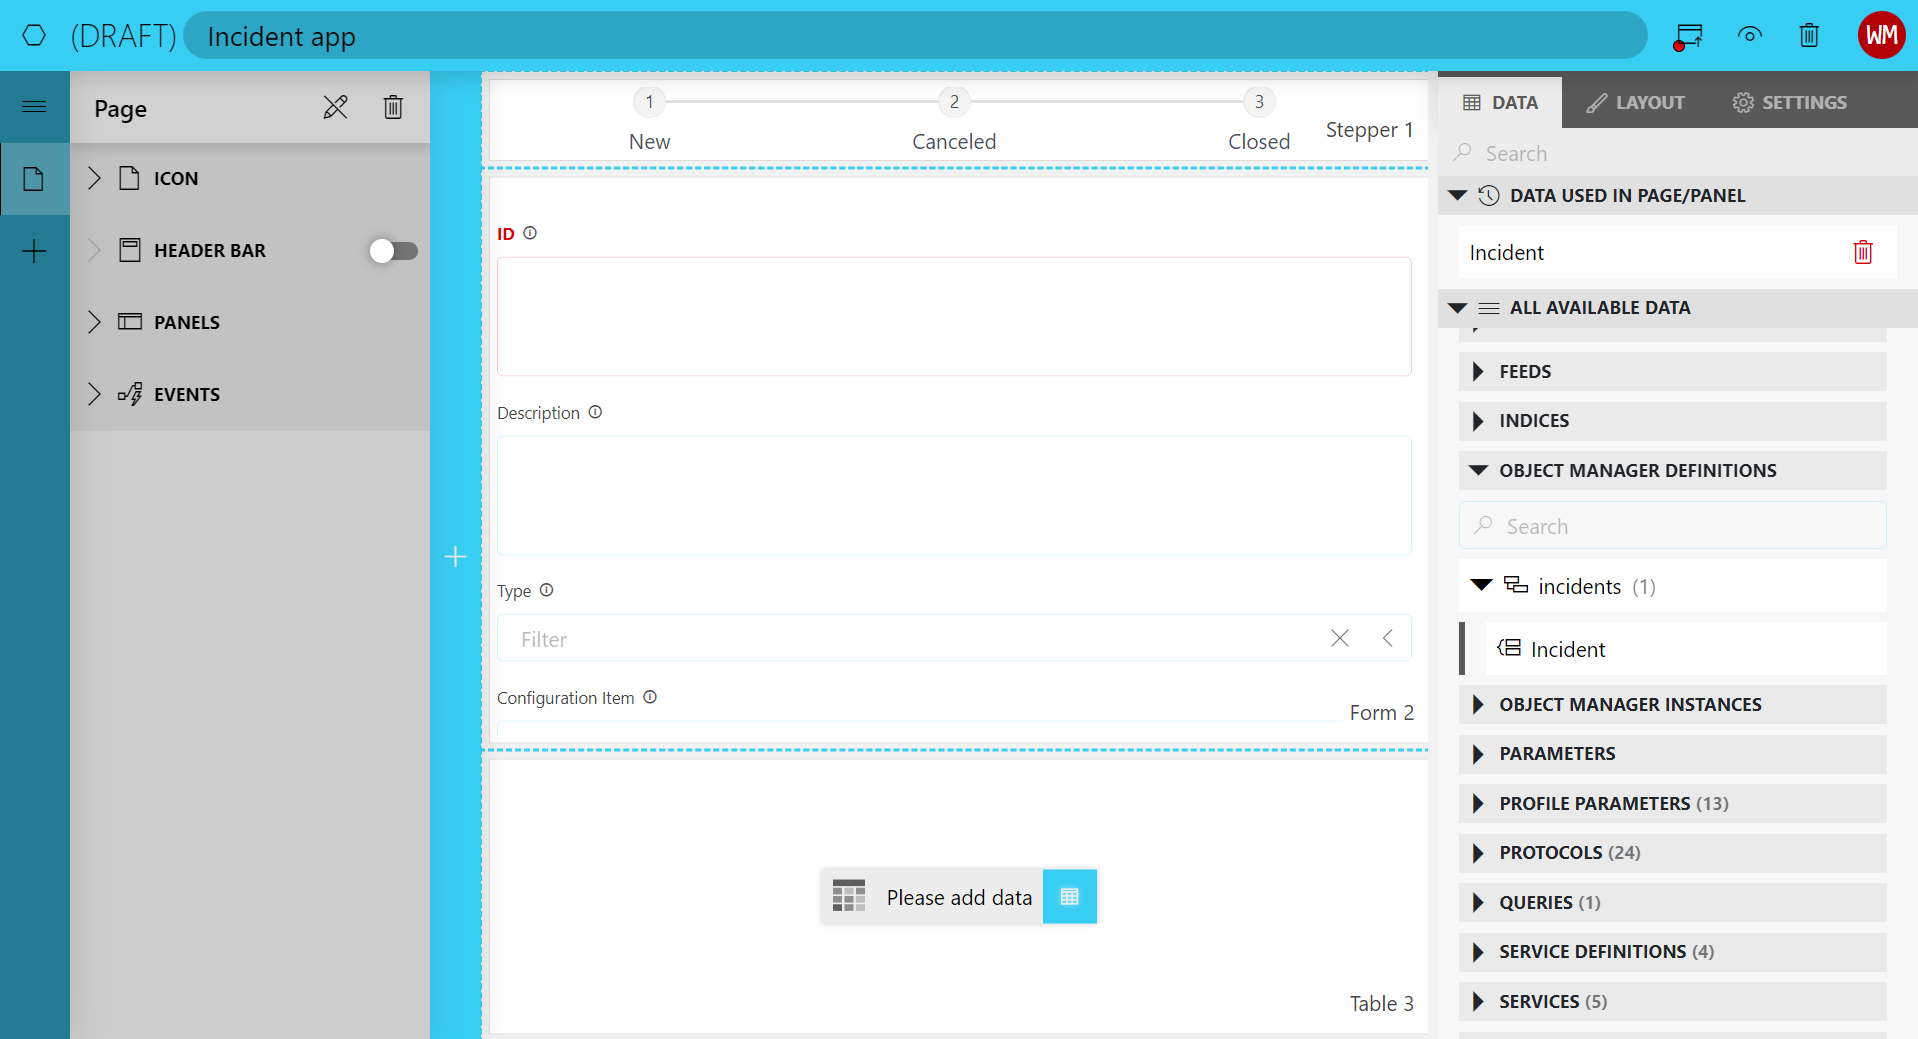
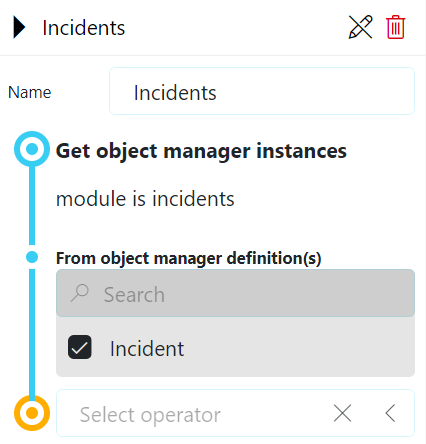
Create a query to fetch all object manager instances of the DOM definition and add it to the table component. See Creating a GQI query.
Link the Object manager instances data from the table component to both the stepper and the form component. Make sure to select a row in the table to expose this data.
Step 4: Add a save action
To complete the app, you should now add a header bar with a button to save changes to incidents:
Enable the header bar and add a button to it. See Configuring the header bar of a low-code app page.
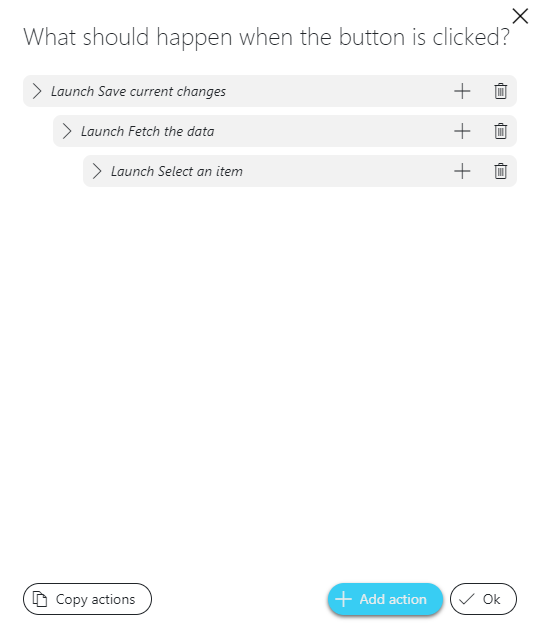
Add a chain of the following three actions to the On click event of the button:
Save the current changes of the form component.
Fetch the data in the table component.
Select the updated incident in the table component.
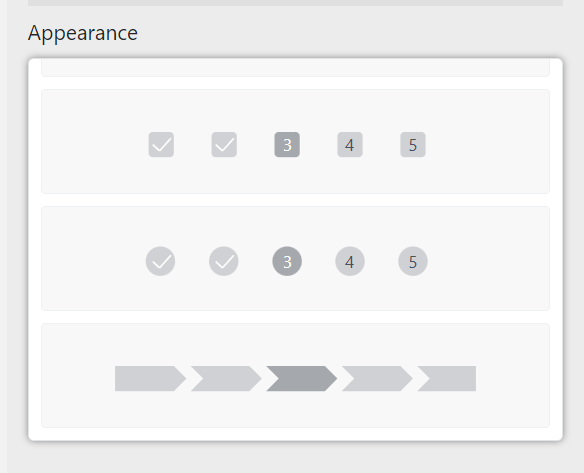
Step 5: Style the stepper
By default, every stepper component uses the same template, but you can switch to a different template of your choice.
To do so, use the Appearance setting in the component Layout pane on the right.
Step 6: Use the low-code app
Now that everything is configured, you can publish and use your app.
You can create new incidents using the form component and the save button in the header bar. You can inspect and update existing incidents by selecting them in the table component at the bottom.
The stepper component will visualize the past states and the possible future states of an incident. This visualization will clearly show what steps were taken to resolve the incident and what steps still need to happen before it is fully resolved.