Racks
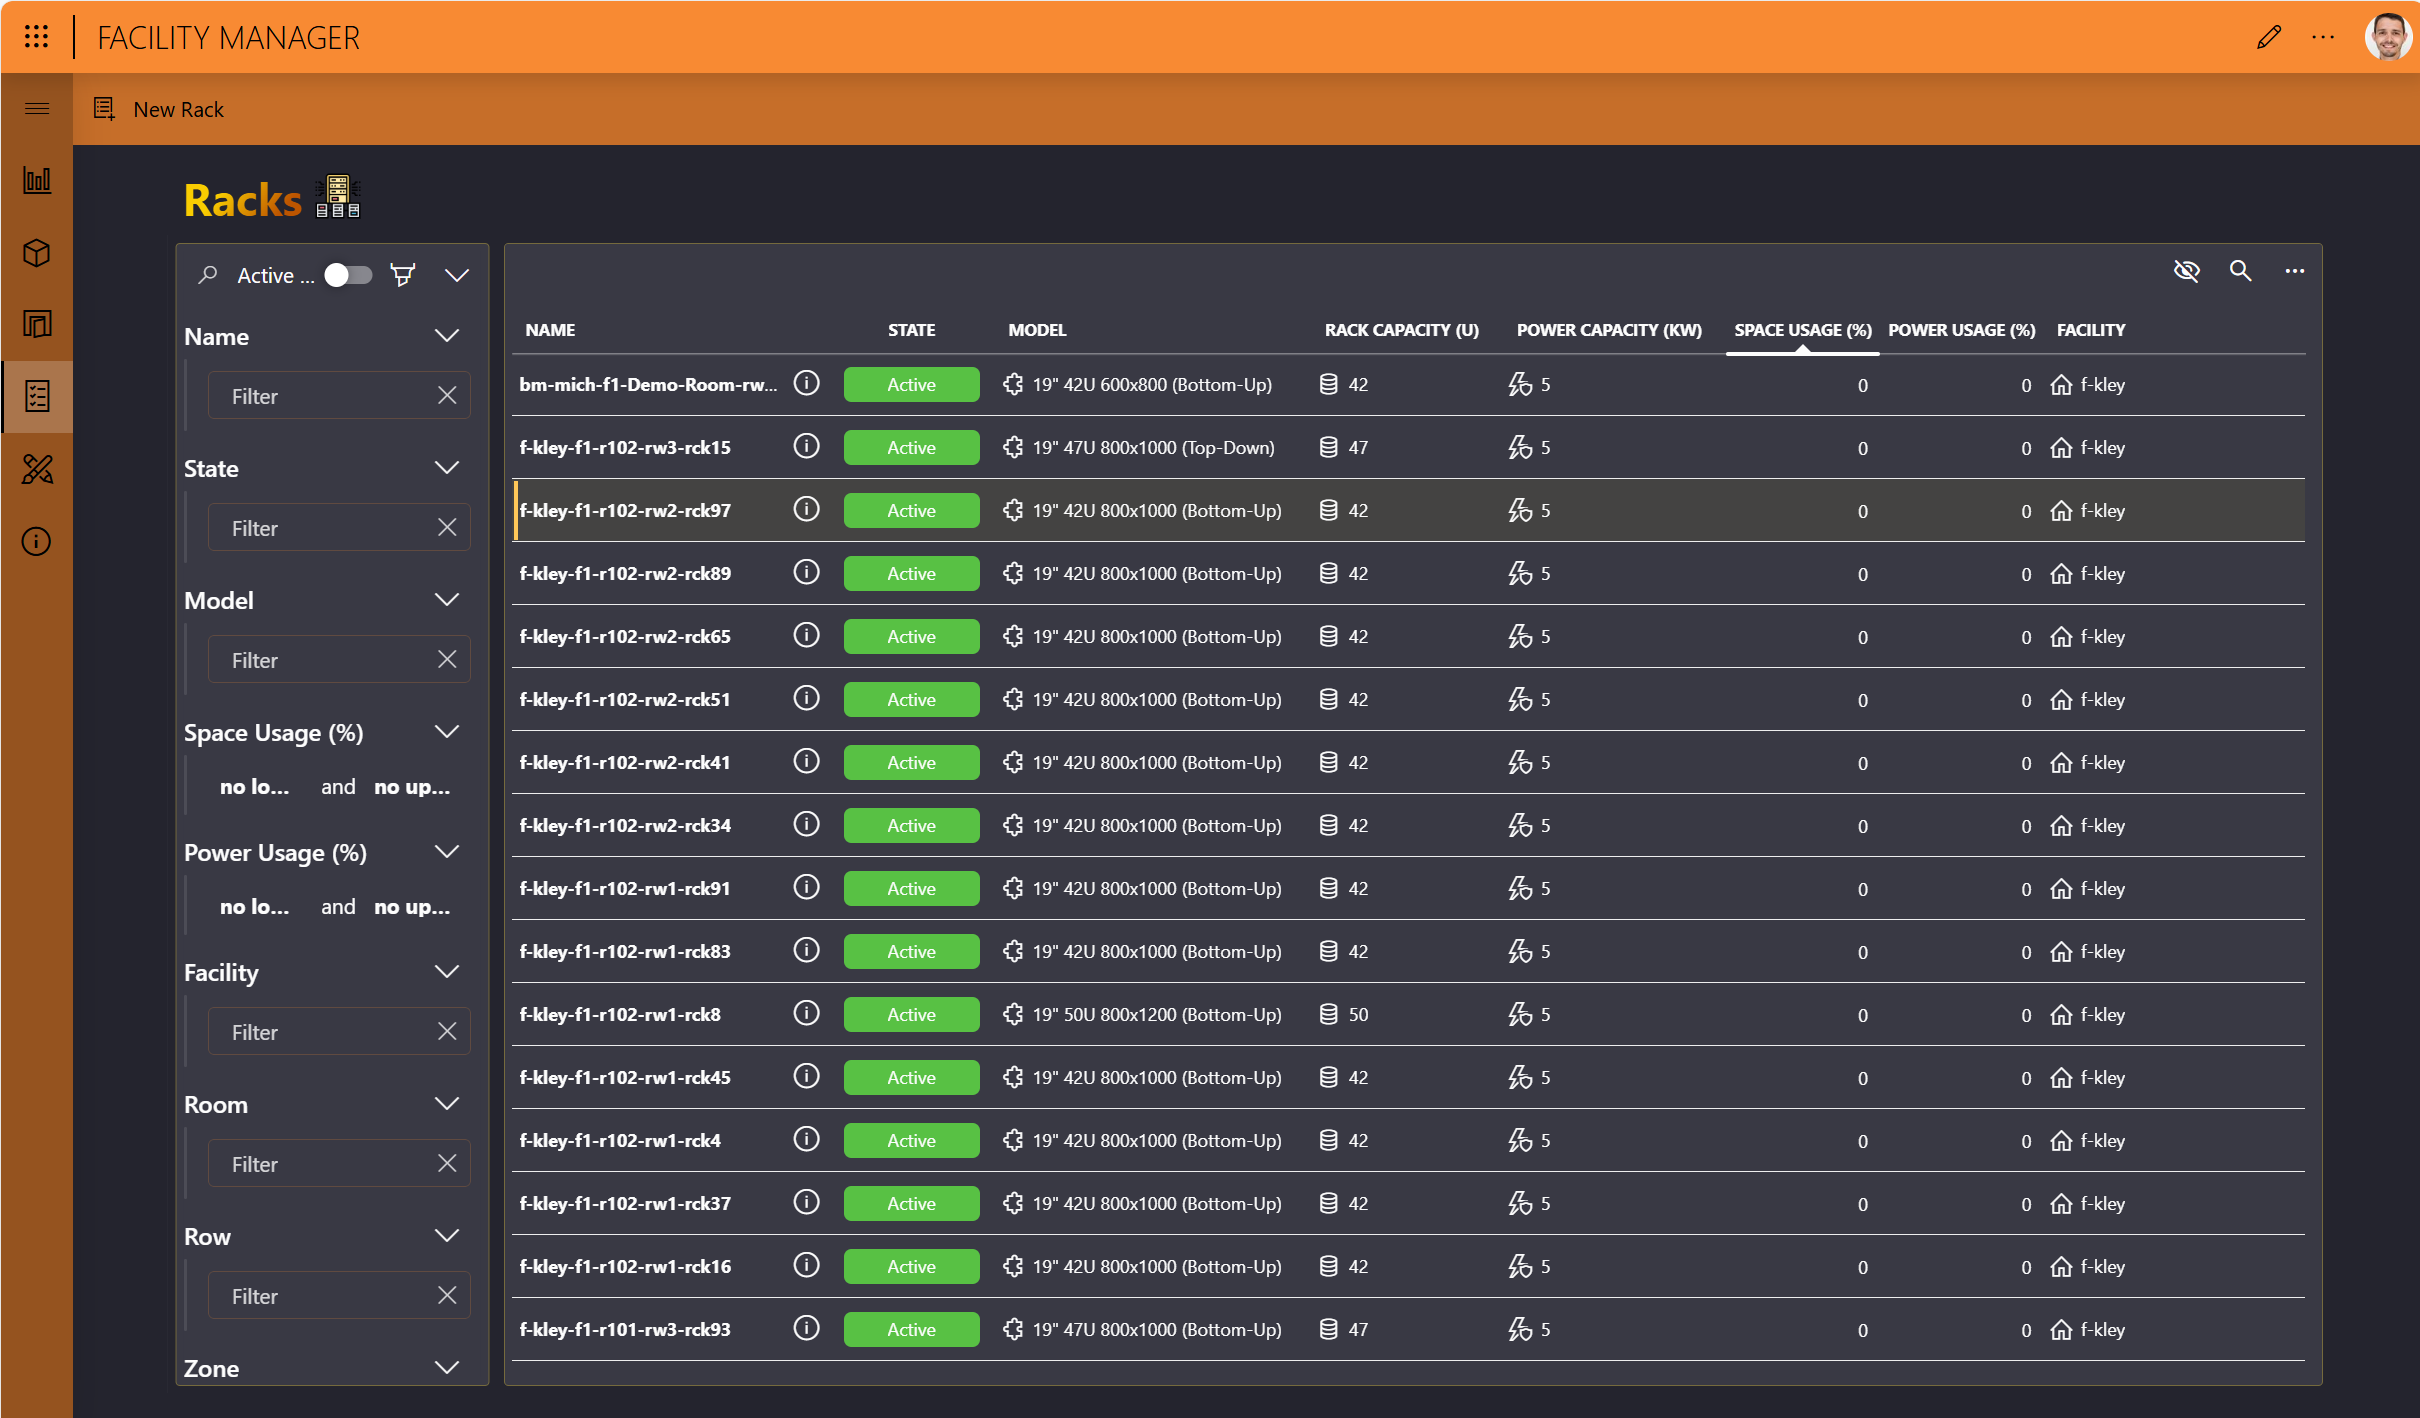
The Racks page displays an overview of all configured racks, along with the rack capacity, power capacity, and space usage (%). The latter is calculated based on the size of the assets placed on the rack and its maximum power consumption. These are defined in the Asset Manager app, specifically with the asset class configuration.
Once you have configured your facilities and rooms in the Facility Manager app, the final step to add all infrastructure is typically adding the racks.
Adding a rack
In the upper-left corner of the Racks page, click New Rack.
Configure the following fields, and then click Save:
- Rack Name: Mandatory field.
- Rack Model: Mandatory field.
- Rack Position: If set to Bottom, slot 1 is at the bottom of the rack. If set to Top, slot 1 is at the top of the rack.
- Rack Label: This is displayed in the Room Designer and Room Viewer (in the Asset Manager app) when the rack is placed in a room.
- Maximum Power Capacity (kW): Consumed based on the assets that are placed on the rack.
- Maximum Rack Capacity (U): As of InfraOps 1.2.0, this is a mandatory field. The number of rack units available for this rack. Must be between 1 and 70.
- Room Name/Row Name/Zone Name: The location where the rack is added. You will only be able to add a rack to a room with at least one row and zone.
This will add the rack to the racks overview table.
To further configure the rack, click the details button (ⓘ) for the rack in the table.
This will open the Rack details pane, where you can click the pencil icon in any of the available sections to configure additional details:
The description.
The cooling flow:
- Front to Rear: Air flows from the front of the rack to the rear, which is the standard configuration for most server and network equipment.
- Rear to Front: Air flows from the rear of the rack to the front, which is less common but used in specific scenarios.
- Side to Side: Air flows from one side of the rack to the other, typically used for certain network equipment.
- Top to Bottom: Air flows from the top of the rack to the bottom, used in some specialized setups.
- Bottom to Top: Air flows from the bottom of the rack to the top, often used in conjunction with raised floor cooling systems.
The height, width, and depth (in cm). If you want to be able to add the rack in the Room Designer, make sure these are configured.
At the top of the Rack details pane, the following buttons are also available:
- Rack View: Shows an overview of the different slots in the rack.
- Delete Rack: Removes the rack from the system.
- Gallery: Shows the images linked to the rack.
- Link Image: Allows you to link an image to the rack. To upload images, use the Web File Manager app, which you can access directly via a button in the Link image pane.
When the rack has been fully configured, at the bottom of the Rack details pane, click Activate.
Only when a rack has been set to active, will it be possible to assign assets to it with the Asset Manager app.