Scheduling a job using a resource pool with specific capabilities
This tutorial builds on the Assigning capabilities to resources tutorial, showing you how you can schedule a job using a resource pool with specific capabilities.
Expected duration: 15 minutes
Note
The content and screenshots for this tutorial have been created using DataMiner version 10.5.5 and MediaOps version 1.3.1.
Prerequisites
- A DataMiner System using DataMiner 10.5.4 or higher.
- Access to the Scheduling application.
- You have complete the tutorials Configuring resources and resource pools and Assigning capabilities to resources.
Note
Ideally, you should also follow the tutorial Creating a job and configuring it with resources first, so you have a better understanding of how to create a basic job.
Overview
- Step 1: Create a new job
- Step 2: Add the Converter resource pool to the job
- Step 3: Configure the resource pools
- Step 4: Pick resources
- Step 5: Confirm the job
Step 1: Create a new job
Open the Scheduling app.
On the Job View page, click the + New button.
Specify a name of your choice for the job and click Create Job.
Step 2: Add the Converter resource pool to the job
Click the pencil icon on the job to open the Edit job panel.
Scroll down to the Workflow section of the panel, and click Add Node.
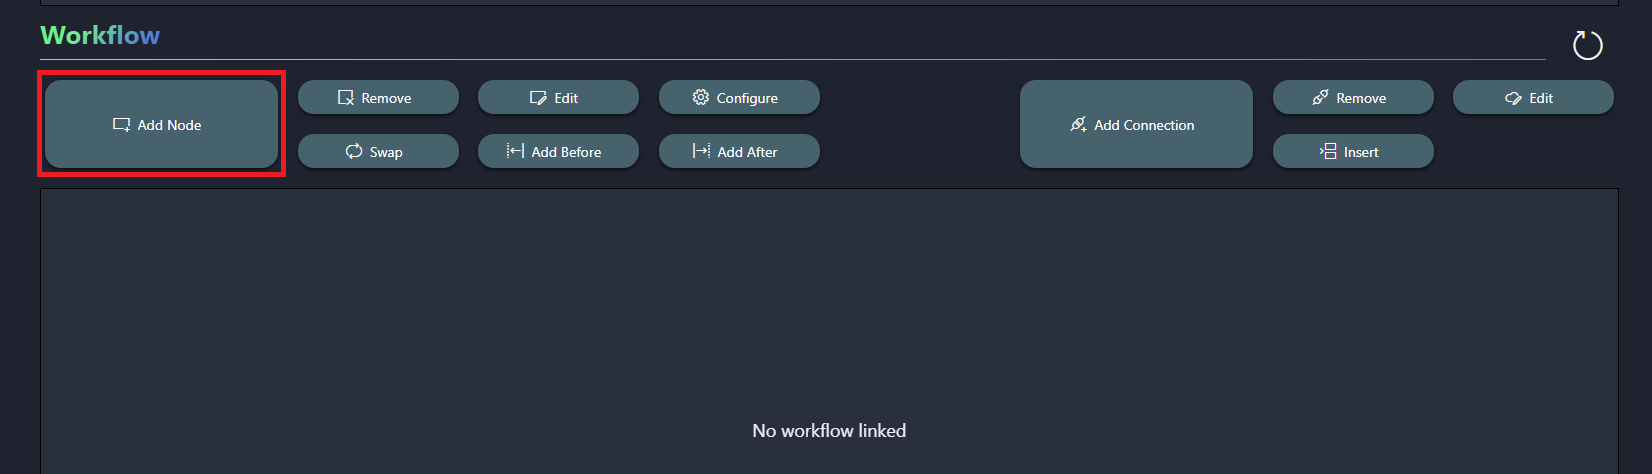
On the left side of the Add Node panel, select the Converter resource pool, and then click the + Add Resource Pool button.

First select the newly added node, and then click the Add After button to add another resource pool.
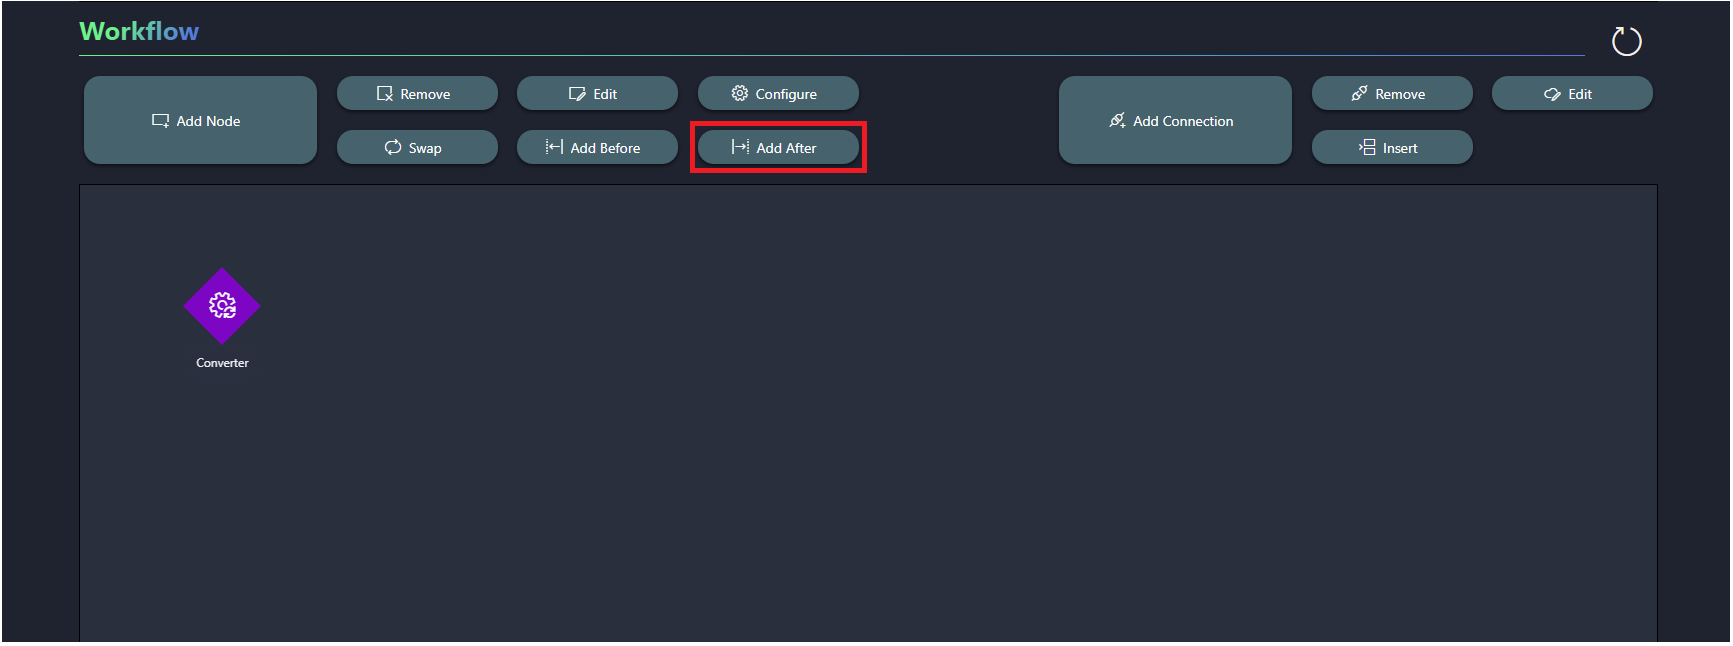
Again select the Converter resource pool and click + Add Resource Pool.
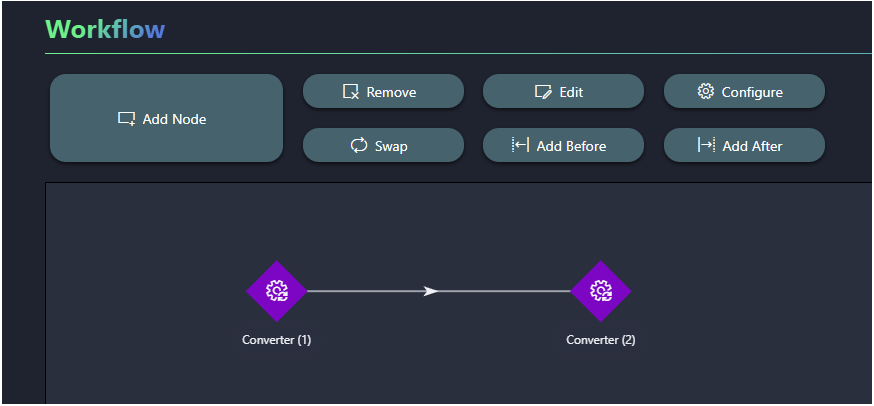
This will be the resulting workflow:
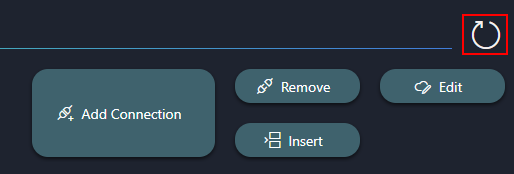
If you do not see this result immediately, use the refresh button in the top-right corner of the Workflow section.
Step 3: Configure the resource pools
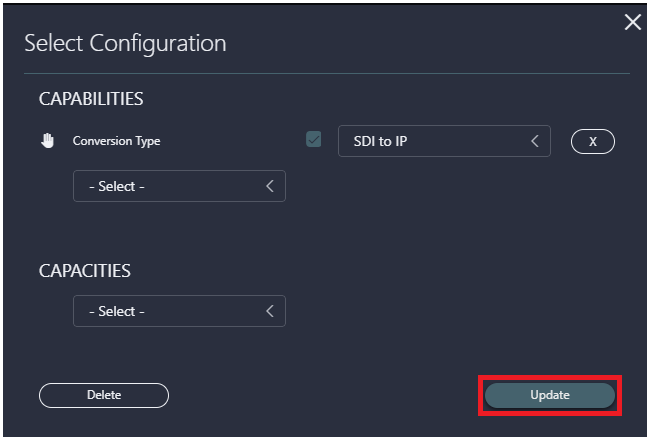
Select the first node in the Workflow section, and click the Configure button.
In the Select Configuration window, make sure Conversion Type is selected.
This is the parameter that was configured in the last step of the tutorial Assigning capabilities to resources.
Select the checkbox to enable option selection, and select SDI to IP.
Click Update.
Select the second node and repeat the steps above, selecting IP to SDI instead.
Step 4: Pick resources
Scroll up to the Nodes section of the Edit panel.
You will see that for both resource pools the
 icon is shown in the Resource Select Column, which means that the resources still need to be picked for these.
Click this icon for the first resource pool, and then select the Video Solutions 001 resource and click Pick.
Note how only the resources matching your configuration will be available for selection.
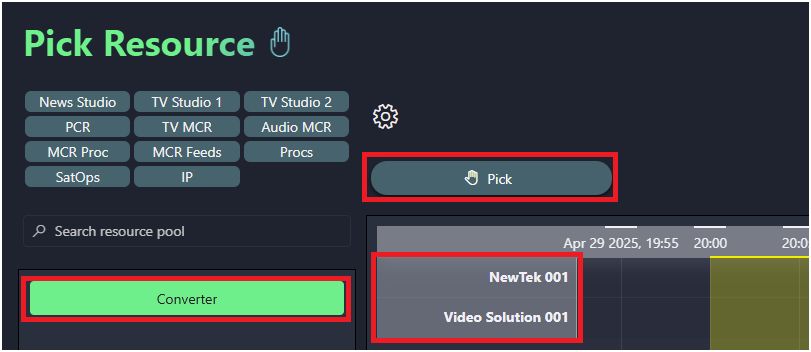
Click the icon for the second resource pool, and now select NewTek 001 and select Pick.
Note how the options for resource selection have been narrowed down further at this point: the resource you picked earlier is no longer available for selection.
Step 5: Confirm the job
Scroll up to the Job Info section.
Click the Save as Tentative button.
Click the Confirm Job button.
You have now successfully scheduled a job using a resource pool featuring a capability and parameter configuration.
Up next
To learn how you can create a workflow template that can be used in different jobs, making the job configuration easier and more user-friendly when the same workflow is used in multiple jobs, follow the next tutorial Creating a workflow to use as a template for a job.